CHAPTER 4: OPERATING INSTRUCTIONS
UB25 LINEAR DC RESISTANCE WELDING CONTROL
4-2 990-665
Section II: Initial Setup
Pre-Operational Checks
Always perform these checks before attempting to operate the Power Supply.
Connections
Verify that the Power Supply has been connected to a manual or air-actuated weld head as described
in Chapter 2 of this manual. Verify that the Emergency Stop Switch shorting wires are connected or
verify that an Emergency Stop Switch is connected properly.
Power
Verify that power is connected as described in Chapter 2 of this manual.
Compressed Air
If you are using an air-actuated weld head, verify that compressed air is connected as described in the
appropriate sections of your weld head manual. Turn the compressed air ON, and adjust it according
to the instructions in your weld head manual.
Initial Setup Instructions
1 Adjust the weld head force adjustment knob for a force appropriate for your welding application.
A good starting point is the mid-point in the range of the weld head force.
2 Set the WELD/NO WELD switch on the Power Supply front panel to the NO WELD position.
In this position, the Power Supply will operate the weld head without producing weld energy.
NOTE: When you are ready to perform a weld, be sure to set this switch back to the WELD
position.
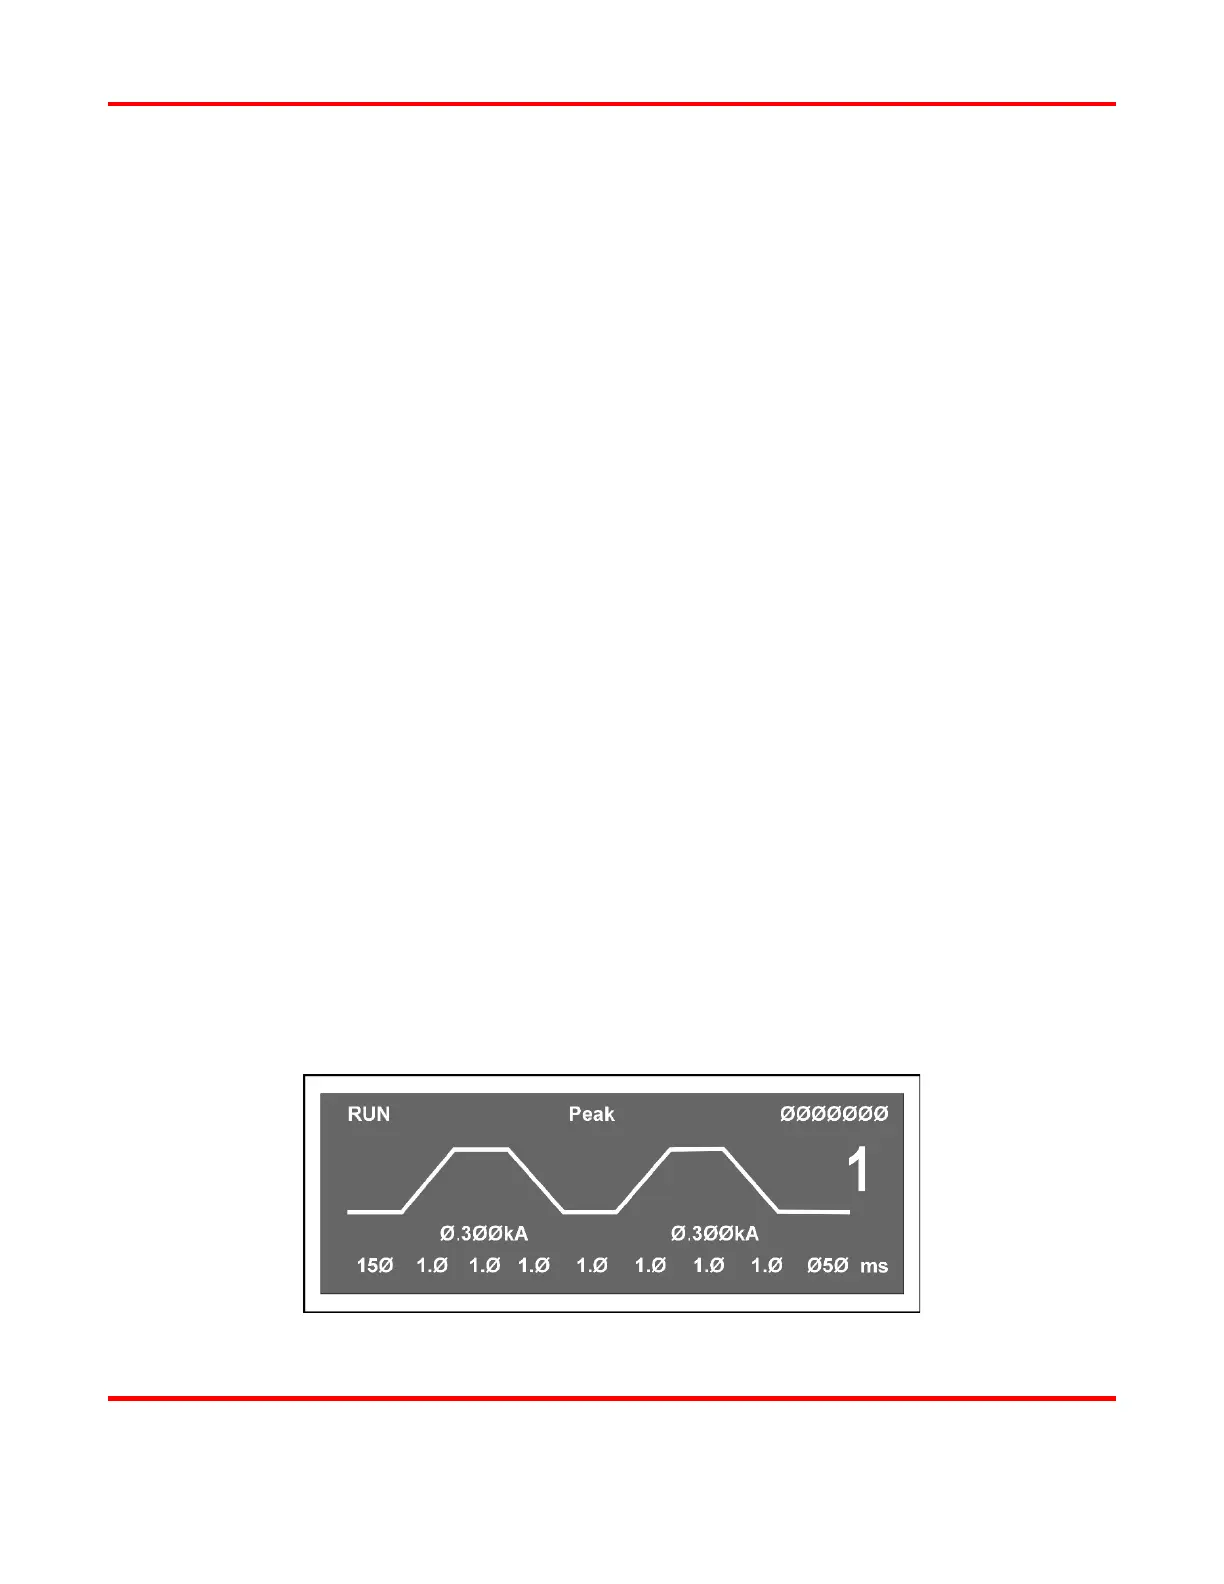
3 Turn the ON/OFF switch on the rear panel of the Power Supply to the ON position. The default
RUN screen will be displayed. You will use this screen to enter welding parameters.
Default RUN Screen