CHAPTER 5: SETUP SOFTWARE
UB25 LINEAR DC RESISTANCE WELDING CONTROL
990-665 5-5
Update Graph after Weld
1 Go to the SETUP 2 menu.
2 Press the 4 key to toggle the update
function ON or OFF.
NOTE: ON means that the actual weld
energy profile (shaded graph) will
overlay the programmed weld profile
(line graph) on the LCD after each weld
is made. The weld graph is useful for
detecting a faulty weld, which will be indicated by the shaded graph not filling completely. OFF
gives you the fastest operating time (multiple welds per second) for automated welding because
the control processor does not have to redraw the screen.
3 Keep pressing the MENU key on the front panel to return to the MAIN MENU.
Buzzer On Weld Stop
This function only applies to weld schedules that have STOP ON PULSE 1 or STOP ON PULSE 2
programmed in the monitor (refer to Chapter 4, Section IV, Programming the Weld Monitor). ON means
that an audible signal will be given when a limit is reached.
1 Go to the SETUP 2 menu.
2 Press the 5 key to toggle the buzzer
function ON or OFF.
3 Keep pressing the MENU key on the
front panel to return to the MAIN
MENU.
NOTE: After setting Operator Preferences, press the RUN button on the front panel to perform welding.
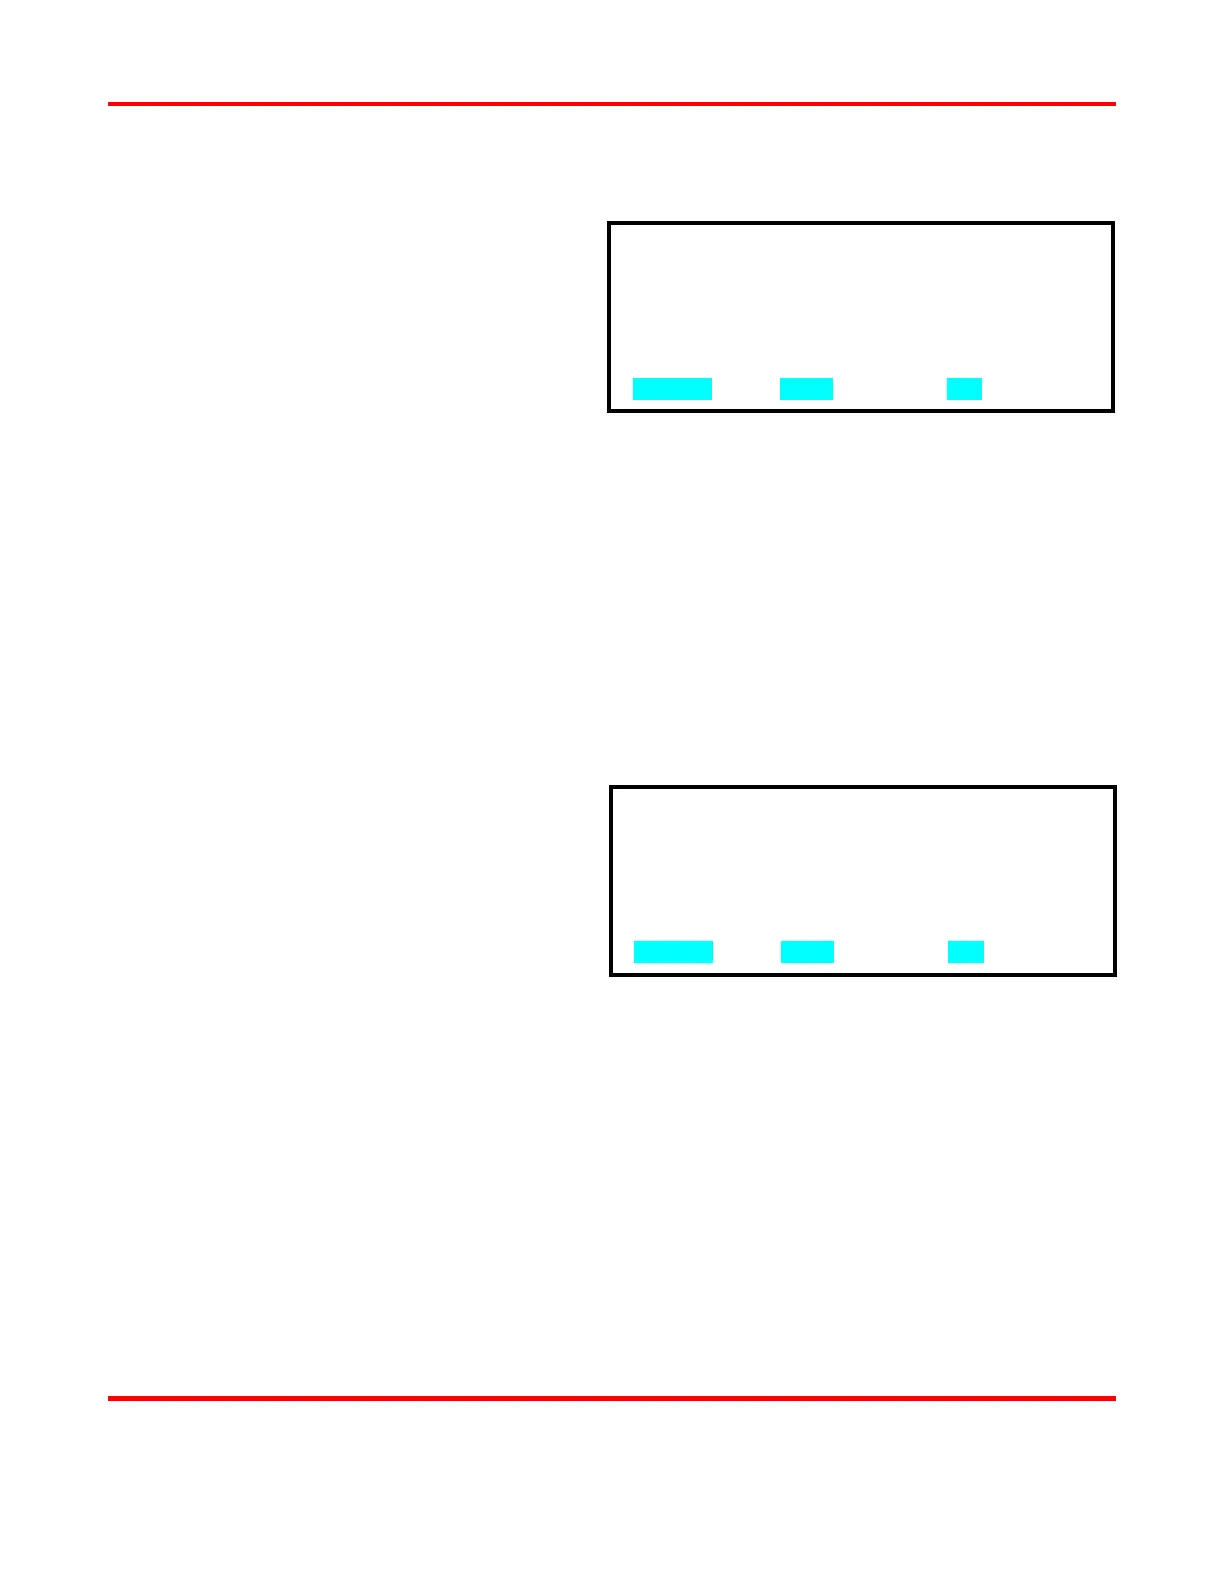
1. DISPLAY CONTRAST : 080%
2. BUZZER LOUDNESS : 030%
3. END OF CYCLE BUZZER : OFF
4. UPDATE GRAPH AFTER WELD : ON
5. BUZZER ON WELD STOP : OFF
NUMBER Select, MENU Main menu, ▲▼ Page
1. DISPLAY CONTRAST : 080%
2. BUZZER LOUDNESS : 030%
3. END OF CYCLE BUZZER : OFF
4. UPDATE GRAPH AFTER WELD : ON
5. BUZZER ON WELD STOP : OFF
NUMBER Select, MENU Main menu, ▲▼ Page