CHAPTER 5: SETUP SOFTWARE
UB25 LINEAR DC RESISTANCE WELDING CONTROL
5-8 990-665
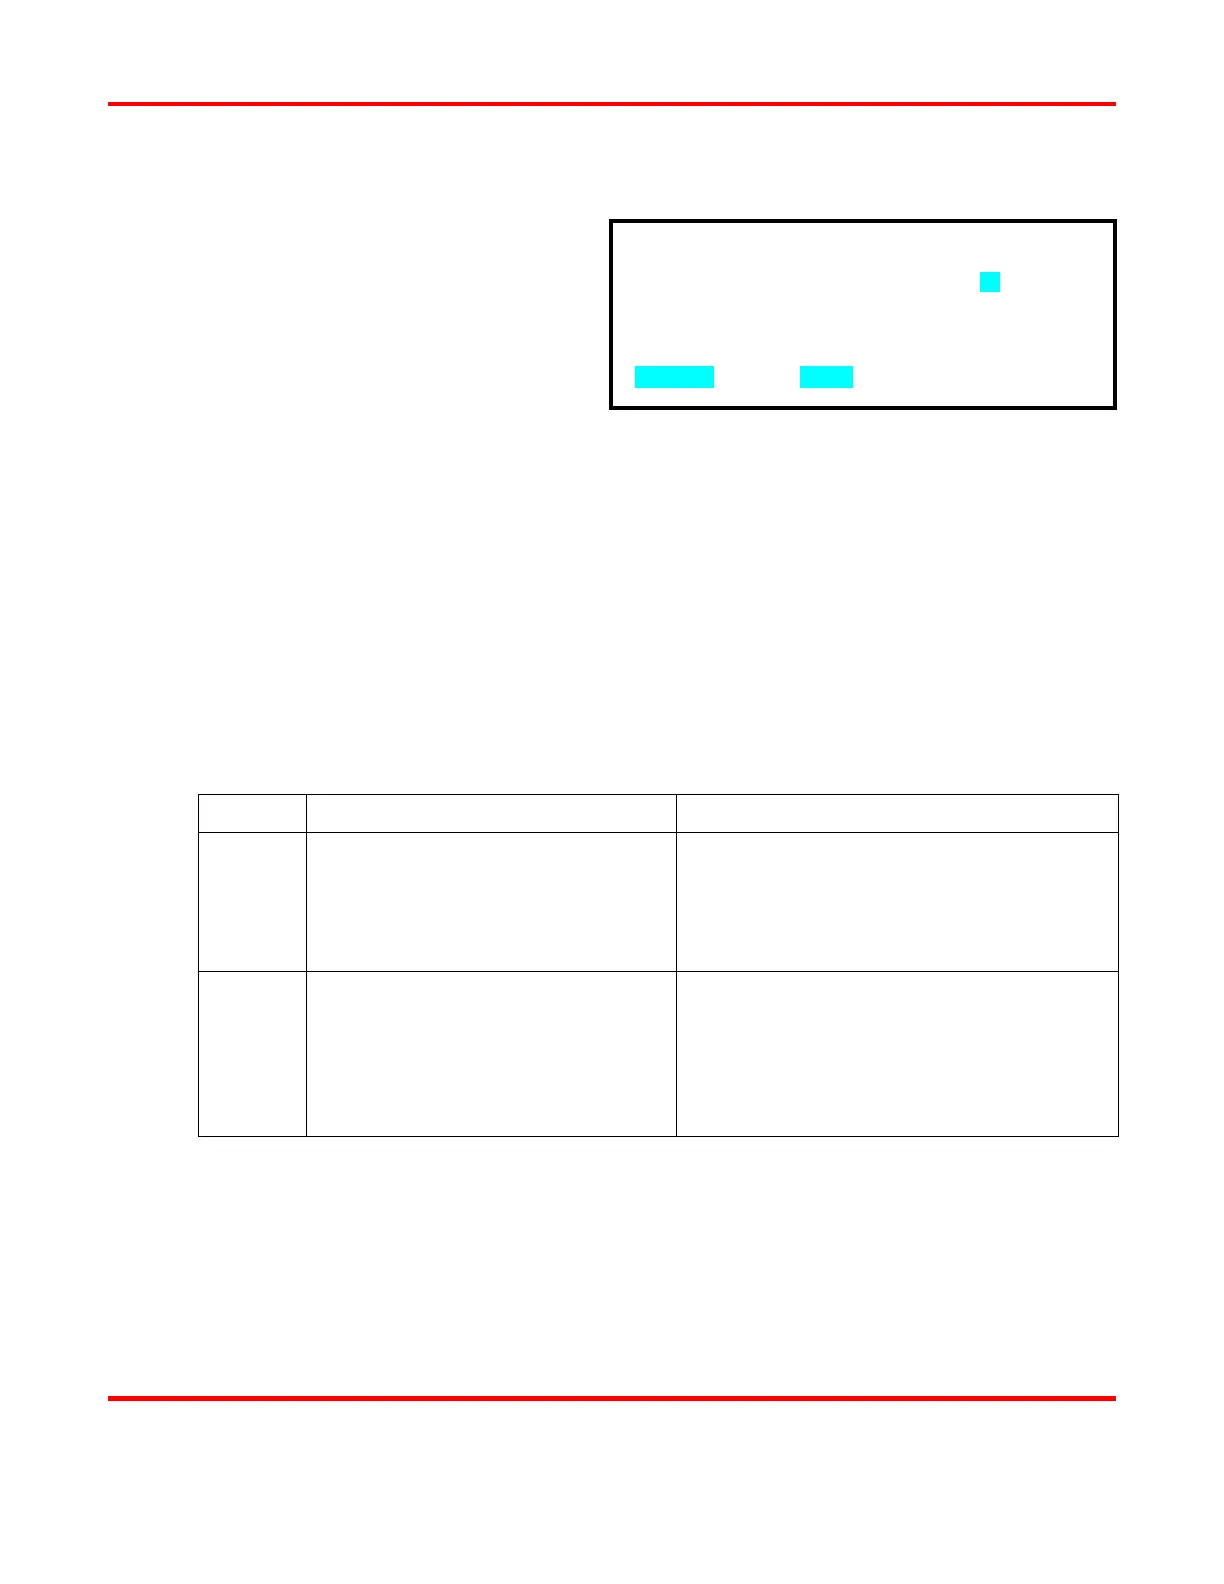
Weld Fire Lockout Charge % Setting
1 From the WAVEFORM CHECK menu,
press the 5 key to access the WELD
FIRE LOCKOUT screen.
2 Use the numeric keypad to enter the
required amount of energy in the
capacitor bank before the next weld is
allowed.
3 Press MENU
WAVEFORM CHECK menu. The
WELD FIRE LOCKOUT CHRG%
line will display your programmed
setting along with the actual %
CHARGE from the most recent weld.
Footswitch Weld Abort
1 Go to the SETUP 1 screen.
2 Press the 1 key to toggle between FOOTSWITCH WELD ABORT ON and FOOTSWITCH
WELD ABORT OFF.
STATE PREFERRED APPLICATION FUNCTION
ON
Human operated welding stations
where the operator holds parts.
Allows you to abort the weld process by
releasing the foot switch used with an air-
actuated weld head. Will also terminate the
welding sequence if the footswitch is opened
before the firing switch is initiated.
OFF
Computer or PLC controlled
welding stations. Also, for human
operated stations where tooling holds
the parts, and where the welding
sequence can be initiated with a single
momentary start pulse.
Once the footswitch (second level of a two
level footswitch) and firing switches have both
been closed
, the welding sequence will
continue to its conclusion regardless of
footswitch or firing switch position.
3 Keep pressing the MENU key on the front panel to return to the MAIN MENU.
WELD FIRE LOCKOUT CHRG%: 90
NUMBER Change, MENU Previous menu