CHAPTER 4: OPERATING INSTRUCTIONS
UB25 LINEAR DC RESISTANCE WELDING CONTROL
4-4 990-665
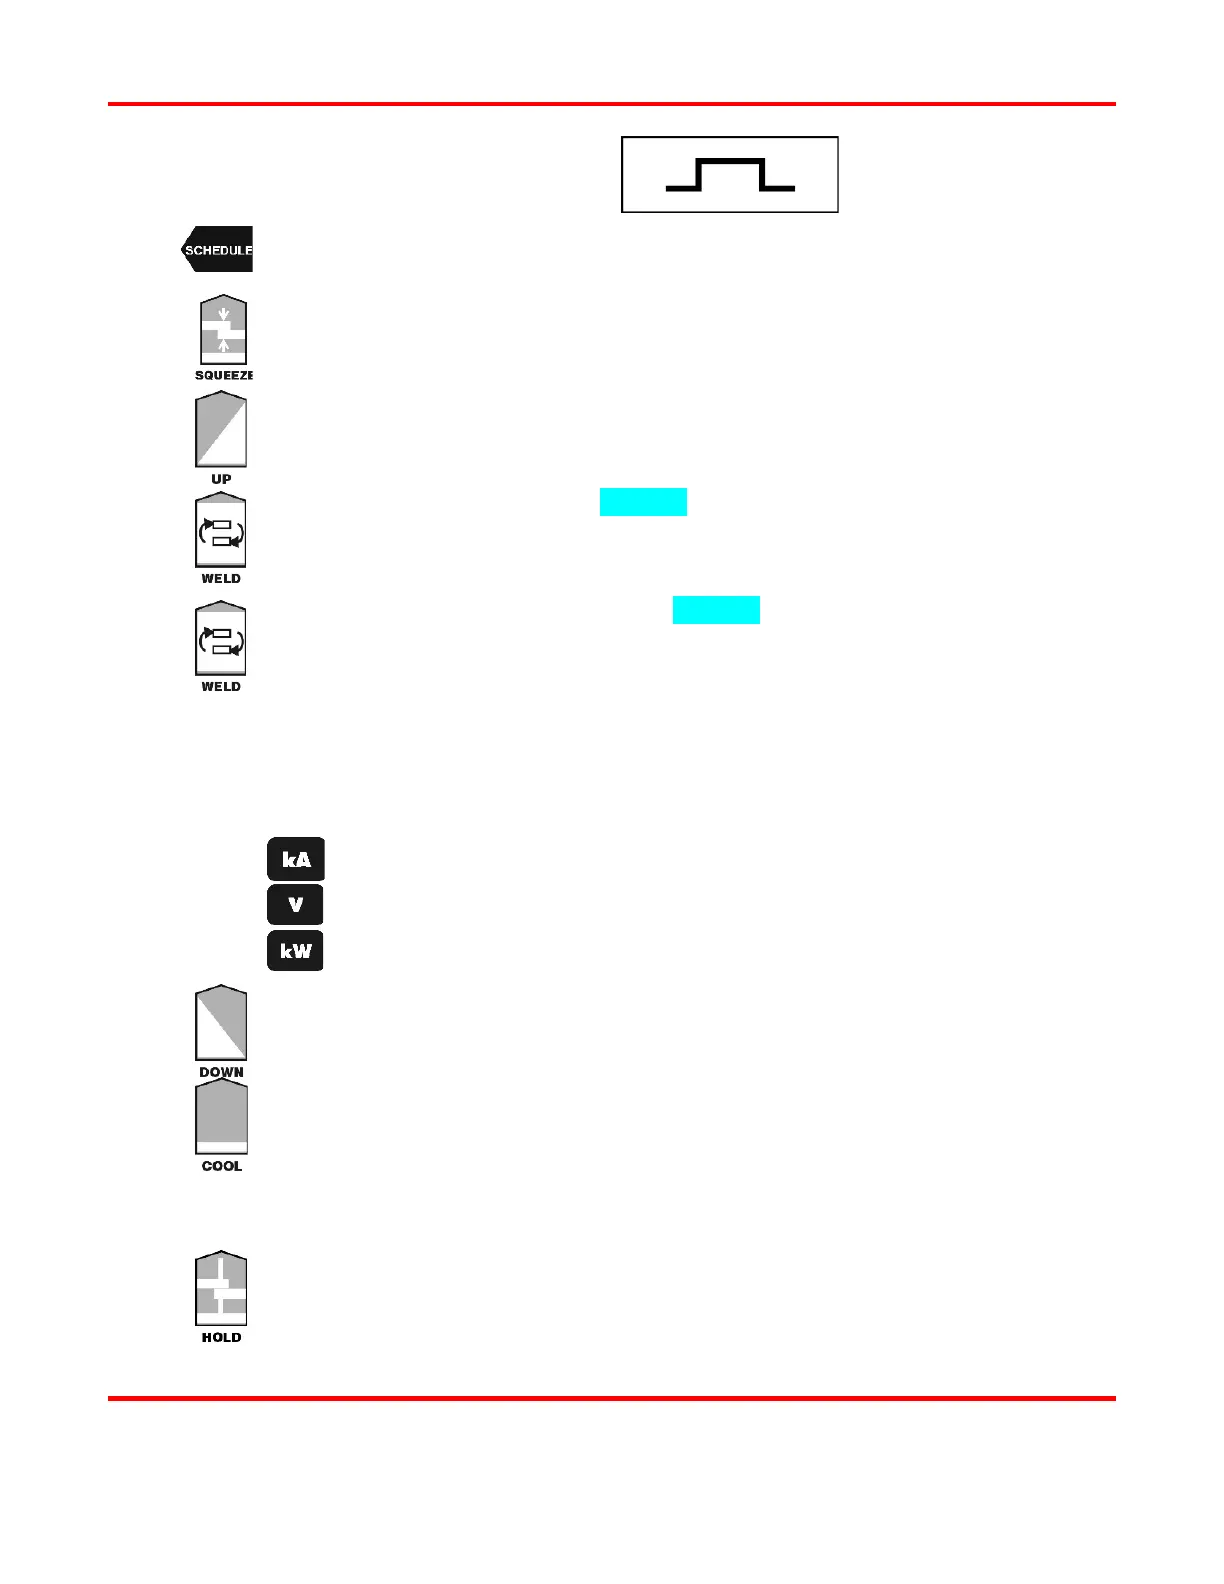
-Pulse Weld Schedule
Press the SCHEDULE button, then select a Weld Schedule using either the ▲▼ arrows
or the numeric keypad.
Press the SQUEEZE button to enter the squeeze time before the weld. Use the numeric
keypad to enter the time or use the ▲▼ arrows. Enter a time between 0 and
milliseconds. NOTE: We recommend 150 milliseconds.
Press the PULSE 1 UPSLOPE button to enter the amount of time for the Weld Pulse 1
upslope. Use the numeric keypad to enter the time or use the ▲▼ arrows. Enter
milliseconds.
Press the PULSE 1 WELD key to highlight the bottom line of the LCD to enter the weld
time. Use the numeric keypad to enter the time or use the ▲▼
between 0 and 99 milliseconds.
Press the PULSE 1 WELD key again to highlight the middle line of the LCD to enter
weld energy. Use the numeric keypad to enter the energy level or use the ▲▼
The Power Supply output ranges are:
Current: from 0.005
1.000 kiloamps.
Voltage: from 0.100
4.900 volts.
Power: from 0.050
4.900 kilowatts.
Perform one of the following:
Press the kA key to program current as the feedback mode.
Press the V key to program voltage as the feedback mode.
Press the kW key to program power as the feedback mode.
Press the PULSE 1 DOWNSLOPE key to enter the amount of time for the Weld Pulse
1 downslope. Use the numeric keypad or the ▲▼ arrows. Enter 0 milliseconds.
Press the COOL key to enter the amount of time for the cool period after Pulse 1. Use
the numeric keypad to enter the time or use the ▲▼ arrows. Enter 0.5 milliseconds.
Program Pulse 2 by repeating Steps 3 through 7 above using the keys for Pulse 2, entering the
value
0 in each step.
Press the HOLD key to enter the amount of time for the hold period after the weld. Use
the numeric keypad or the ▲▼ arrows. Enter a time between 0 and 999
We recommend at least 50 milliseconds as weld strength is formed in the hold time.