CHAPTER 5: SETUP SOFTWARE
UB25 LINEAR DC RESISTANCE WELDING CONTROL
5-2 990-665
Section II. How to Use Menu Screens
Main Menu
All of the Power Supplies programming functions
are accessed through the
MAIN MENU. To go to
MAIN MENU, press the MENU key on the
Power Supply.
Each menu screen lists several choices, with some
offering additional screens (sub
-menus) listing
Always look at the prompt at the bottom of each menu screen. These prompts vary from screen to screen,
but they all tell you what action to take, how to go to the next menu screen (if applicable), and how to return
to the MAIN MENU. Some prompts display NUMBER, which means that you should use the numeric
keypad to enter the number of a desired function listed on the menu. Some prompts display ▲▼ which
means that you should use the UP or DOWN keys on the front panel to take the next action. Other prompts
may highlight a specific key, which means you should press the key indicated to take the next action.
When using menu screens, you can return to the RUN screen at any time simply by pushing the RUN
button on the front panel.
Setup Menus
SETUP menus are accessed in sequence: MAIN MENU → SETUP 1 → SETUP 2 → SETUP 3.
1 From the MAIN MENU, press 1 to go to
the SETUP 1 menu.
2 To go to the SETUP 2 menu, press the
▼ (down) key.
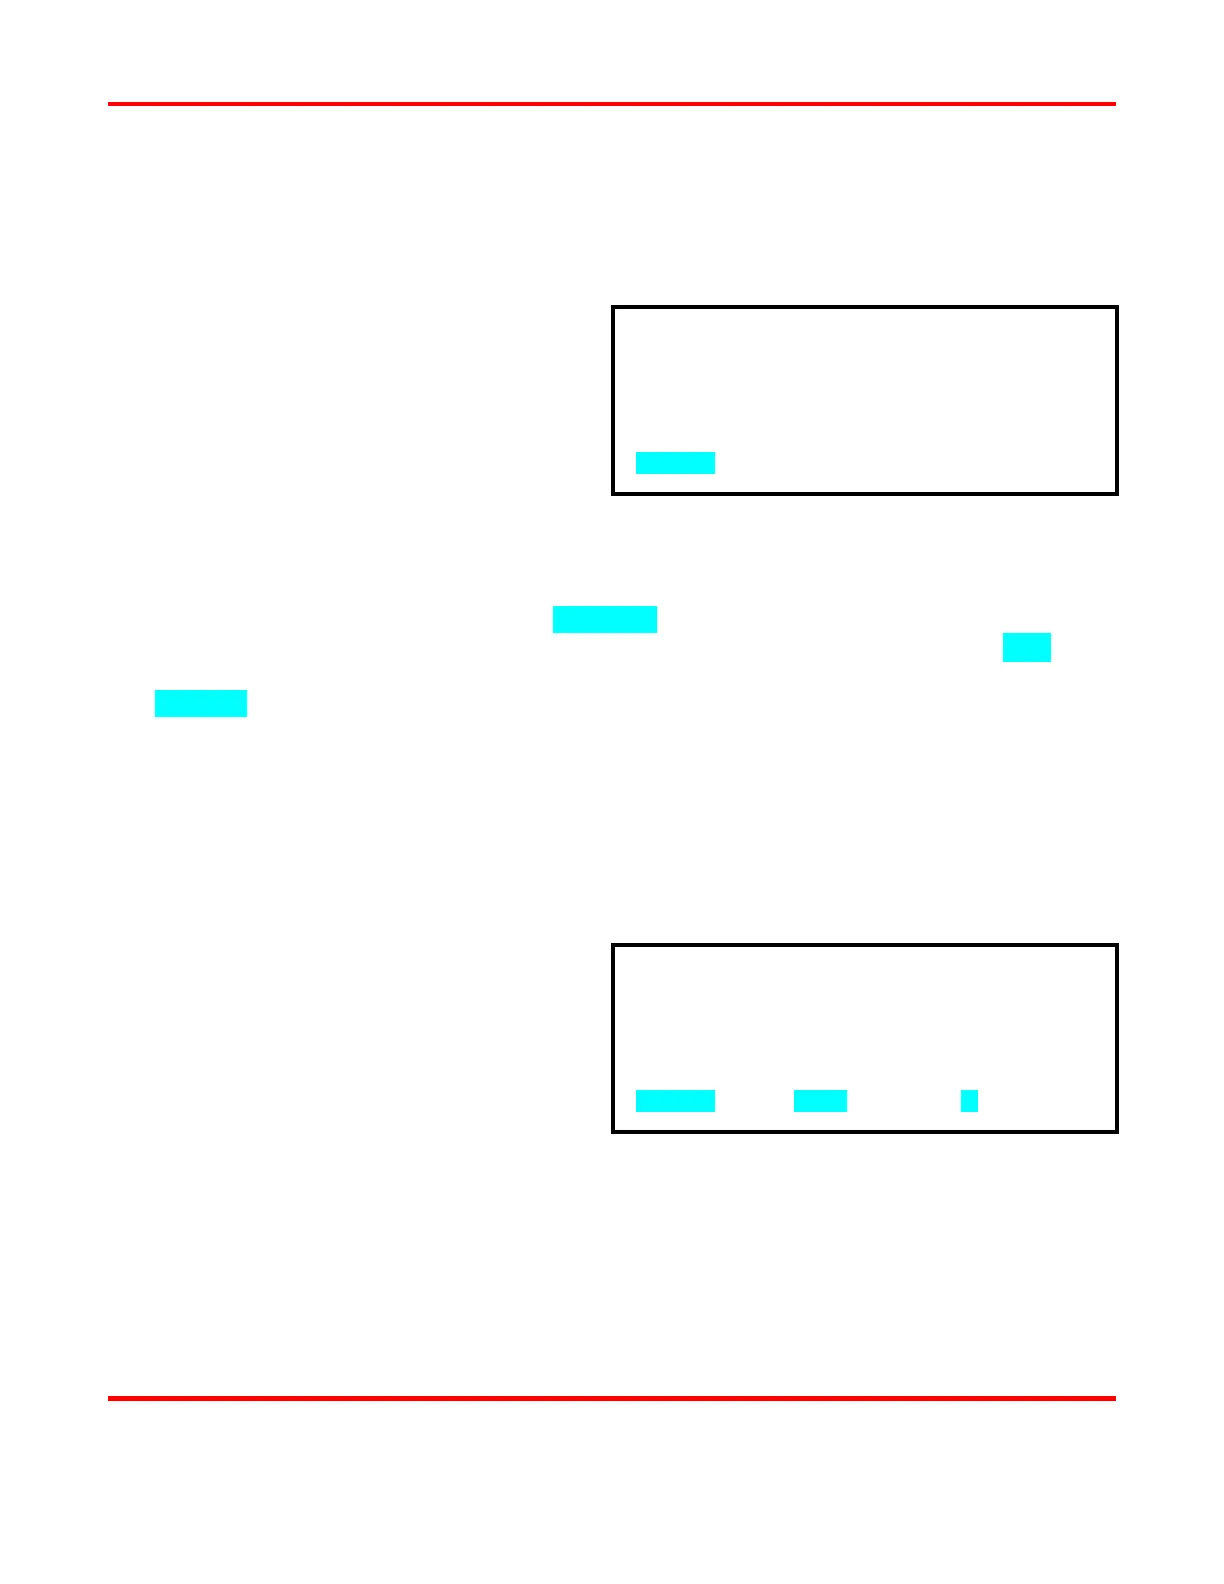
1. FOOTSWITCH WELD ABORT : OFF
2. SWITCH DEBOUNCE TIME : 10ms
3. FIRING SWITCH : AUTO
4. INPUT SWITCH SELECT : MECH OPEN
5. CONTROL SIGNALS SELECT : MECH OPEN
NUMBER Select, MENU Main menu, ▼ Page 2
0. WAVEFORM CHECK 5. COMMUNICATION
1. SETUP 6. RELAY
2. WELD COUNTER 7. CALIBRATION
3. COPY A SCHEDULE 8. RESET TO DEFAULTS
4. SYSTEM SECURITY 9. CHAIN SCHEDULES
NUMBER Select an item
 Loading...


