Controller / User Interface | 4-17
3. View the Devices & Log window. If the file restoration is successful,
the message “This new CFG has been restored successfully!” will be
displayed.
If the file that is being restored contains identical information as that
already saved to the analyzer’s EEPROM, the message “The restored
CFG is not new!” will be displayed in the Devices & Log window.
4. After the file restoration is complete, check the analyzer serial number
(on the General tab) to ensure it matches the analyzer serial number
(on the analyzer).
If the analyzer serial number is not displayed, enter it using the Con-
figurator Software:
a. Click Analyzer Info from the Setup tab.
b. In the Serial Number Update field, enter the password
“9xxsnupdate” (case sensitive) and click Update to view the Serial
Number Update dialog box.
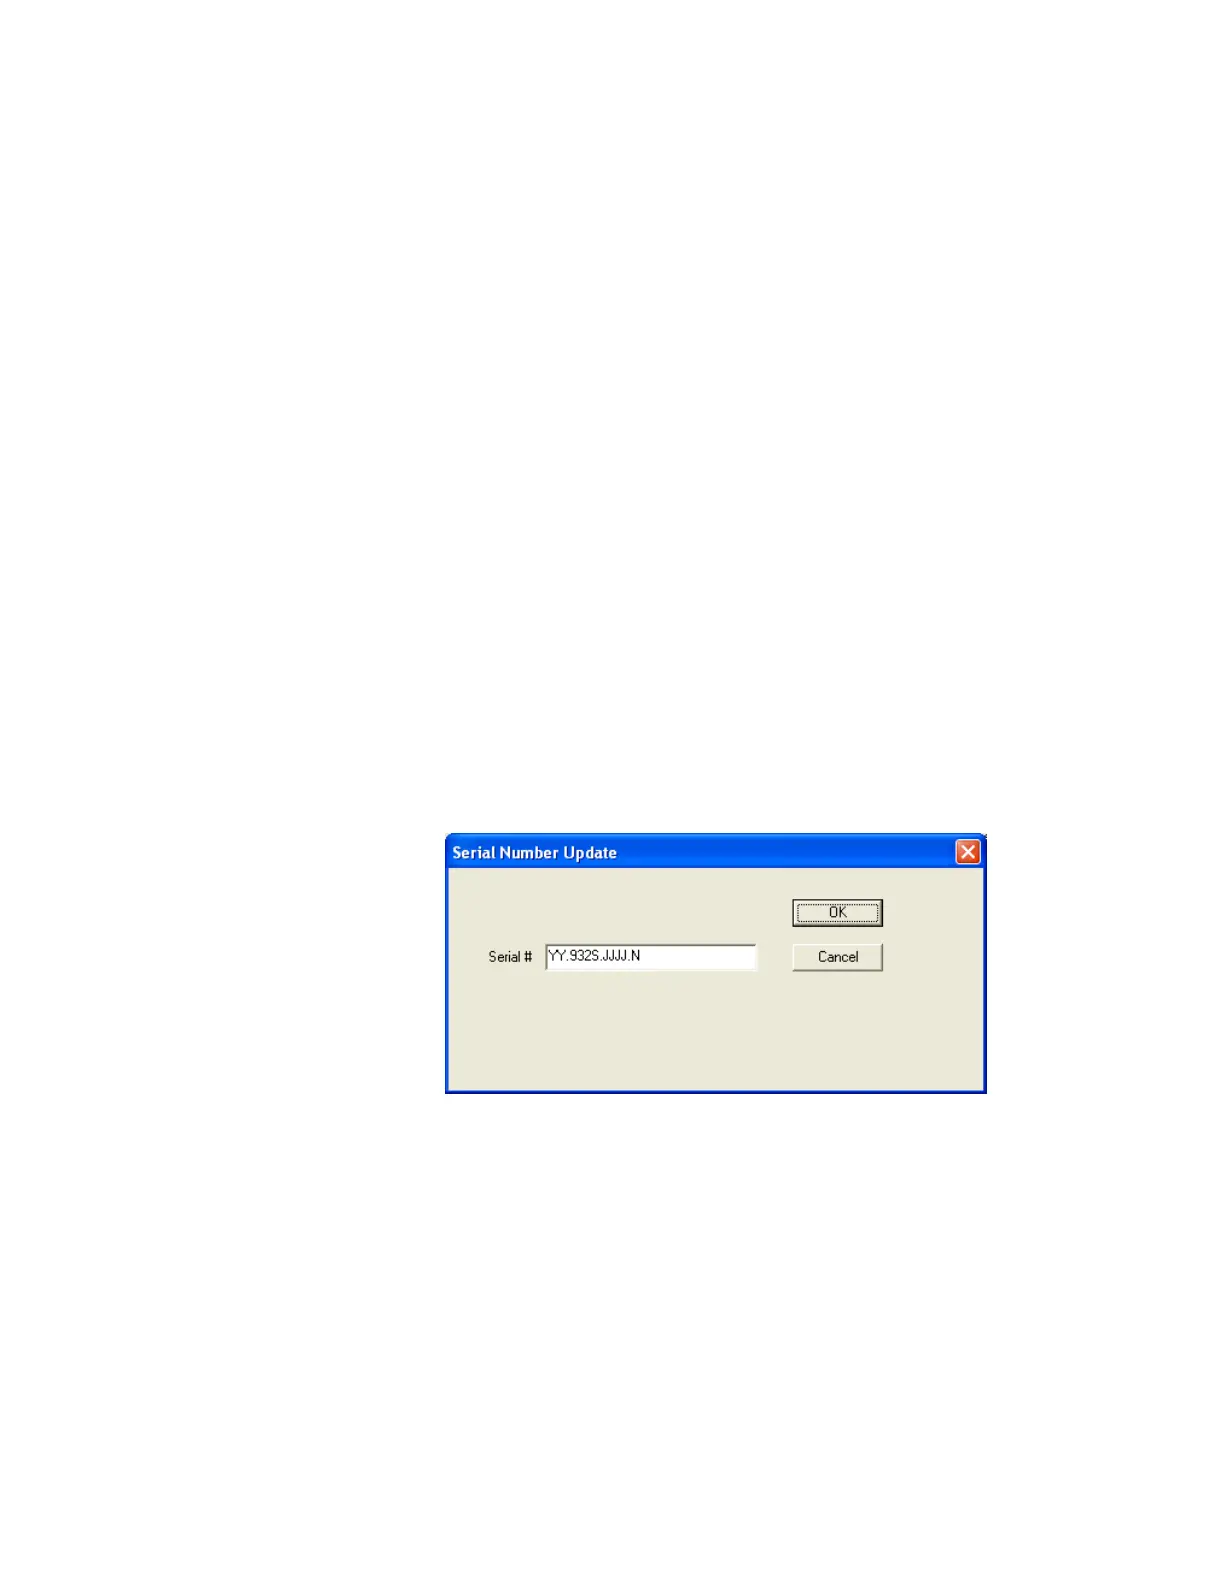
c. In the Serial # field, enter the analyzer serial number (found on
the analyzer backpan or with its documentation) and click OK
to save the serial number. Then, click the Save CFG to EEPROM
button on the Setup tab to save the change to the analyzer’s
EEPROM.
Figure 4-6.
Serial Number Update
dialog box.
 Loading...


