2 - 16
Chapter Two
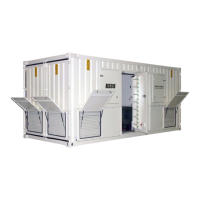
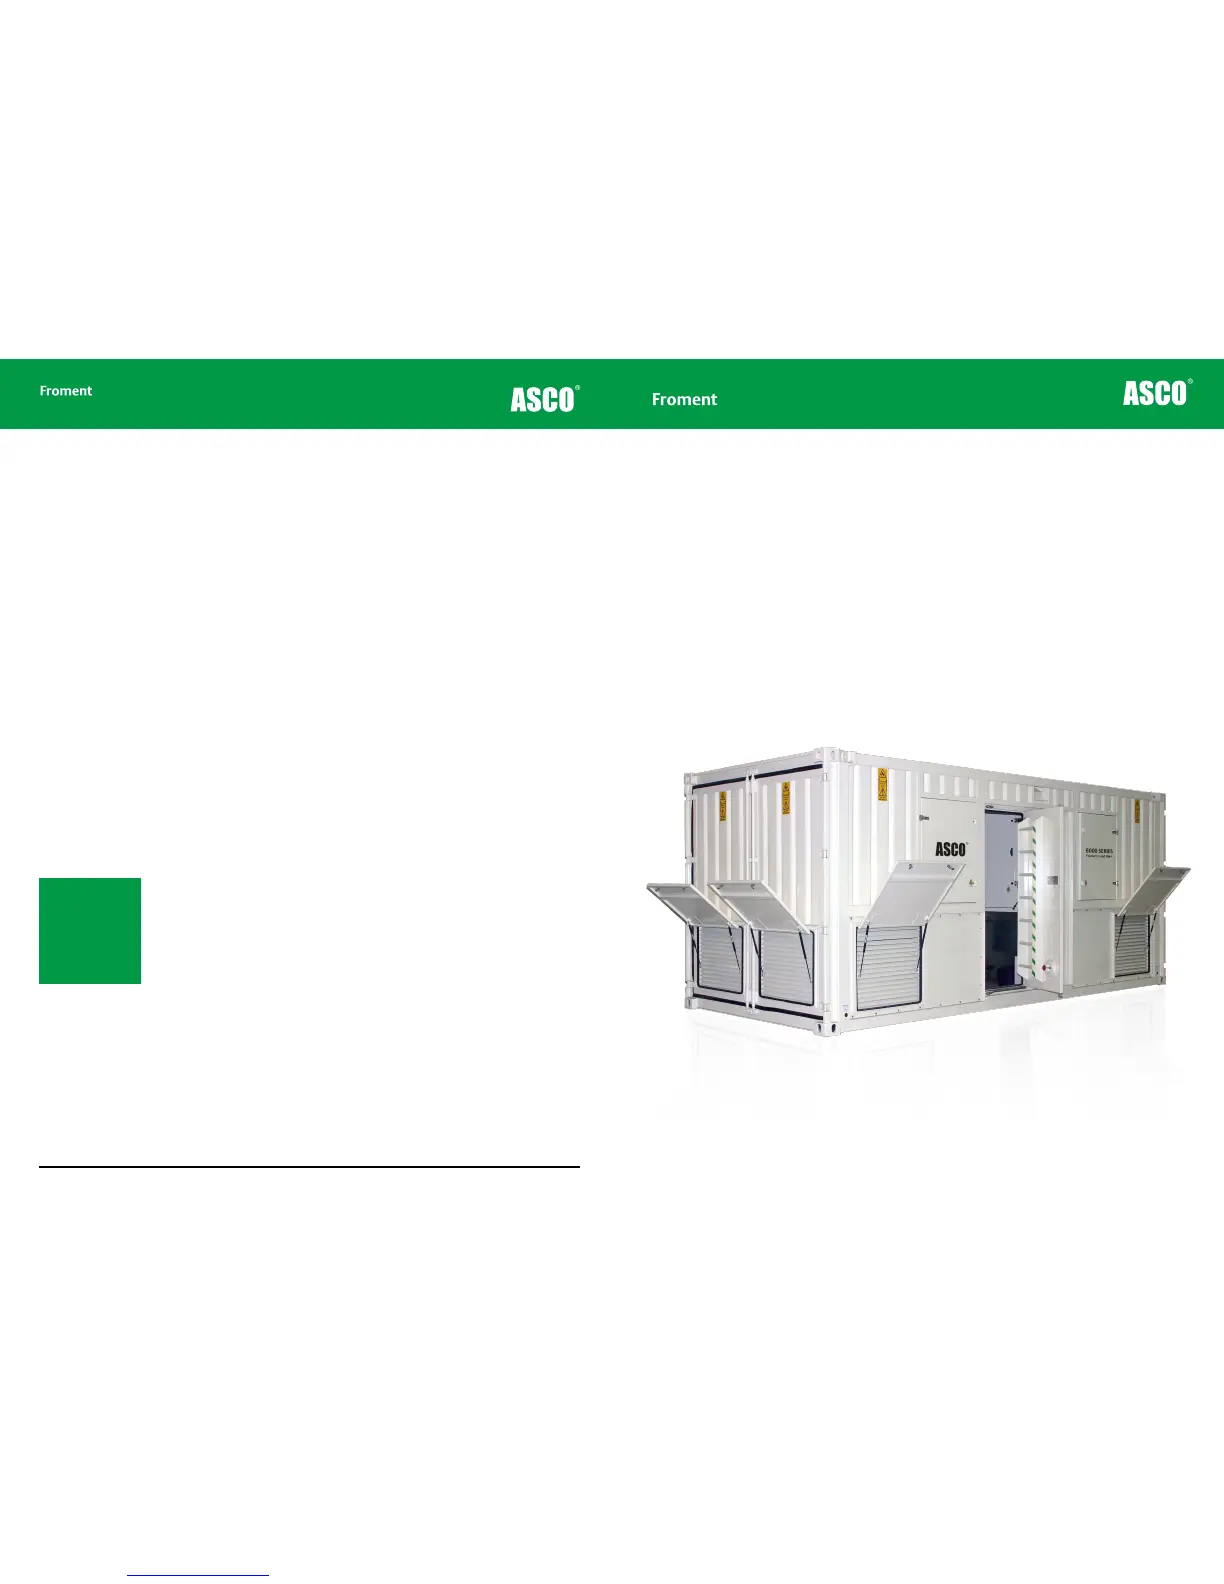
Commissioning
Before operating the load bank carry out the following three-stage commissioning
procedure.
Visual inspection and safety check. Inspect the load bank and ensure that:
• All terminations are secure and correctly wired.
• All cables are positioned and safely secured.
• All doors are closed and guards are in place and fixed.
• Packing material and loose items are removed from the area of the load bank to ensure
nothing is picked up by the airflow.
Verify control circuit and fan operation. Begin by checking the following:
• The Fan and Controls Supply Isolator is in the OFF position.
• The Supply-on-Test is isolated from the load terminals.
• The airflow path through the load bank is clear.
Switch on the external power supply to the fan and control circuit:
• Rotate the Fan and Controls Supply Isolator, to the ON position.
• Select the EXTERNAL position on the supply selection switch.
• Press the START button. The fan will start.
Check the fan rotation, which should result in airflow from the fan towards the heating
elements.
Press the STOP button - the fan will stop immediately. Rotate the Fan and Controls Supply
Isolator to the OFF position.
Troubleshooting
If the fan does not run as expected check the wiring connections and the status
of the external supply. If there is no obvious problem with the installation refer to the
troubleshooting procedures in Chapter Five.
Note: The fans can
be configured to start
automatically on load.
Using the Hand-held
controller select zero
load, and press the
green I key. The fans
will then start.
Chapter Three
Load Bank Operation
This chapter explains how to operate the load bank’s local control panel. It describes the function of
each control and explains the operation of the status indicator lamps. It then provides specific examples
of how the control panel is used to carry out a load function test and how it can be used to operate the
load bank when an external control system (such as the Sigma Hand-held) is not available.