To set a custom IP address
1 Obtain the IP address, subnet mask, and default gateway address for the controller from the facility
network administrator.
2 On the controller setup Ports tab under IP Port, select Custom Static.
3 Enter the IP Address, Subnet Mask, and Default Gateway addresses that the network
administrator gave you.
4 Click Save.
To set a default IP address
Default IP addressing assigns the following to the controller:
• IP address = 192.168.168.x
where x is the setting on the rotary switches in the range from 1 to 253
• Subnet Mask = 255.255.255.0
• Default Gateway = 192.168.168.254
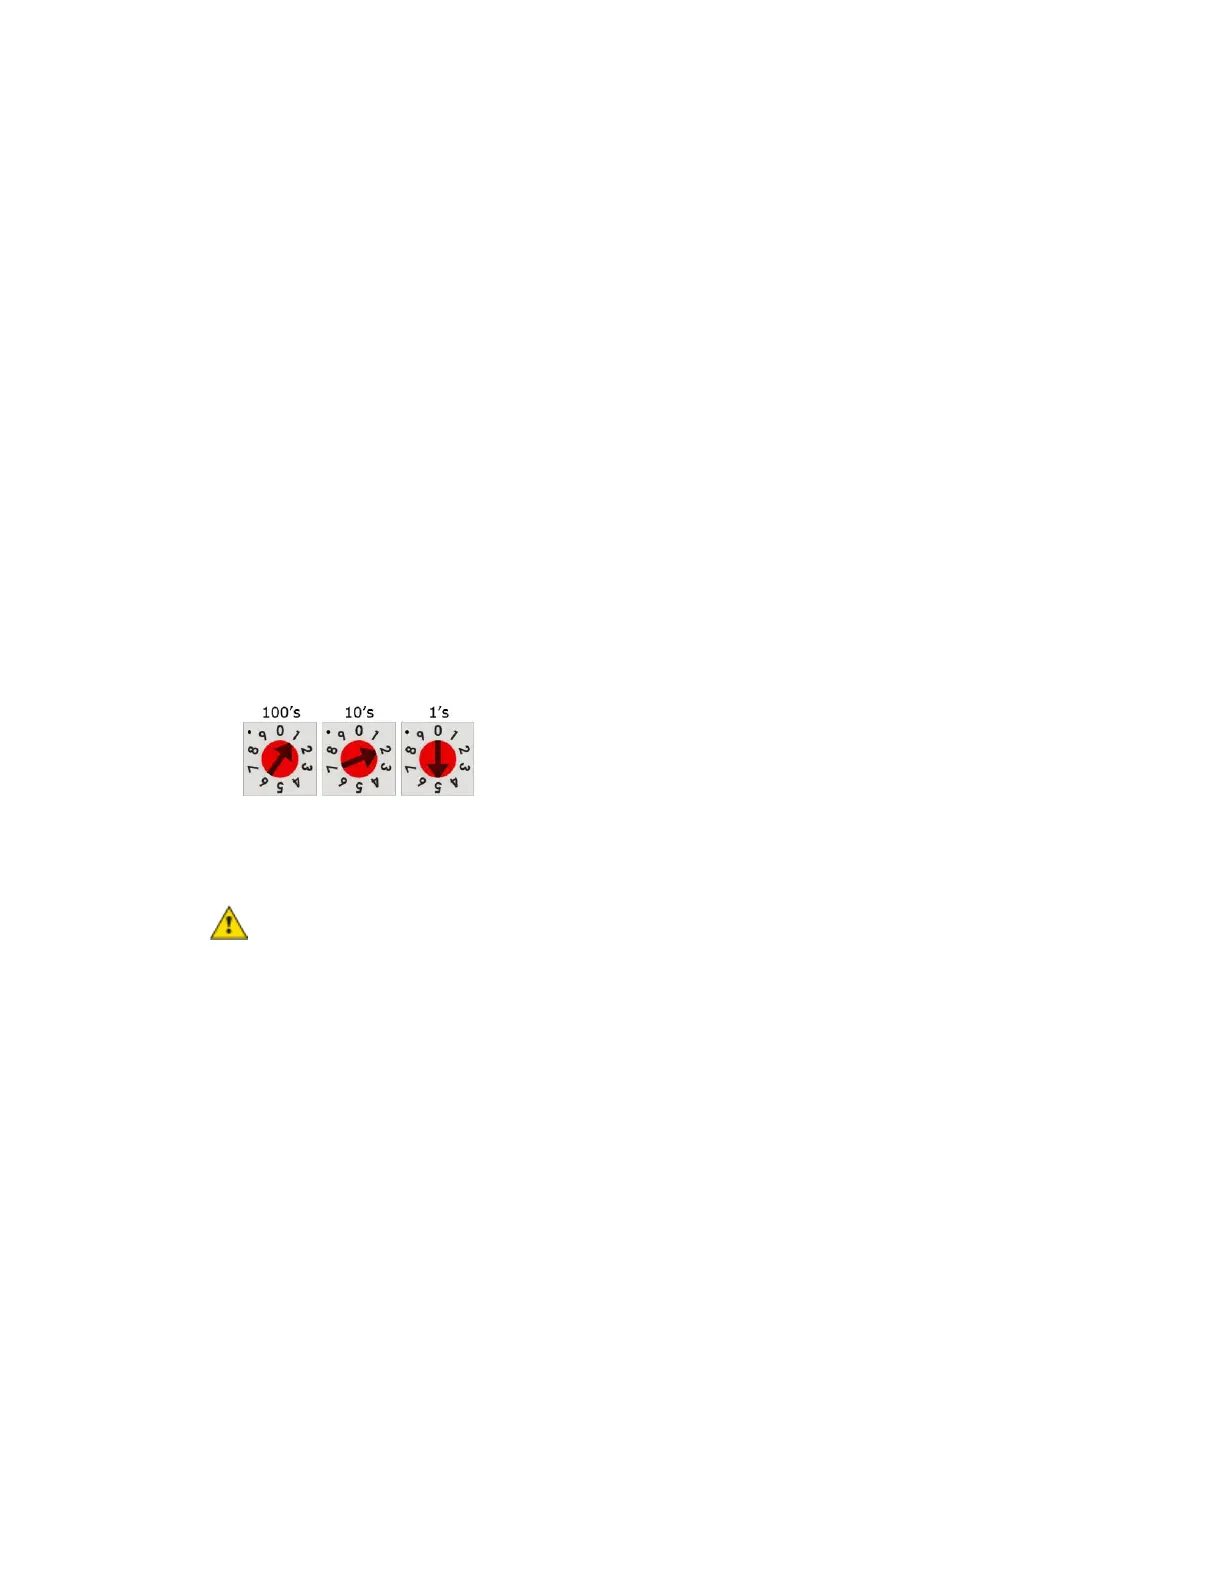
1 Set the controller's three rotary switches to a unique address on the network. Set the left rotary
switch to the hundreds digit, the middle switch to the tens digit, and the right switch to the ones
digit.
EXAMPLE The switches below are set to 125.
2 On the controller setup Ports tab under IP Port, select Default IP Address.
3 Click Save.
CAUTIONS
• If you are using Port S1, the rotary switches also determine that network's address. Although the
ARCNET address range is 1 to 255, the Default IP address range is 1 to 253. Setting the rotary
switches to 0 will set the Default IP address to 1. Setting the switches to 255 will set the Default IP
to 253. Do not set the switches to 254.
• If you set the Default IP address on the controller setup Ports tab and then change the rotary
switches, you must do one of the following to correct the IP address in the controller:
○ Go to the controller setup Ports tab and click the Update IP Address.
○ Cycle the controller's power.
You will then need to correct the IP address in SiteBuilder.
NOTE The default address is an intranet address. Data packets from this address are not routable to
the Internet.
 Loading...