133
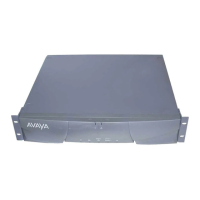
Install the Stratum 3 clock
October 2002
NOTE:
Set switches 1 and 2 according to the distance from the Stratum 3 clock to the S8700
Media Server for Multi-connect configuration. Set switch 3 to ON. Set switch 4 to OFF.
Cable the Stratum 3 Clock
‘‘Typical Connections to Stratum 3 Clock’’ on page 133
shows typical connections to a Stratum
3 Clock cabinet. Connections are made through the yellow field cross-connect. A custom “Y”
cable (H600-274) connects the CSU to the DS1 circuit pack and taps off the input for the
Stratum 3 Clock. A resistor built into the cable to provide the necessary isolation between the
S8700 Multi-Connect configuration and the clock. The “Y” cable plugs directly into the CSU
and connects to standard cables for interface to the S8700 Multi-Connect configuration and the
yellow field on the MDF.
The H600-307 cable connects the S8700 Multi-Connect configuration end of the “Y” cable to a
DS1 circuit pack (shown as TN464/2464, TN722, or TN767). The B25A cable connects the
clock end of the “Y” cable to the yellow field on the MDF.
Typical Connections to Stratum 3 Clock

 Loading...


