S
sonyarodriguezAug 4, 2025
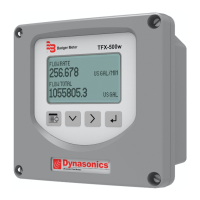
Why is my Badger Meter Measuring Instruments system showing no communication?
- CCindy ThompsonAug 4, 2025
If your Badger Meter Measuring Instruments system isn't communicating, there might be a few reasons: * The transmit and receive wires could be incorrectly wired: Inspect the network wiring from the meter. * The baud rate might not match the master: Ensure the meter's baud rate matches the master's. * Parity and stop bits may not match the master: Verify the settings are compatible with the master. * The slave address might not be unique: Check the addresses of other devices on the network. * The cable might not be terminated properly: For Modbus RTU on EIA-485 network, devices can be daisy chained together. * The cable or chain exceeds 4000 feet: For Modbus RTU on EIA-485 network, the network's full length cannot exceed 4000 feet.