INSTALLATION
Overview
Each of the installation steps that follow is explained in detail on page 11 through page 12 . The actual installation
procedures differ slightly, depending on whether the transducers are fixed or adjustable.
If the transducers are fixed, you will:
1. Install the transducers.
2. Install the transmitter.
3. Wire the transmitter.
4. Program the meter.
If the transducers are adjustable, you will:
1. Install the transmitter.
2. Wire the transmitter.
3. Set up the meter (select the optimum transmission mode, enter the site information, and enter the uid and
pipe properties).
4. Install the transducers.
5. Complete the meter programming.
Installation Considerations
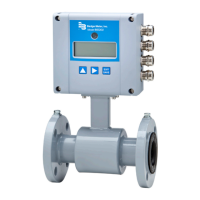
Mount the transmitter in a location:
• Where little vibration exists.
• That is protected from corrosive fluids.
• That is within the transmitters ambient temperature limits:
–4…140° F (–20…60° C); relative humidity 0…85%, non-condensing; altitude 2000 m max.
• That is out of direct sunlight. Direct sunlight may increase transmitter temperature above the maximum limit.
• That protects the oleophobic vent from materials that may plug or seal the vent.
Equipment Required
• Screwdrivers, wide blade and tiny blade (for securing wires to the terminal blocks)
• User manual for the transducers
• Four #8 or M4 screws, if mounting the transmitter on a wall
• Stainless steel banding straps, if mounting the transmitter on a pipe
Installing the Transducers
See the user manual for your particular transducer for installation instructions.
Installation
Page 10 October 2019TTM-UM-02222-EN-04

 Loading...
