4910 Power Supply Unit
11-3
Installing
Mounting
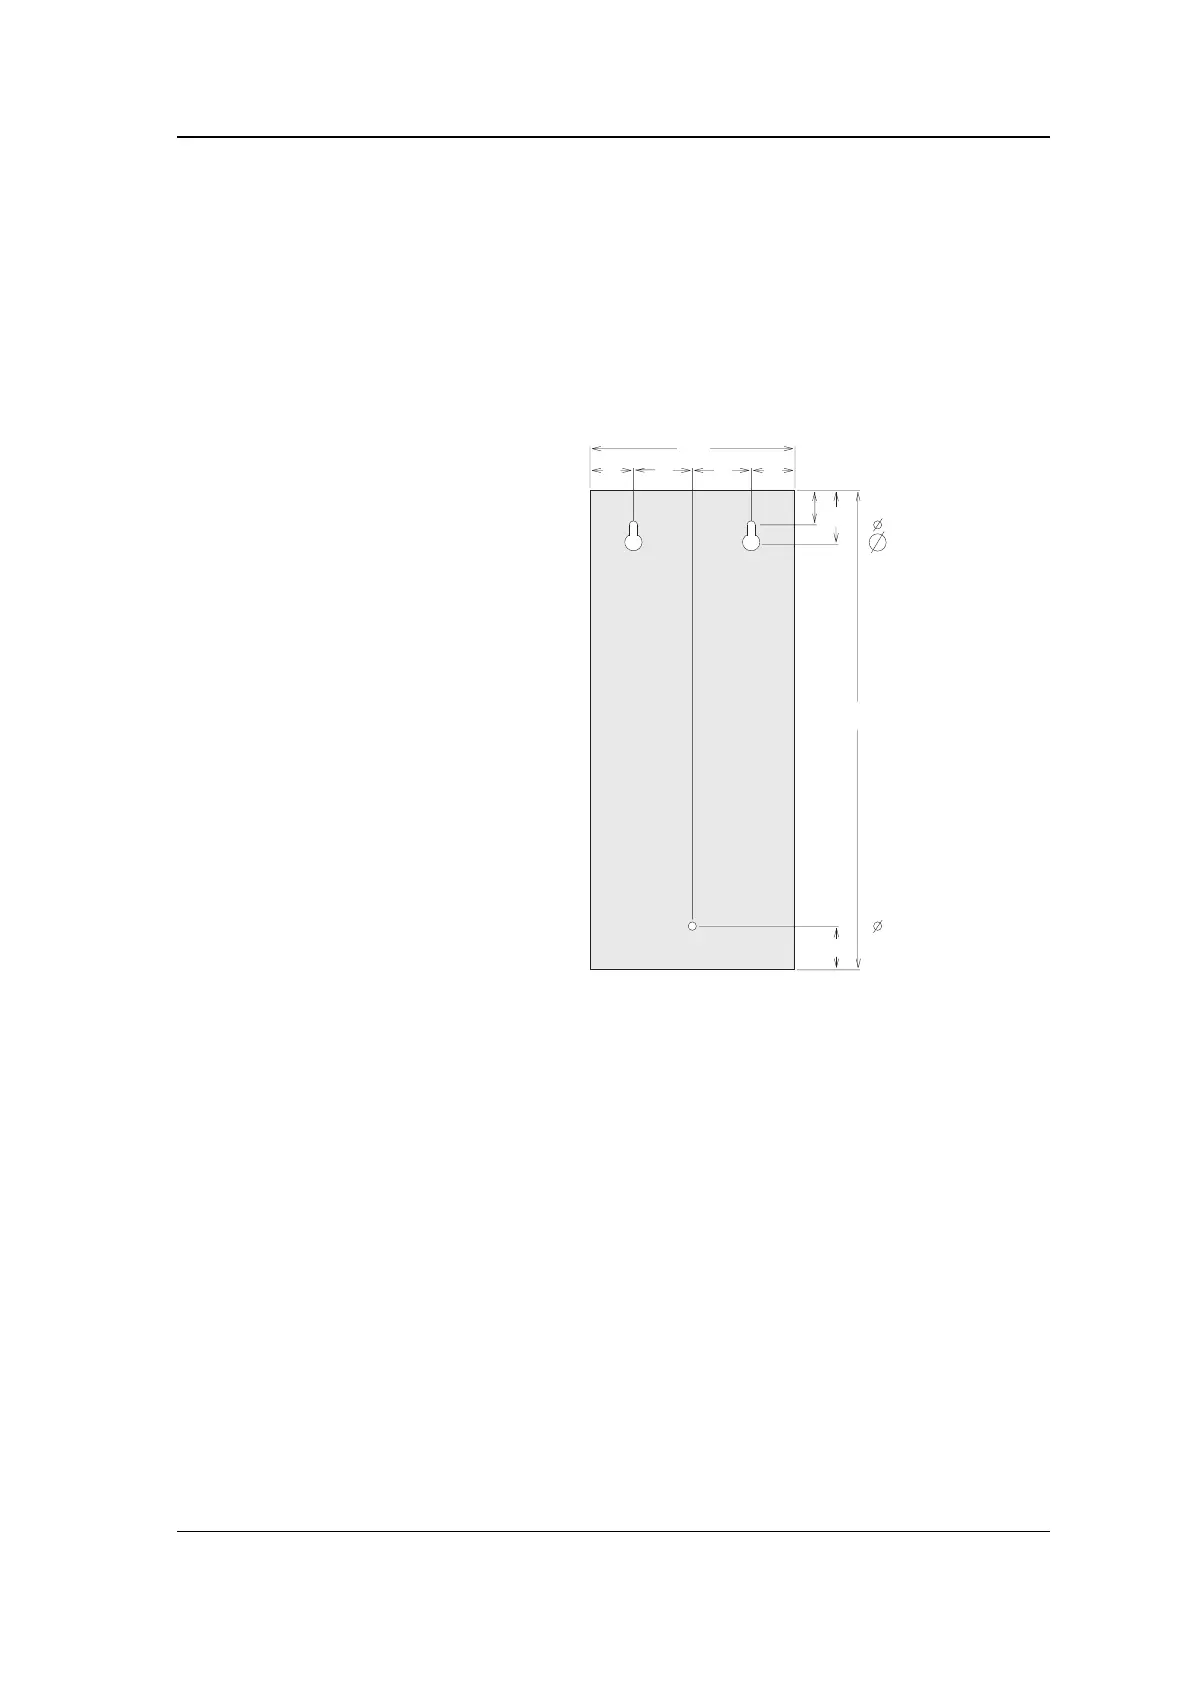
The PSU has three mounting holes in the rear of the case.
1. Remove the cover by loosening
the two fixing screws at the
bottom of the case, pulling it
out at the bottom and sliding
it up to disengage the lug at
the top of the case. Unplug
the earth cable from its spade
connector so you can remove
the cover completely.
2. To mount the base you must
first remove the chassis on
which all the components are
mounted. Unplug the earth
cable from the spade
connector on the base and
undo the six fixing screws
fastening the chassis to the
base. Lift the chassis up and
clear of the base.
3. Mark out and drill three
mounting holes for the cable
tray and screw it in position
on the wall, checking that the cable
entry points are accessible.
144
36
25
42 30
31
346
42
30
= 6
= 10
= 6
dimensions in mm
4. Check the mains input voltage as described on the next page, then replace
the chassis and reconnect the earth cable.