Steps
The 12” ET floor box is heavy (approximately 40 kg). Adhere to your
specific health and safety procedures.
Use the hooks to lift the box. Never use the angle frame.
3
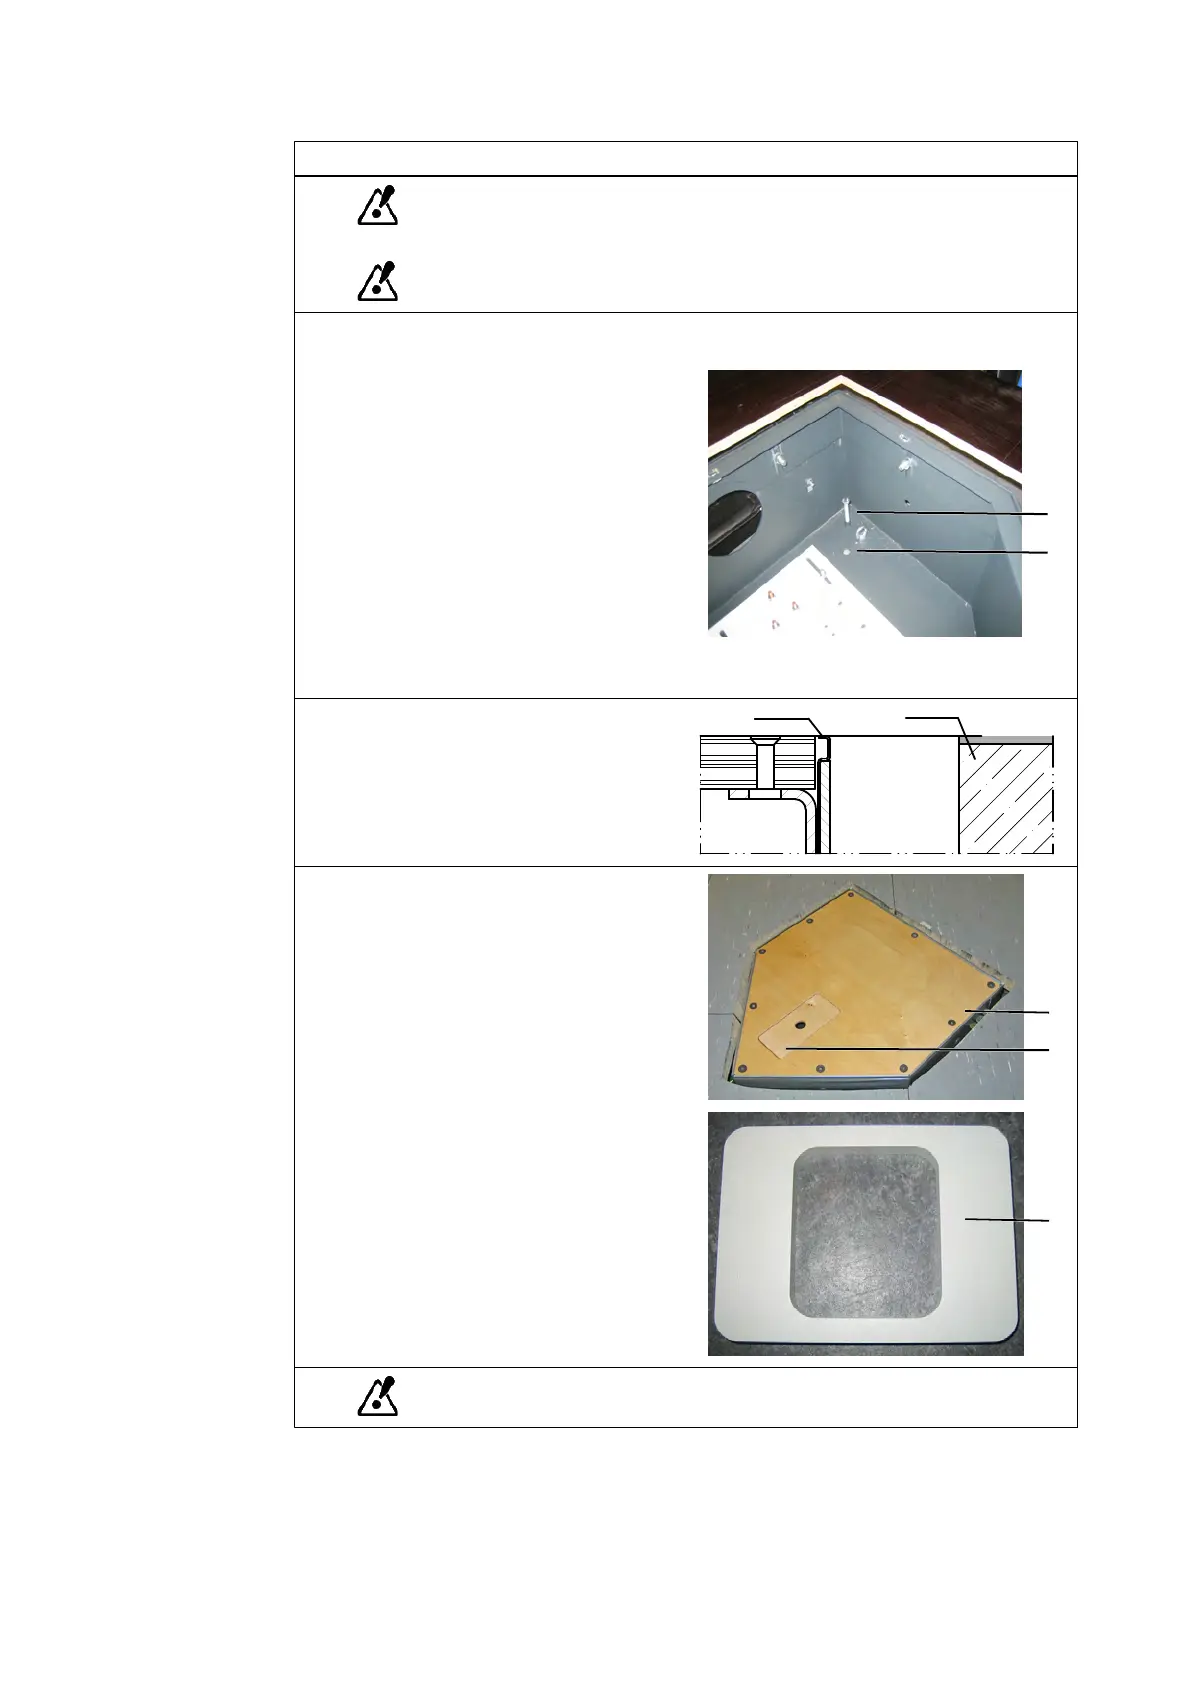
Use the adjustment screws ① to level
the floor box into the correct horizontal
position and to set the height of the floor
box within the recess.
Screw the floor box to the floor at the fix-
ation hole ② and if necessary to the
walls.
Leave the plastic bags with the screws
(for Sapphire tube housing) and the
sealing tape in the box. The screws will
be needed during installation.
NOTE: Small metal sheets can be
placed below the box to avoid that the
adjustment screws screw in the con-
crete. The metal sheets can be found in-
side the box.
4
After adjustment, the metal rim should
be flush with the finished floor.
finished floor
metal rim
concrete
5
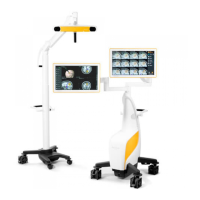
Place the wooden cover plate ① and the
wooden insert ② onto the box.
NOTE: Leave the aluminum window in-
sert ③ attached to the wooden cover as
it will be needed during installation. The
aluminum window insert is delivered in
bubble wrap.
You must fasten the wooden cover into place with screws.
12” Floor Boxes (Standard)
40 Site Planning Manual Rev. 1.0
ExacTrac Ver. 6.x