5.3.2 Ceiling Frame Installation
General Information
A ceiling frame is only necessary for concrete ceilings > 3.4 m.
The ceiling and intallation plates must be installed by experts in drilling and sawing
concrete. You are responsible for selecting fasteners in accordance with the “load factor”
tables (Ondal installation manual) and the safe execution of the fastening work.
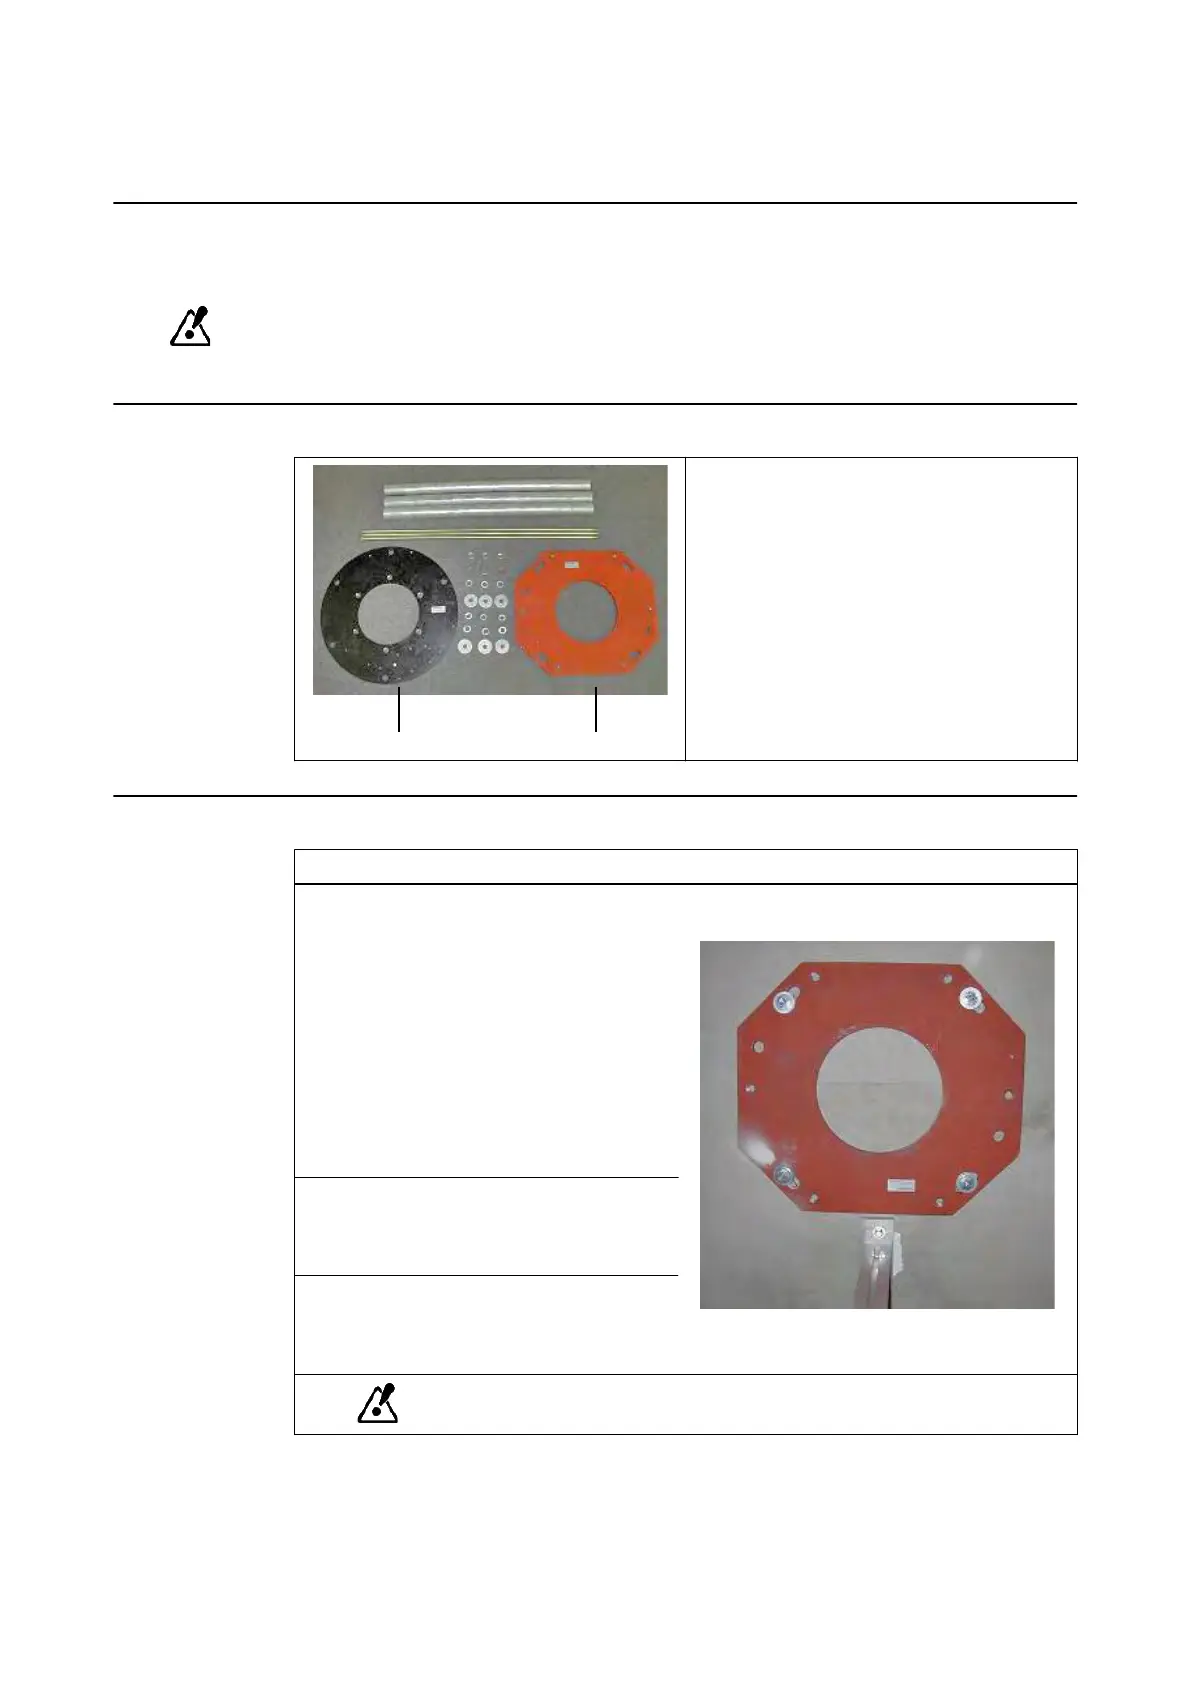
Contents of the Installation Package
• 1 ceiling plate (①, 26 kg)
• 3 threaded bolts: M16 x 900
•
3 tubes: outer Ø = 48 mm, length = 800 mm
• 6 fixing disks
• 6 spring washers
• 6 hexagon nuts: M16
• Washers
• 1 interface plate (②)
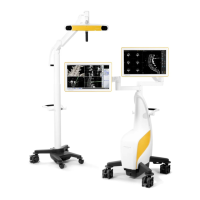
How to Install the Ceiling Frame
Steps
1.
Install the ceiling plate (or the interface
plate for low ceiling heights) to the con-
crete ceiling.
• Drill four holes using the drill pattern of
the plate (e.g., made of package mate-
rial).
•
Use four heavy-load anchors.
• Secure the plate using four fasteners
defined by your hospital’s stress ana-
lyst.
• Tighten fasteners according to their
specifications.
2.
Calculate the length of the tubes and
threaded bolts (+100 mm longer) and cut
to size in accordance with plane-parallel
and angular requirements.
3.
Screw the hexagon nut approximately 25
mm onto the threaded bolt and install the
spring washer, then screw on the upper
fixing disk.
Screw the threaded bolts in completely, otherwise the ceiling arm
can fall down.
CEILING AND WALL MOUNTS
Site Planning Manual Rev. 1.0 ExacTrac Ver. 6.x 63