CLUTCH
KUKJE MACHINERY CO., LTD.
45
4. CHECKING, DISASSEMBLEING AND SERVICING
<3> DISASSEMBLING AND ASSEMBLING
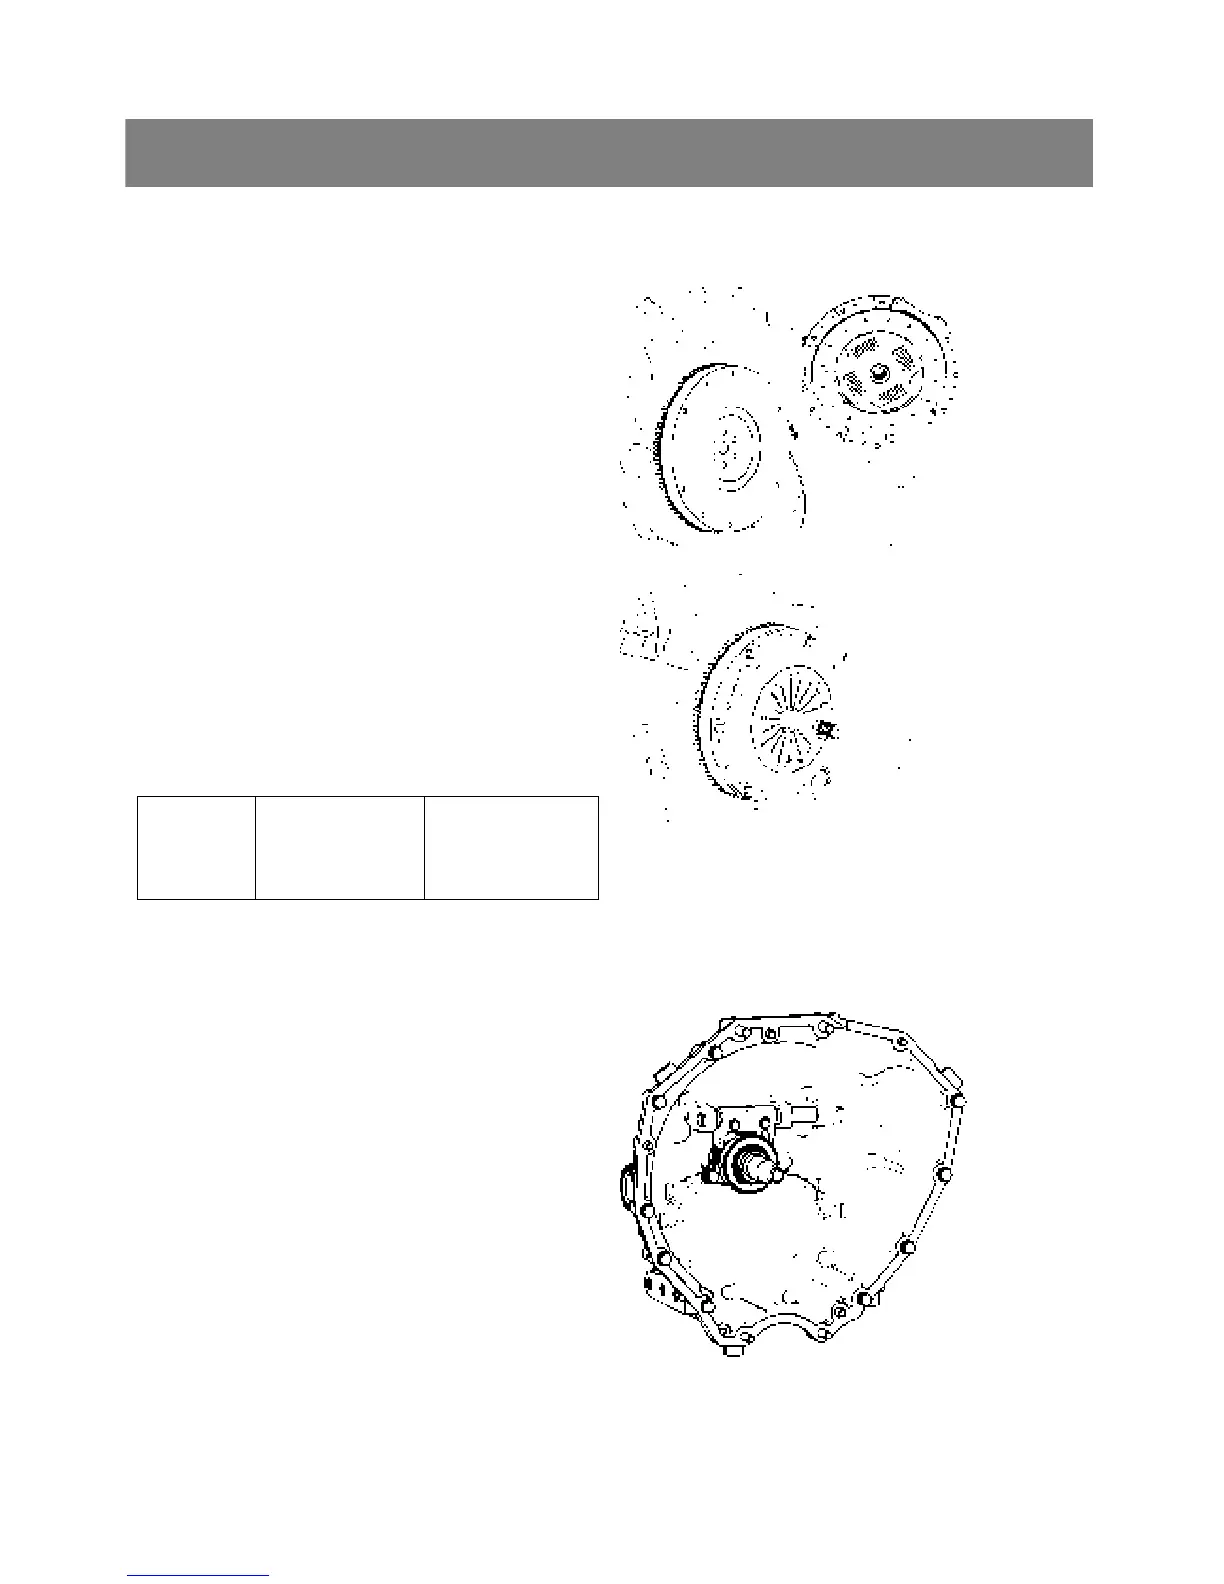
*. PART NAME
1) Clutch disc 2) Clutch assembly
3) Clutch cover 4) Clutch shaft
< Separating the clutch assembly >
1. Remove the clutch assembly(2) from the
flywheel.
▷ Reassembling
9 Direct the shorter end of the clutch disc boss
toward the flywheel.
9 Apply molybdenum disulphide to the spline of
clutch disc boss.
9 Install the pressure plate, noting the position of
straight pins.
◈ Important
¾ Align the center of clutch disc and flywheel by
inserting the clutch center tool.
▶ NOTE
1) Do not allow grease and oil on the clutch disc
facing.
Tightening
Torq ue
Clutch mounting
screw
23.5 to 27.5 Nm
2.4 to 2.8 kgfm
17.4 to 20.2 ft-lbs
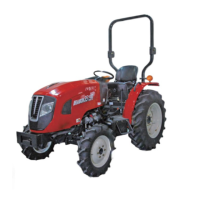
< Clutch rod and clutch release fork >
1. Remove the clutch pedal rod.
2. Remove the external snap ring at the end of
clutch rod(1) and remove the clutch release
fork(2) and release bearing(3) with release hub.
▷ Reassembling
9 Set the clutch release fork and release hub with
set spring(4) in the correct direction.
*. PART NAME
1) Clutch rod
2) Clutch release fork
3) Release bearing 4) Set spring
(1)
(3)
(2)
(4)
(2)
(1)
(4)
(3)