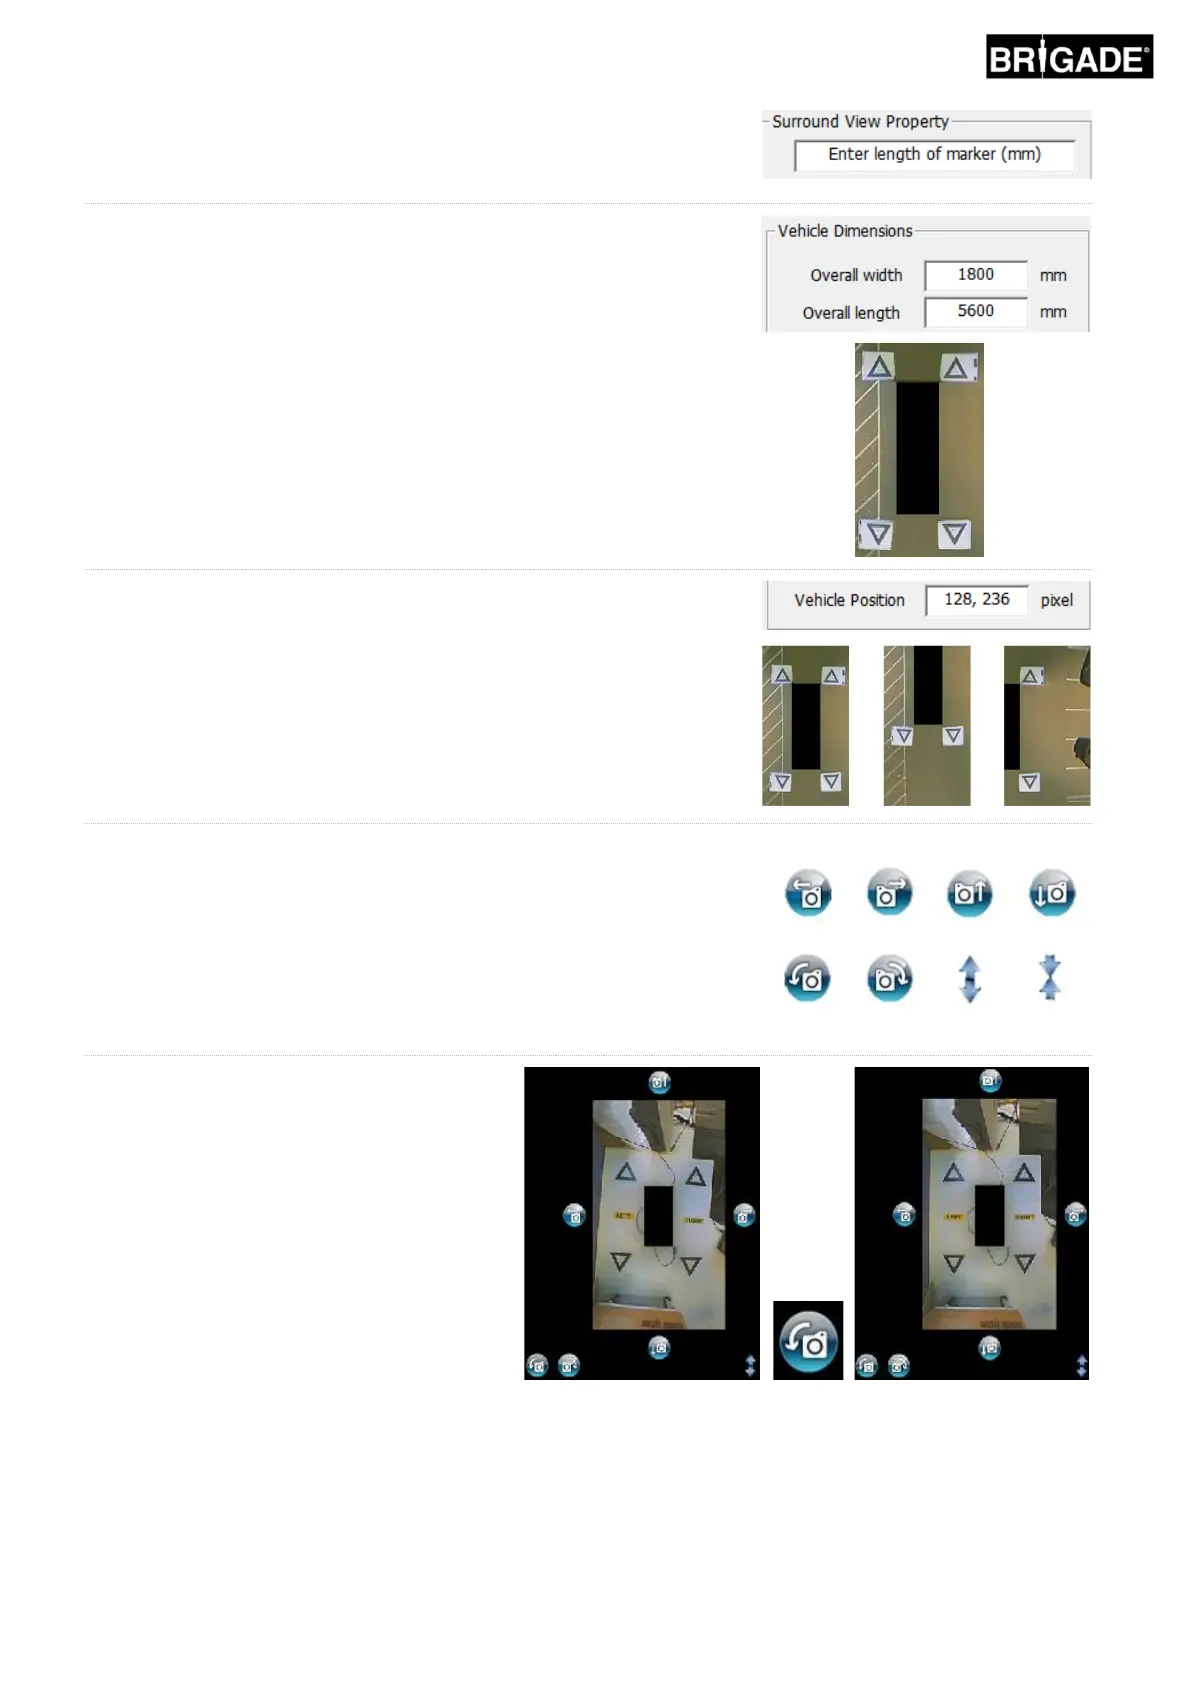
For standard Brigade Calibration Mats, the Length of Marker details do
not need to be changed (the default value is 1500mm). For Calibration
Mats that are not standard Brigade size, enter the width of the Calibration
Triangle here.
Set the Vehicle Dimensions to the dimensions of the vehicle used.
This does not need to be accurate, generally speaking the vehicle mask
(the black box where the vehicle is shown) should cover any red areas
that are the camera blind spots. The vehicle mask can be larger than the
vehicle, especially in cases where there are overhanging objects,
however these will create blindspots close to the vehicle body.
Note: For Configurations that have multiple 360° views these steps
will need to be repeated for each 360° view.
The default Vehicle Position is given as the center of the 360° surround
view image screen however this can be adjusted if required. This is
especially helpful in cases where only a portion of the vehicle is of
interest, e.g. for articulated vehicles where the action of the cab
articulating from the trailer would otherwise cause the surround view
image to heavily distort, in this example the vehicle position could be
moved so that only the side and rear of the vehicle is shown (a 270° view).
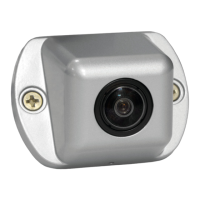
Once the vehicle position and size are correct the surround view image
can be rotated, moved horizontally/vertically, zoomed in/out to create the
most ideal view. Unlike the Vehicle Position setting this will not move the
vehicle mask, changing any of these settings will move the surround view
image behind the vehicle mask. These buttons can be used to make
minor adjustments to the surround view image however if larger
adjustments are required it is recommended to check the alignment of the
control points. The following steps describe the functions of each of these
buttons.
Rotational adjustments should be made
before making any horizontal or vertical
adjustments. Adjustments to the surround
view image need to be made before apply a
vehicle overlay.