98 Brocade MLX Series and NetIron XMR Hardware Installation Guide
53-1003821-01
Installing a Brocade MLX-32 router
2
5. Visually inspect the alignment of the router. If the router is installed properly, the mounting
screws on both sides rack should be aligned with the mounting screws on the opposite side
and the router should be level.
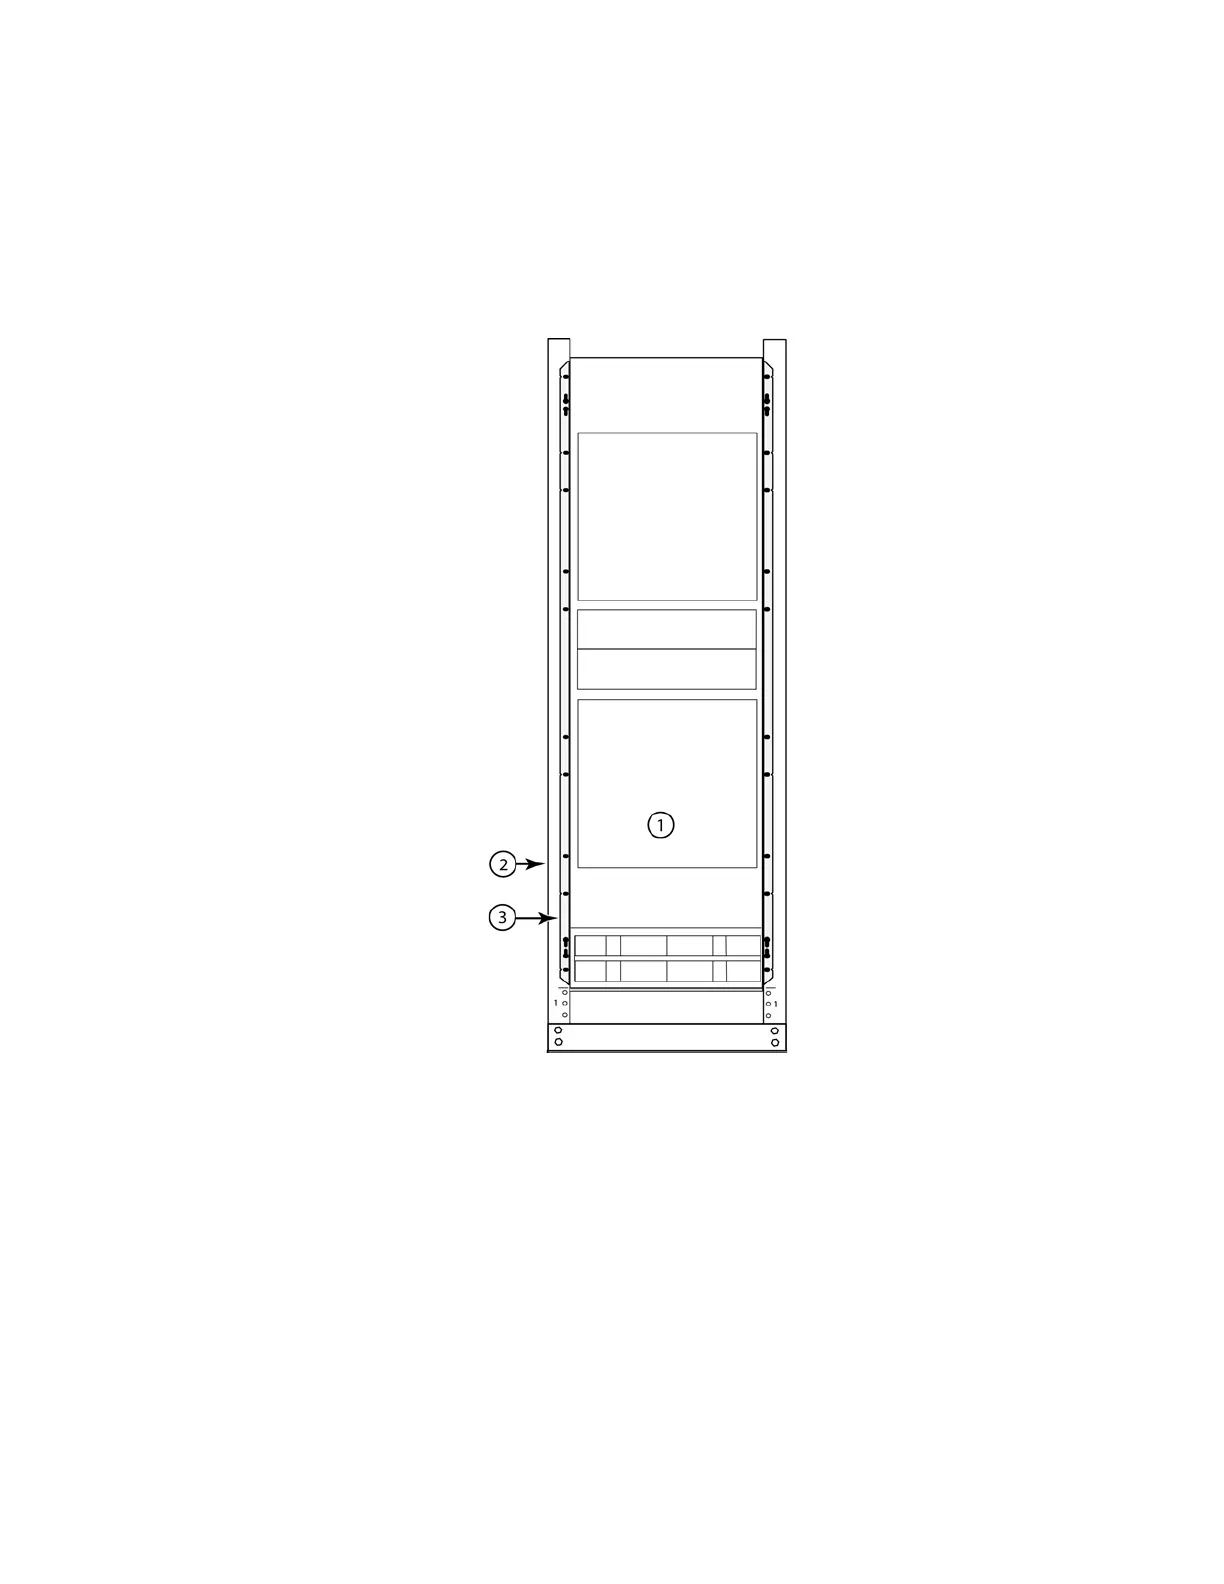
FIGURE 67 Secure the router to the rack
6. Remove the strap securing the router to the mechanical lift.
7. With two people in front and two people in back, slide the router into the rack.
8. For a mid-mount, remove the factory-installed mounting brackets from the front edges of the
device. Re-attach the mounting brackets to the center sides of the device using the pre-drilled
holes in the device. For a front-mount, use the brackets as they were installed at the factory.
9. If you are installing the router in a standard rack, install a mounting screw and a cage nut into
each of the holes on the rack posts aligned with the threaded holes in the spacer bars.
1 Router installed in open frame rack
2 Rack mounting poles
3Router mounting brackets
 Loading...
