19
Basic Guide
Before Use
Advanced Guide
1
Camera Basics
2
Auto Mode /
Hybrid Auto Mode
3
Other Shooting Modes
Tv, Av, and M Mode
6
Playback Mode
7
Wi-Fi Functions
8
Set-Up Menu
9
Accessories
10
Appendix
Index
4
P Mode
5
Tv, Av, M, and C Modes
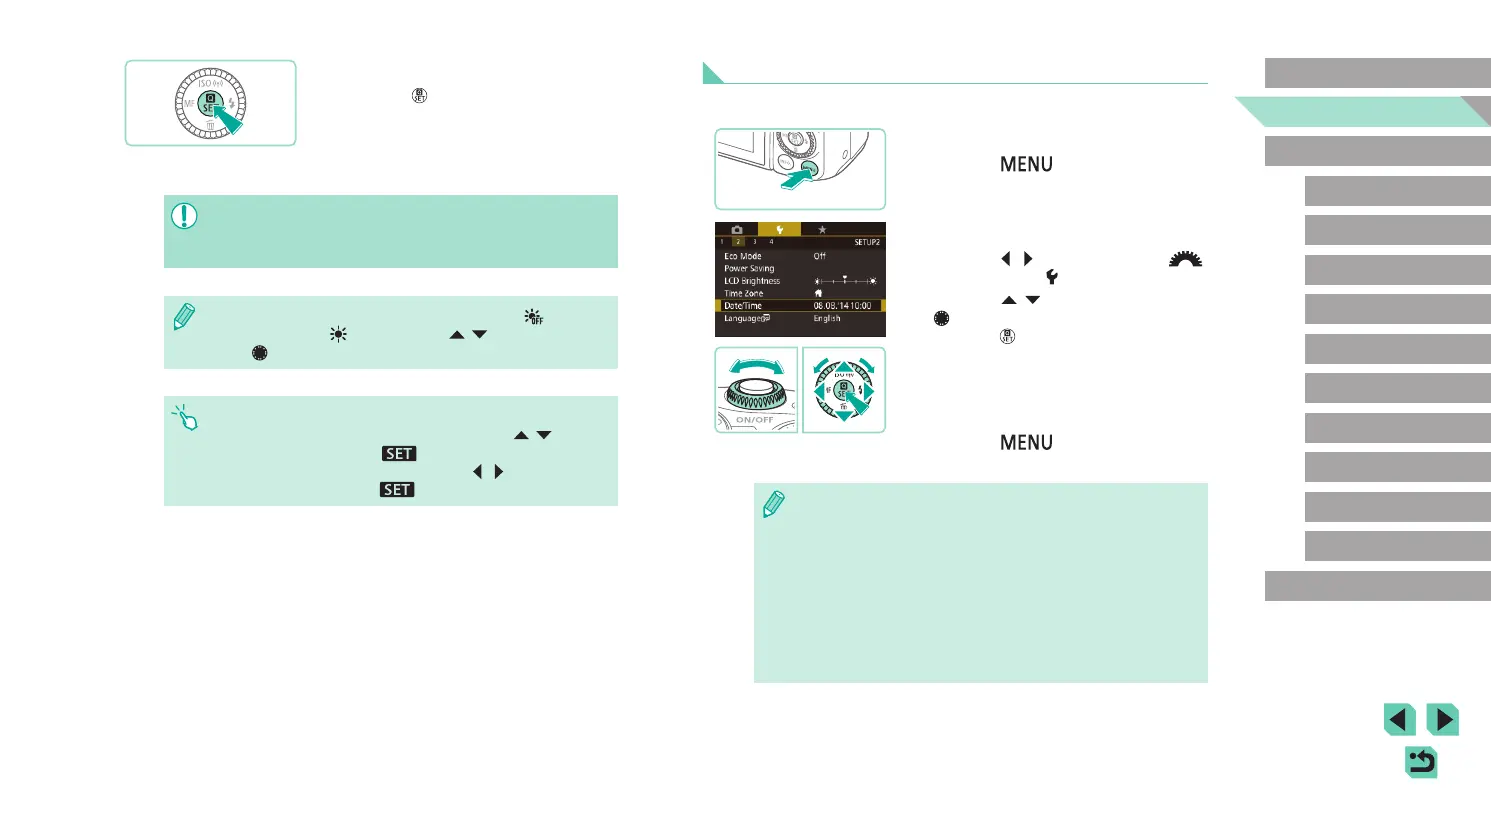
Changing the Date and Time
Adjust the date and time as follows.
1
Access the menu screen.
● Press the [ ] button.
2
Choose [Date/Time].
● Press the [ ][ ] buttons or use the [ ]
dial to select the [ 2] tab.
● Press the [
][ ] buttons or turn the
[ ] dial to choose [Date/Time], and then
press the [ ] button.
3
Change the date/time.
● Follow step 2 in “Setting the Date and
Time” (
=
18) to adjust the settings.
● Press the [
] button to close the
menu screen.
● The camera includes a built-in date/time battery (backup battery).
Date/time settings are retained for about 3 weeks after the battery
pack is removed.
● The date/time battery will be charged in about 4 hours once you
insert a charged battery pack or connect the camera to an AC
adapter kit (sold separately,
=
148), even if the camera is left
off.
● Once the date/time battery is depleted, the [Date/Time] screen will
be displayed when you turn the camera on. Set the correct date
and time as described in “Setting the Date and Time” (
=
18).
4
Finish the setup process.
● Press the [ ] button when nished.
After a conrmation message, the setting
screen is no longer displayed.
● To turn off the camera, press the power
button.
● Unless you set the date, time, and home time zone, the [Date/
Time] screen will be displayed each time you turn the camera on.
Specify the correct information.
● To set daylight saving time (1 hour ahead), choose [ ] in step 2
and then choose [
] by pressing the [ ][ ] buttons or turning
the [
] dial.
● You can also set the date and time by touching the desired option
on the screen shown in step 2 and then touching [
][ ] to
adjust values, followed by [
]. Similarly, to select your time
zone in the screen shown in step 3, touch [
][ ] to choose your
time zone and then touch [
] to conrm.















 To Next Page