COPYRIGHT
©
2000 CANON INC. 2000 2000 2000 2000 CANON iR5000/iR6000 REV.0 JULY 2000
CHAPTER 3 INSTALLATION
3-11 S
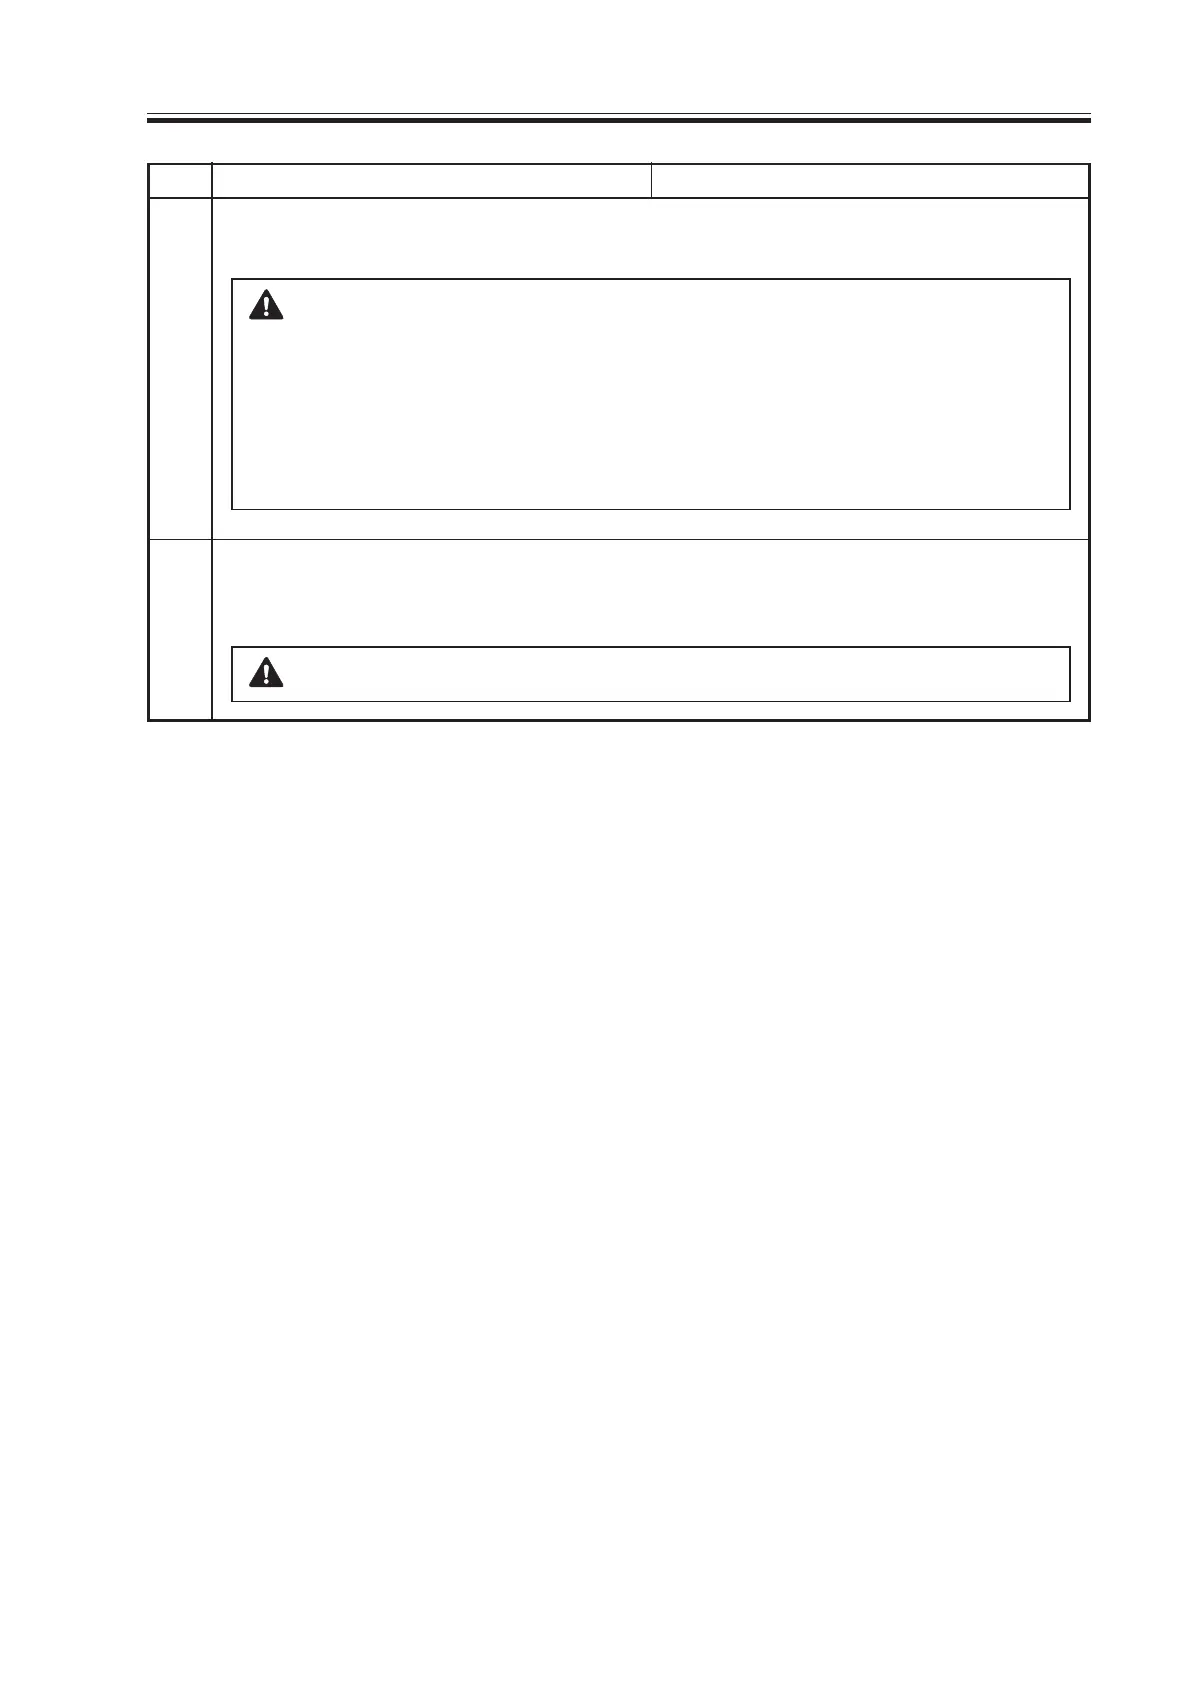
Insert the primary charging assembly and pre-transfer charging assembly; then se-
cure them in place.
1.If solvent was used for cleaning, check to make sure that it has evapo-
rated completely.
2.When inserting the pre-transfer charging assembly, be sure to push it in
horizontally in relation to the processing unit, thus avoiding damage to
the surface of the drum.
3.Check to make sure that the one-way arm of the pre-transfer charging as-
sembly is on the eccentric cam.
Close the hopper, and connect the connector of the hopper.
Fit and tighten the three screws, and mount the connector cover; then fit and tighten
the screw of the door tape and close the front door.
Be sure to connect the connector of the hopper.
Checks/remarks
Step
9
10
Work
Download Free Service Manual at http://printer1.blogspot.com
 Loading...