Managing the System
Applications
Cisco Small Business NSS300 Series Smart Storage Administration Guide 195
3
Server Settings
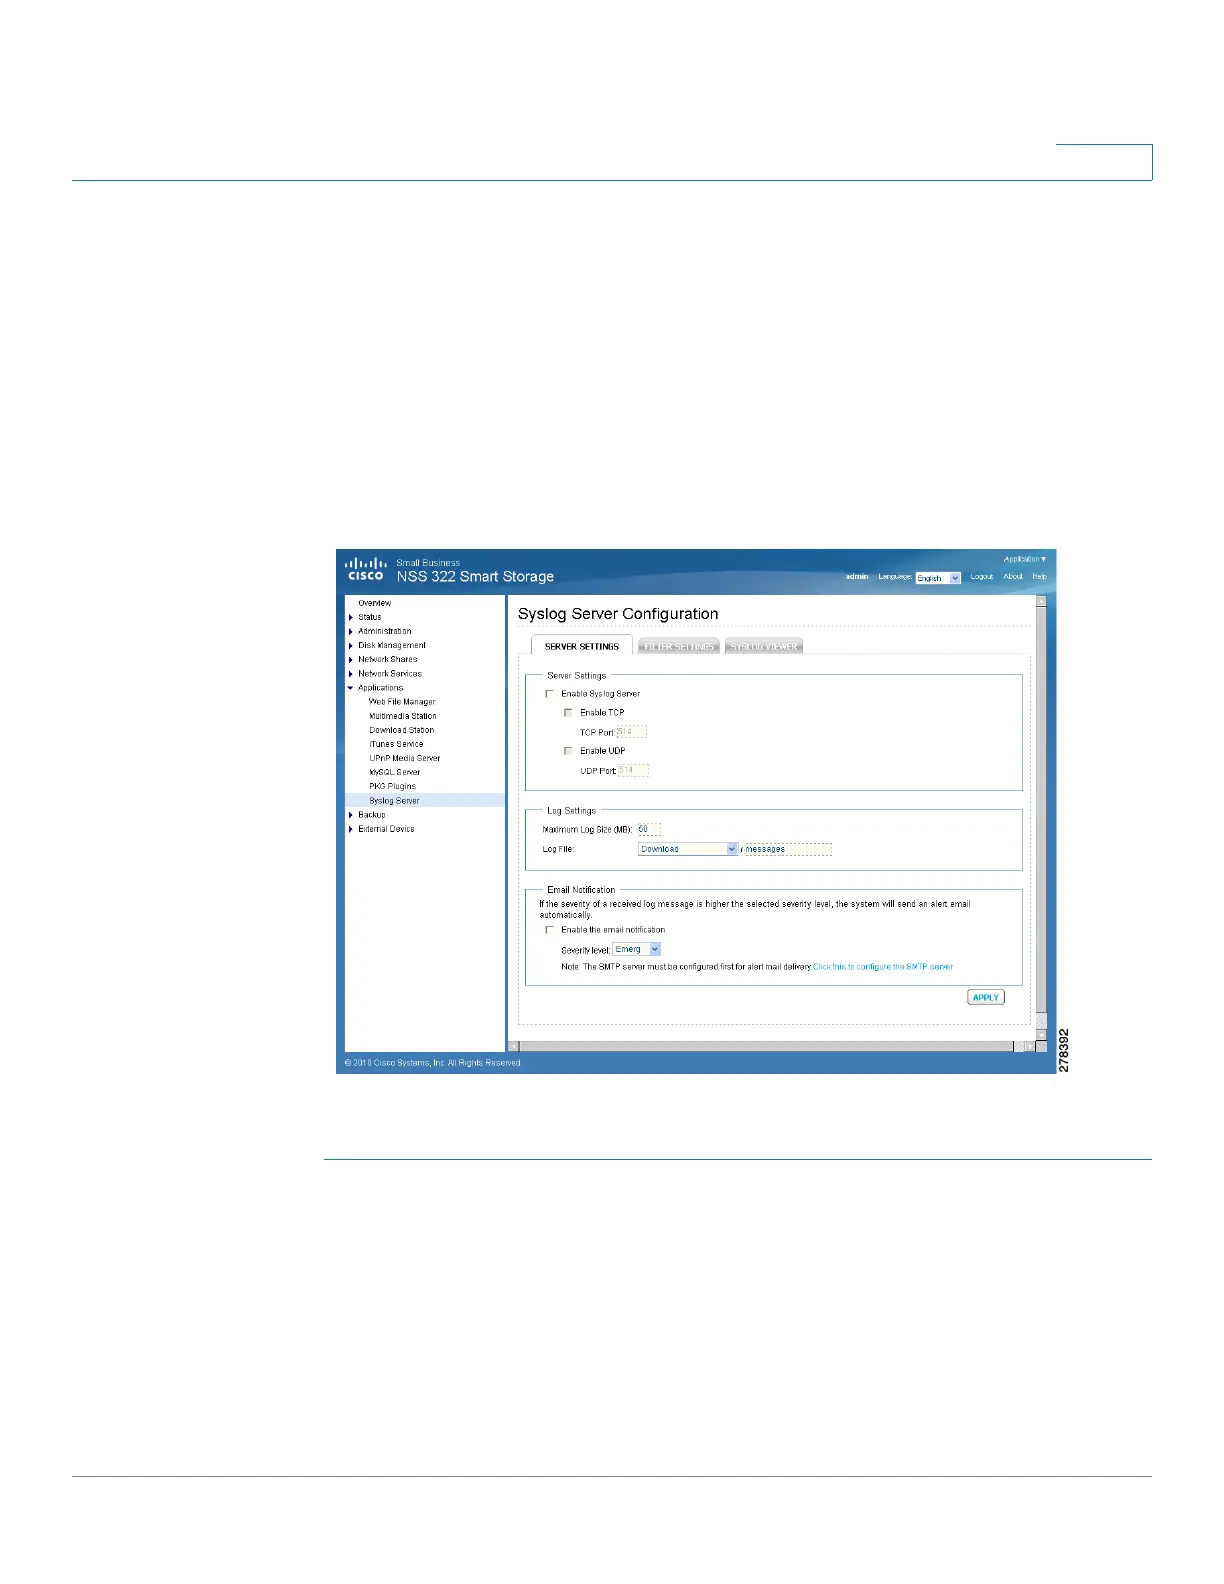
From the Applications > Syslog Server > Server Settings window, you can
configure the server settings, log settings, and email notification.
After enabling the Syslog Server, the NAS can receive and store system log
messages based on the syslog settings. Users can also define the maximum size,
the stored path, and the name of the log file. Once the log file has reached its
maximum size, it will be archived and renamed automatically. For example:
MyLogFile_2010_06_06. The date format follows the user-defined date format in
Administration > General Settings.
To enable the syslog server:
STEP 1 Choose Applications > Syslog Server from the Navigation menu. The Syslog
Server Configuration window opens.
STEP 2 Click Enable Syslog Server to enable the Syslog Server.
STEP 3 Enable UDP is automatically activated on port 514. You can change this to a
different port by entering a different port number. You can also enable TCP by
clicking on Enable TCP which uses TCP port 514 by default. You can change this
to a different port by entering a different port number.