Citrix ADC MPX
Install the rack rails on the rack
1. If you have a round-hole, threaded rack, skip to step 3.
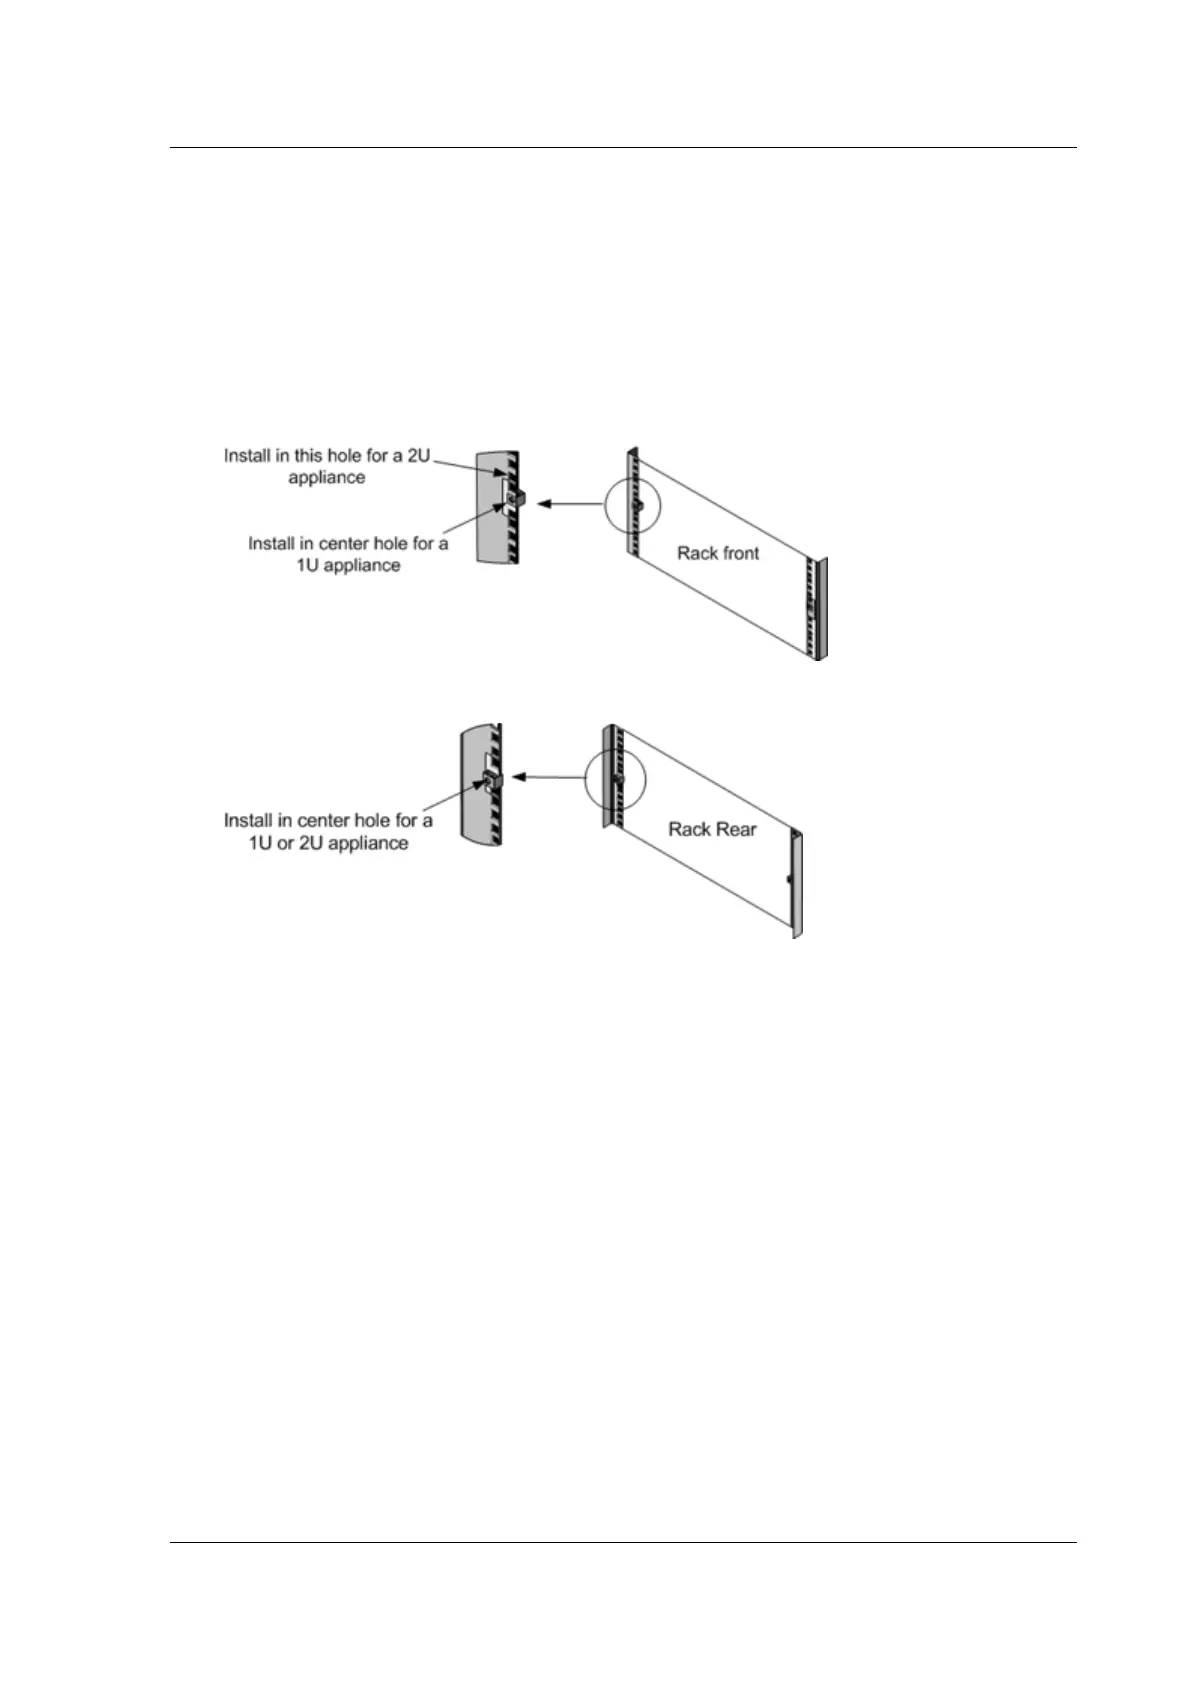
2. Install squarenut retainers intothe front post and back postof the rackas shown in the following
figures. Before inserting a screw, be sure to align the square nut with the correct hole for your
1U or 2U appliance. The three holes are not evenly spaced.
Figure 2. Install retainers into the front rack posts
Figure 3. Install retainers into the rear rack posts
3. Install the adjustable railassembly into the rack as shown in the following figures. Use a screw to
lock the rear rail flange into the rack. With the screw securing the rail in place, you can optionally
remove the latching spring.
Figure 4. Install the rail assembly to the rack
© 1999-2019 Citrix Systems, Inc. All rights reserved. 117

 Loading...