4 Installing the Eclipse HX-Median
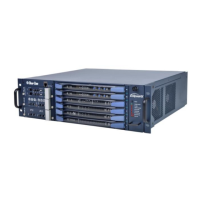
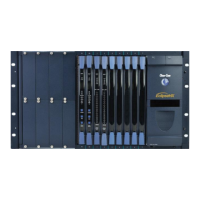
This chapter describes how to install the Eclipse HX-Median, including the power
supplies, CPU cards, interface cards and modules.
4.1 Before you begin the installation
4.1.1 Check the shipment
When the Eclipse HX-Median is received, inspect the boxes for shipping damage.
Report any shipping damage to the carrier.
Check the packing list and verify that every item on the list has been received.
Save all packing materials in the event that any items need to be returned.
Note: The Eclipse distributor is not responsible for shipping damage.
4.1.2 Unpacking the System
When the Eclipse HX-Median system is received the circuit cards (CPU cards and
interface cards), power supplies, and rear-connector panels are pre-installed in
the matrix chassis.
The customer must supply:
The standard 19-inch rack in which to install the matrix.
A personal computer to run the EHX configuration software
Note: See 14.29 Minimum PC requirements (for EHX software)
and 14.30 Recommended PC requirements (for EHX
software) respectively.
CAT5 cables (to connect the matrix to user panels, interface modules,
and other devices). Clear-Com recommends shielded cables.
4.1.3 Reconnecting the CPU card backup battery
Note: Before the Eclipse HX-Median is installed, the CPU card’s backup battery must
be reconnected. The matrix will operate if the battery is not reconnected.
However, if the matrix is powered down, all run time information (dynamic
assignments, crosspoint states and levels) will be lost.
The CPU card has a lithium backup battery that powers the CPU memory if the
AC electricity fails. This backup battery is shipped disconnected to preserve
battery life.
 Loading...
