All content © 2020, cmotion GmbH. All specications are subject to change without further notice.
http://www.cmotion.eu
page 19 of 120
5.2.2.6. Knob torque adjustment
(cPRO PLUS hand unit feature only, not available for cPRO or cPRO ONE hand unit)
The knob torque adjustment is a unique feature of the cPRO PLUS advanced knob only.
In order to adjust the knob friction, press and hold the mechanical adjustment button and
turn the knob clockwise to increase the friction. Press and hold the button and turn the
knob counter-clockwise to reduce the knob friction. Release the adjustment button when
nished.
5.2.2.7. Knob user buttons
(cPRO PLUS hand unit feature only, not available for cPRO or cPRO ONE hand unit)
The knob user buttons are a unique feature of the cPRO PLUS advanced knob only.
The knob buttons; KB1, KB2 and KB3 are user assignable buttons and behave like any
other user button on the cPRO / cPRO PLUS or cPRO ONE hand unit. But, they do
not illuminate. For further information on how to assign user buttons and the available
functions, please refer to section “6.2.3.8. BUTTONS” on page 94 in this manual.
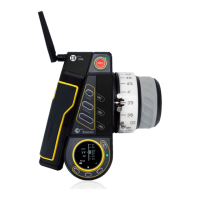
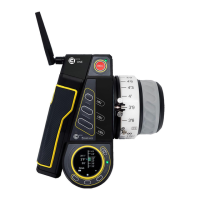
5.2.3. Slider
(cPRO / cPRO PLUS hand unit feature only, not available for cPRO ONE hand unit)
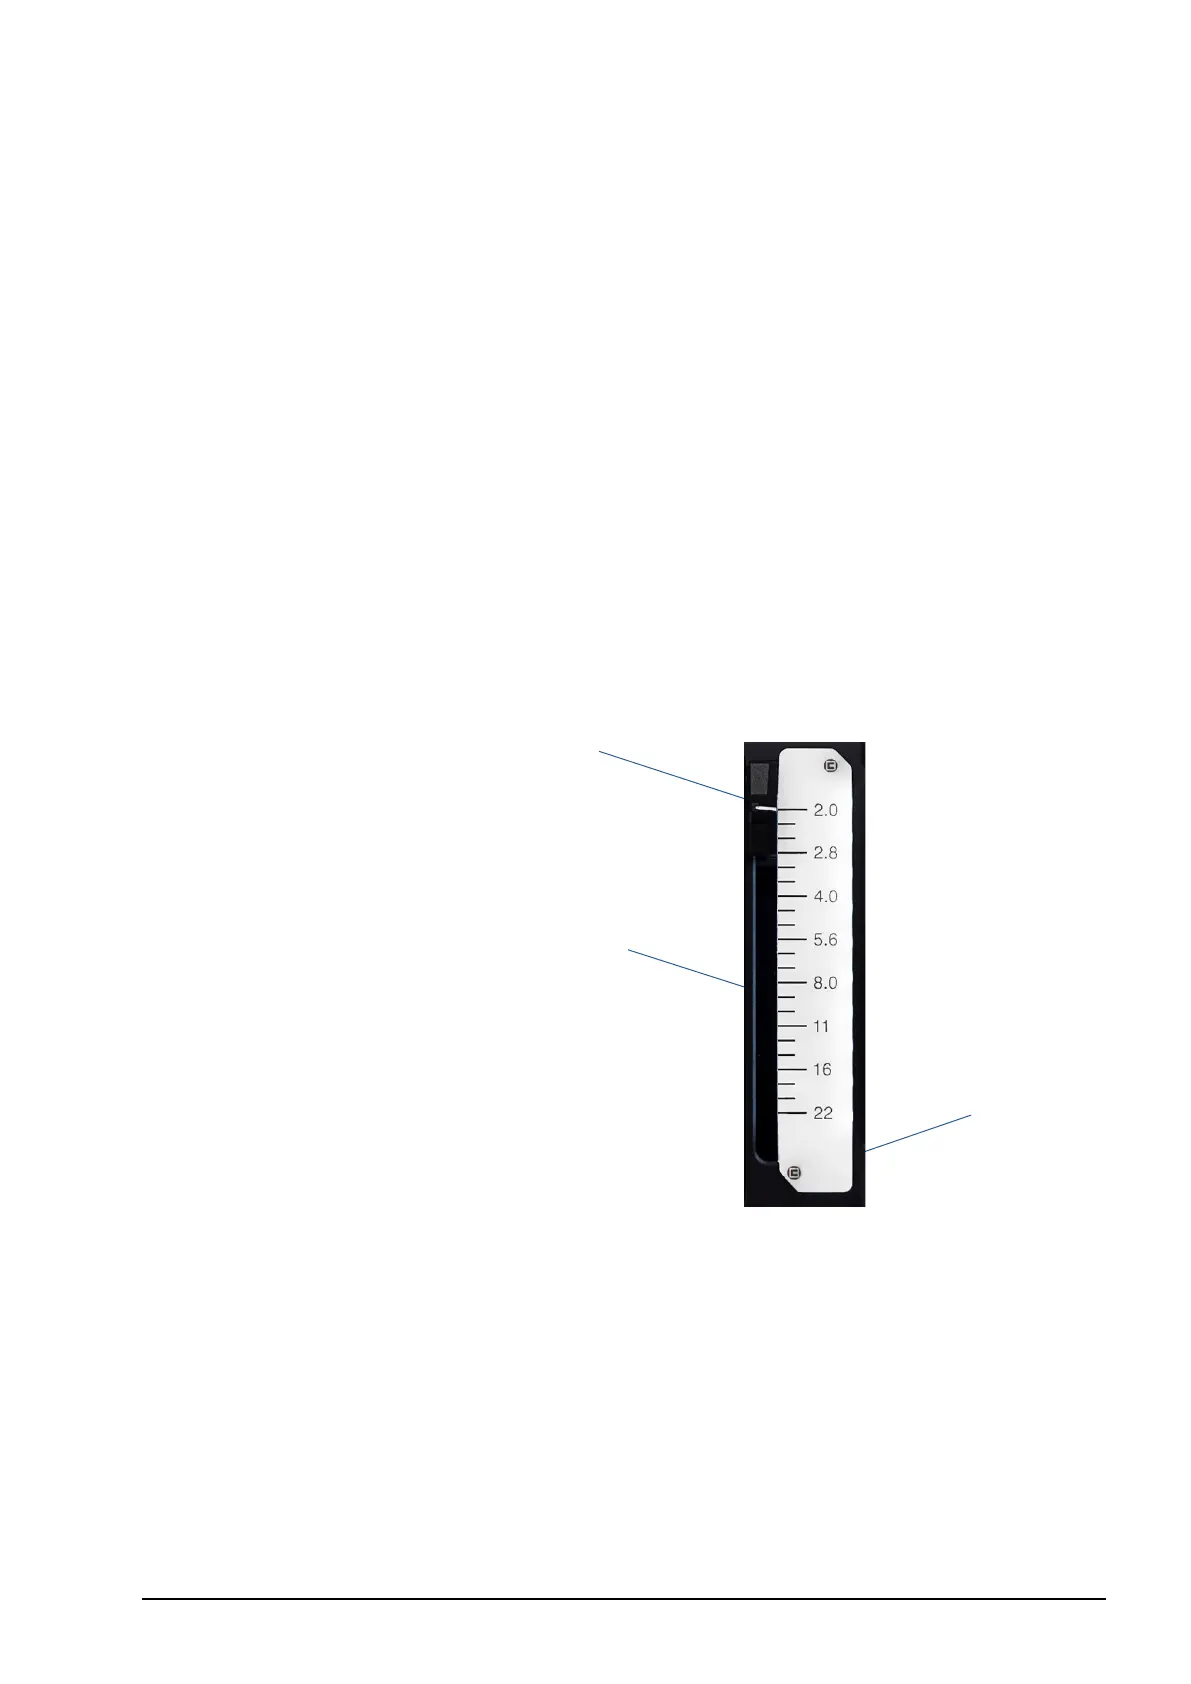
1 Slider
2 Pre-marked iris strip
3 Slider illumination / status LEDs
The slider is a control interface with an absolute position encoder. Move the slider up or
down to control the assigned axis. As default, the slider is assigned to iris.
5.2.3.1. Pre-marked iris strips
In order to save time marking your iris strips for each lens, the cPRO / cPRO PLUS hand
unit oers three pre-marked strips. Each strip is engraved with a scale from close or 22
to one of three wide open iris values. For more information refer to section “6.2.3.2.2.3.
Pre-marked strips” on page 51 in this manual.
1
2
3
 Loading...