coatmaster Flex
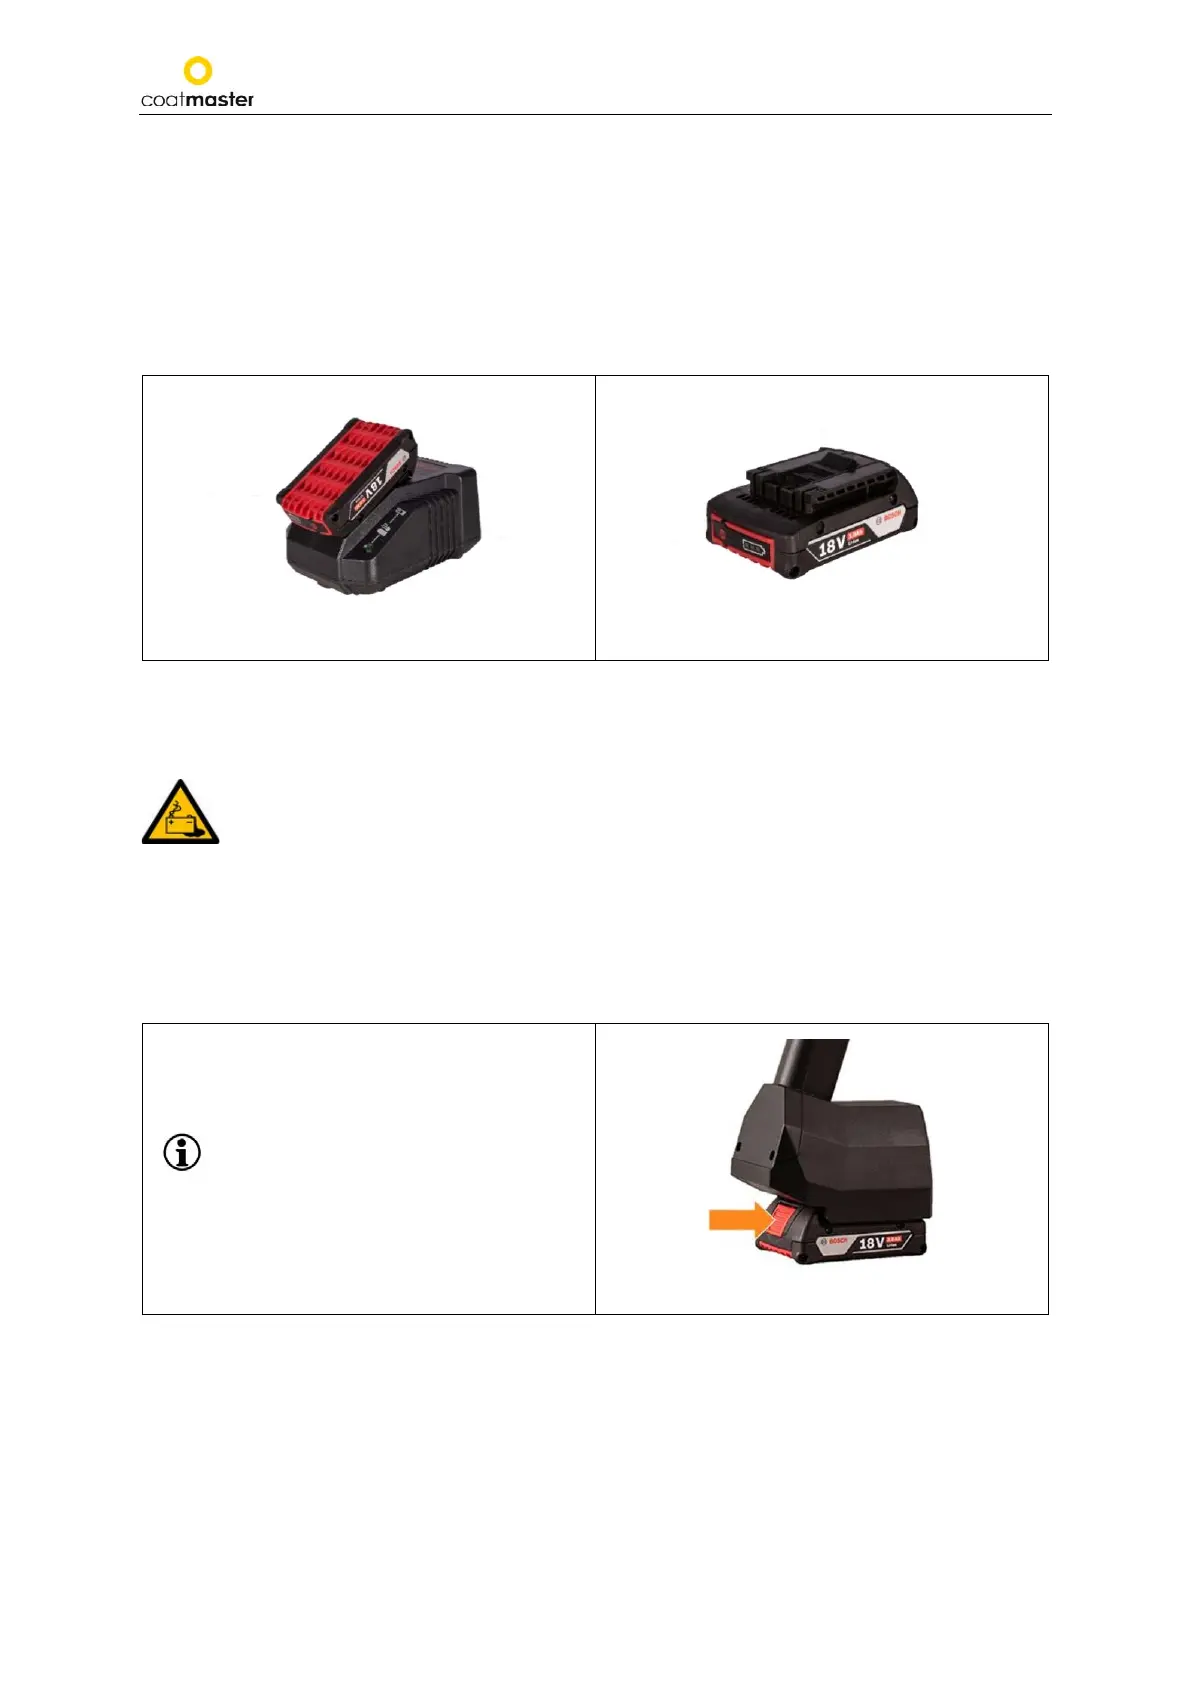
Figure 5: Battery inserted in charger
Figure 6: Standalone battery
After battery charging, double-check the status of the battery by pressing the ‘On’ button of the battery
pack. If the battery is fully charged, all 3 LEDs should be green (see Figure 5: Battery charging).
If the battery becomes defective, liquid can escape. Avoid contact. If contact accidentally
occurs, flush with water. If liquid also comes into contact with the eyes, seek medical help.
Liquid ejected from the battery may cause irritation or burns.
If the battery becomes defective, escaping liquid may come into contact with adjacent components.
Check any affected parts. Clean such parts or replace them, if required.
7.1.2. Battery Installation
Push the fully charged battery into the
designated holder at the bottom of the device
until it snaps into place.
Ensure that the red tab
is completely engaged.
Figure 7: Battery installation
7.1. Battery
7.1.1. Battery Charging
First charge the 18V battery pack by sliding the battery pack into the battery charger (see Figure 5:
Battery inserted in charger). Use only the approved power charger.