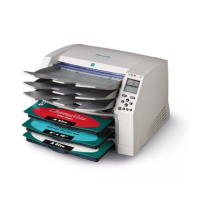
1-12 Setting Up the Imager
Specifying the Imager’s IP Address at the Control Panel
NOTE:
For a simple network, you will only need to define the imager’s base IP address. You
can leave all other network settings for the imager at their default values.
NOTE:
For instructions on how to use the imager’s control panel and menus, refer to
Chapter 2.
NOTE:
After entering the base IP address, note that the imager will reboot once you exit the
menus so that the software can be properly updated with the new value.
1. At the imager’s control panel, press and hold the key, and
while holding it press the key.
The Main Menu with administrative options displays.
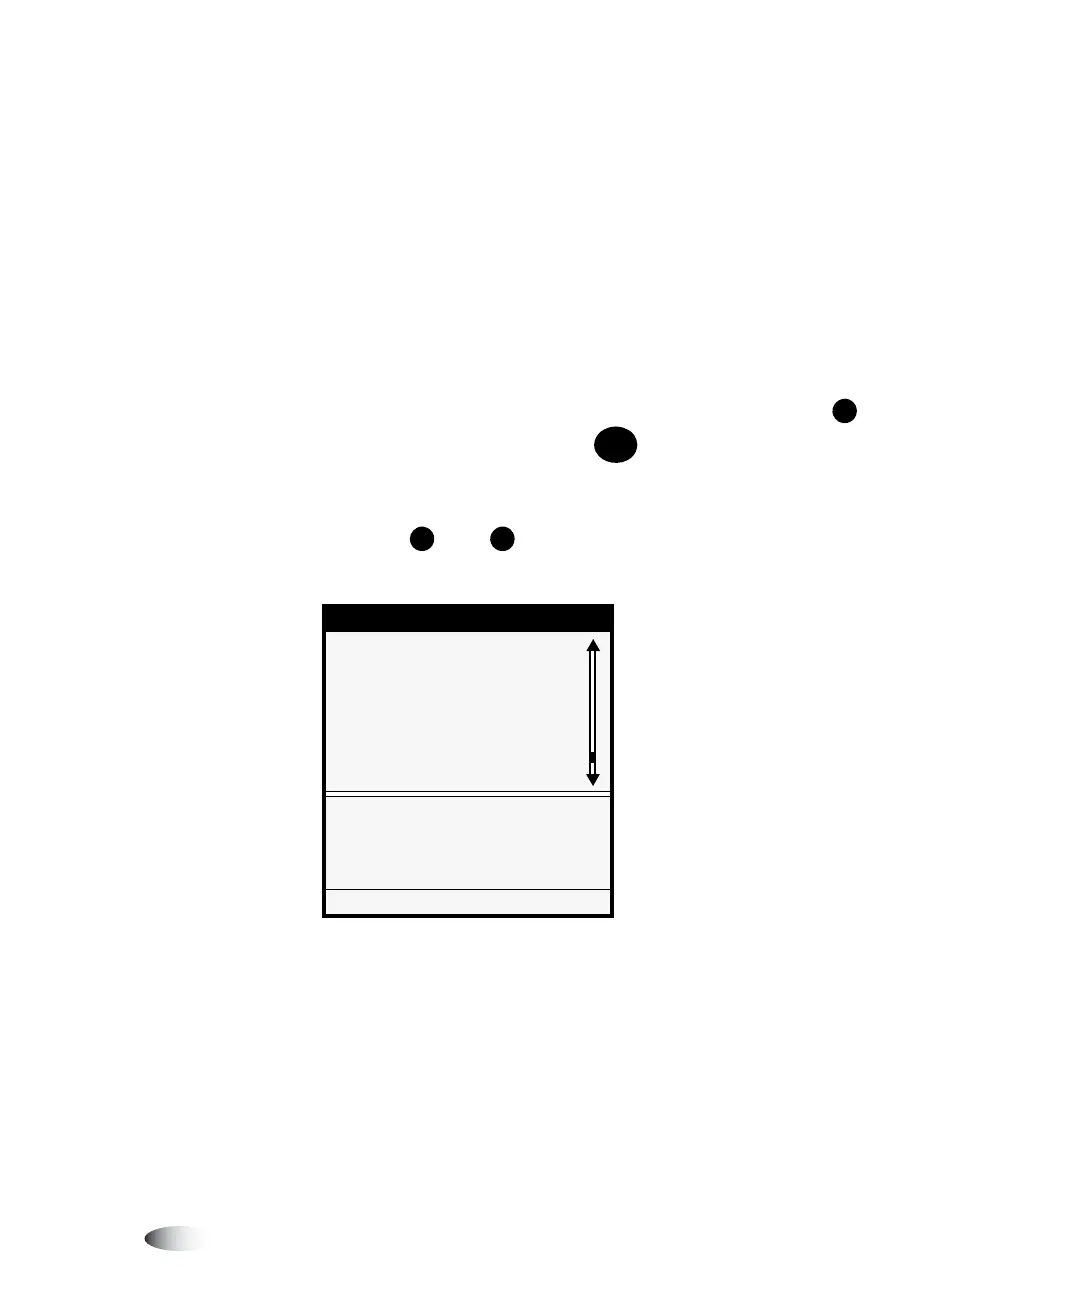
2. Use the and keys to move the selector arrow to
Network
Settings
.
Menu
Load/Remove Ribbon...
Custom Job Settings...
Utilities...
Test Prints...
Print From Zip Disk...
Feature Management...
X
Network Settings...
Configure TCP/IP network
settings
Press MENU to exit menus
3
3
3
8
To specify the
imager’s IP
address
W
MENU
S
T