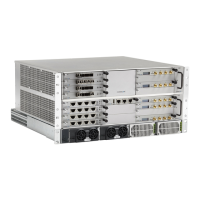
M0201AA ION
®
-E Series Hardware Installation Guide
© June 2017 CommScope, Inc. Page 53
Installing UAPs
INSTALLING UAPS
ThefollowingsectionsdescribethestepsrequiredtoinstallaUAP.
Using the UAP Ceiling Mount Assembly (PN 7683182-00)
Required Tools for a Standard UAP Ceiling Mount
• #2Phillips-Headscrewdriver
• Cuttingtooltocutopenceilingtile
Unpack and Inspect the Ceiling Mount Assembly
1 Inspecttheexterioroftheshippingcontainer(s)forevidenceofroughhandlingthatmayhavedamaged
thecomponentsinthecontainer.
2 Unpackeachcontainerwhilecarefullycheckingthecontentsfordamageandverifywiththepackingslip.
3 Ifdamageisfoundorpartsaremissing,fileaclaimwiththecommercialcarrierandnotifyCommScope
TechnicalSupport(see
"ContactingDCCSGlobalTechnicalSupport”onpage126).Savethedamaged
cartonsforinspectionbythecarrier.
4 Saveallshippingcontainersforuseiftheequipmentrequiresshipmentatafuturedate.
Unless otherwise noted, the use of “UAP” in the Universal Access Point installation procedures collectively
refers to the UAP, UAP-N25, and the UAP-X.
For information on how to install a CAP L, go to "Installing CAP Ls” on page 89.
For information on mounting a UAP to a ceiling using the UAP Quick Release Ceiling Mount Kit, go to
"Mounting a UAP Using a UAP Quick Release Ceiling Mount Kit” on page 57.
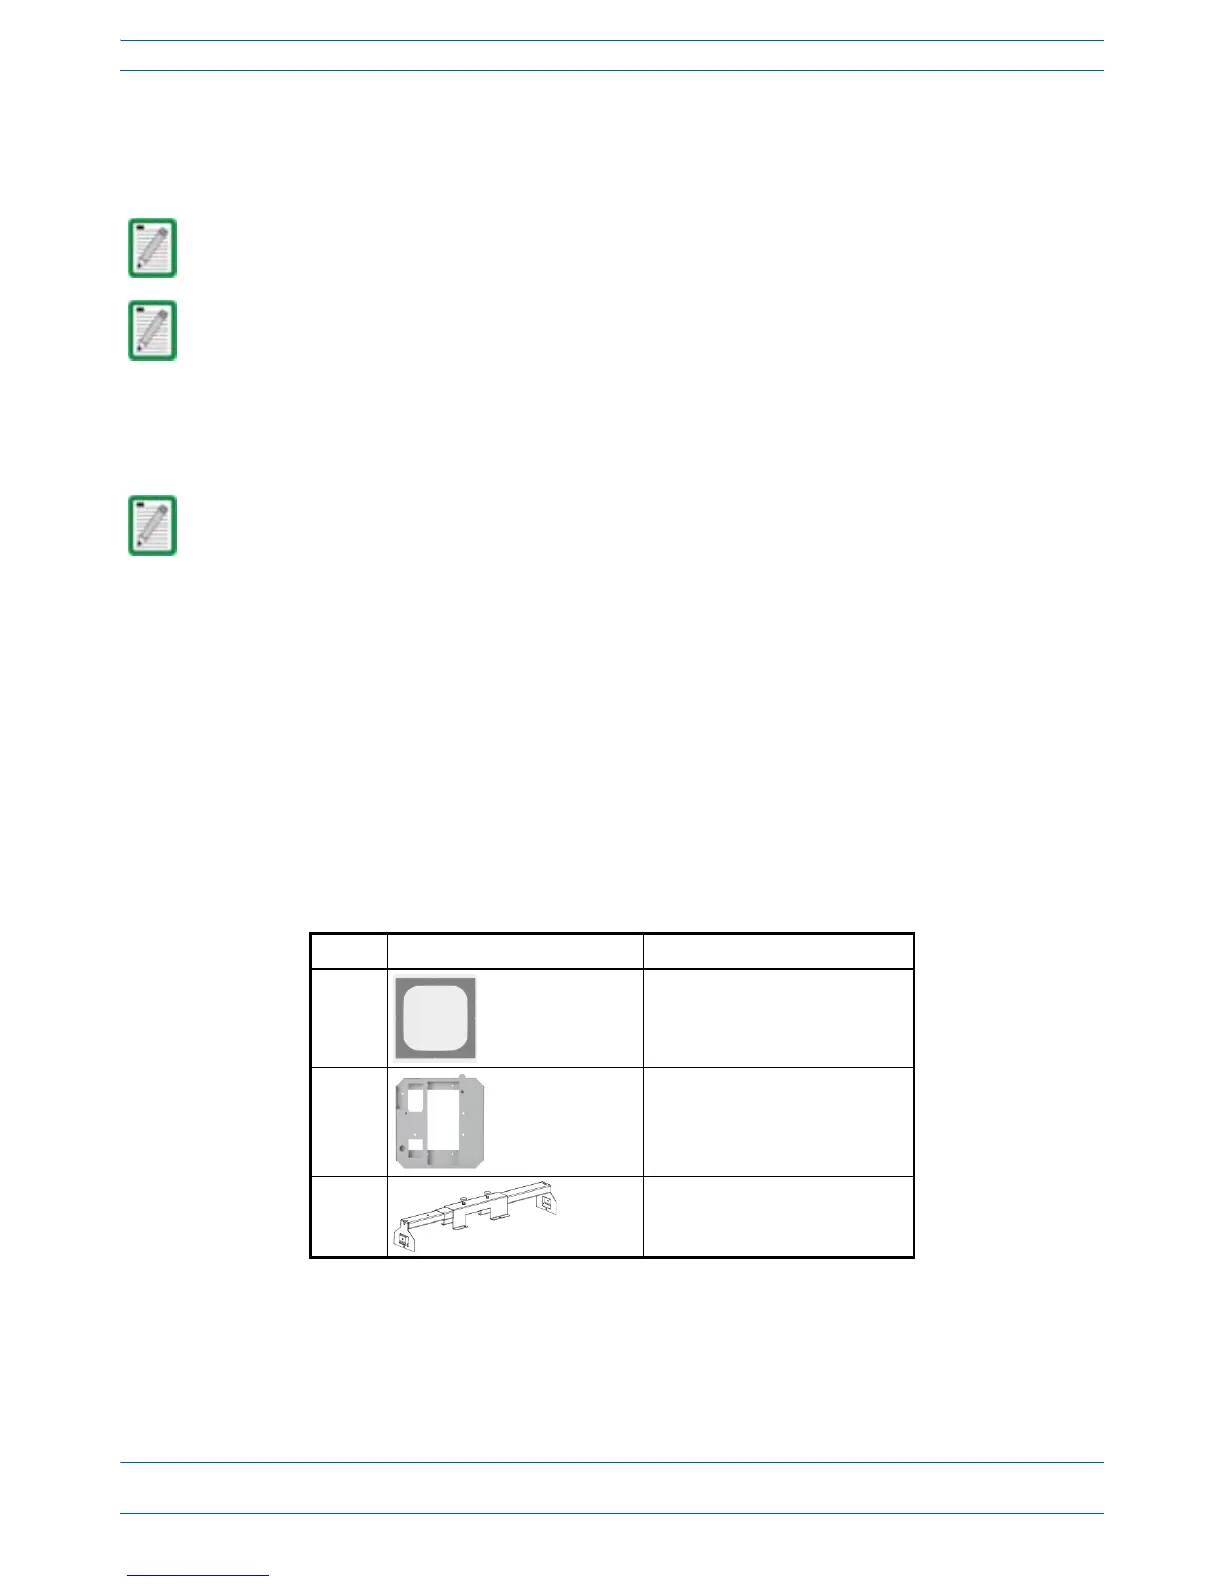
Table 6-2. Components of the UAP Wall Mounting Kit (PN 7683182-00)
Quantity Component Description
1
Template
1 UAP Shroud
2
Two-Part Sliding Support Bars