ION
®
-E Series Hardware Installation Guide M0201AA
Page 56 © June 2017 CommScope, Inc.
Installing UAPs
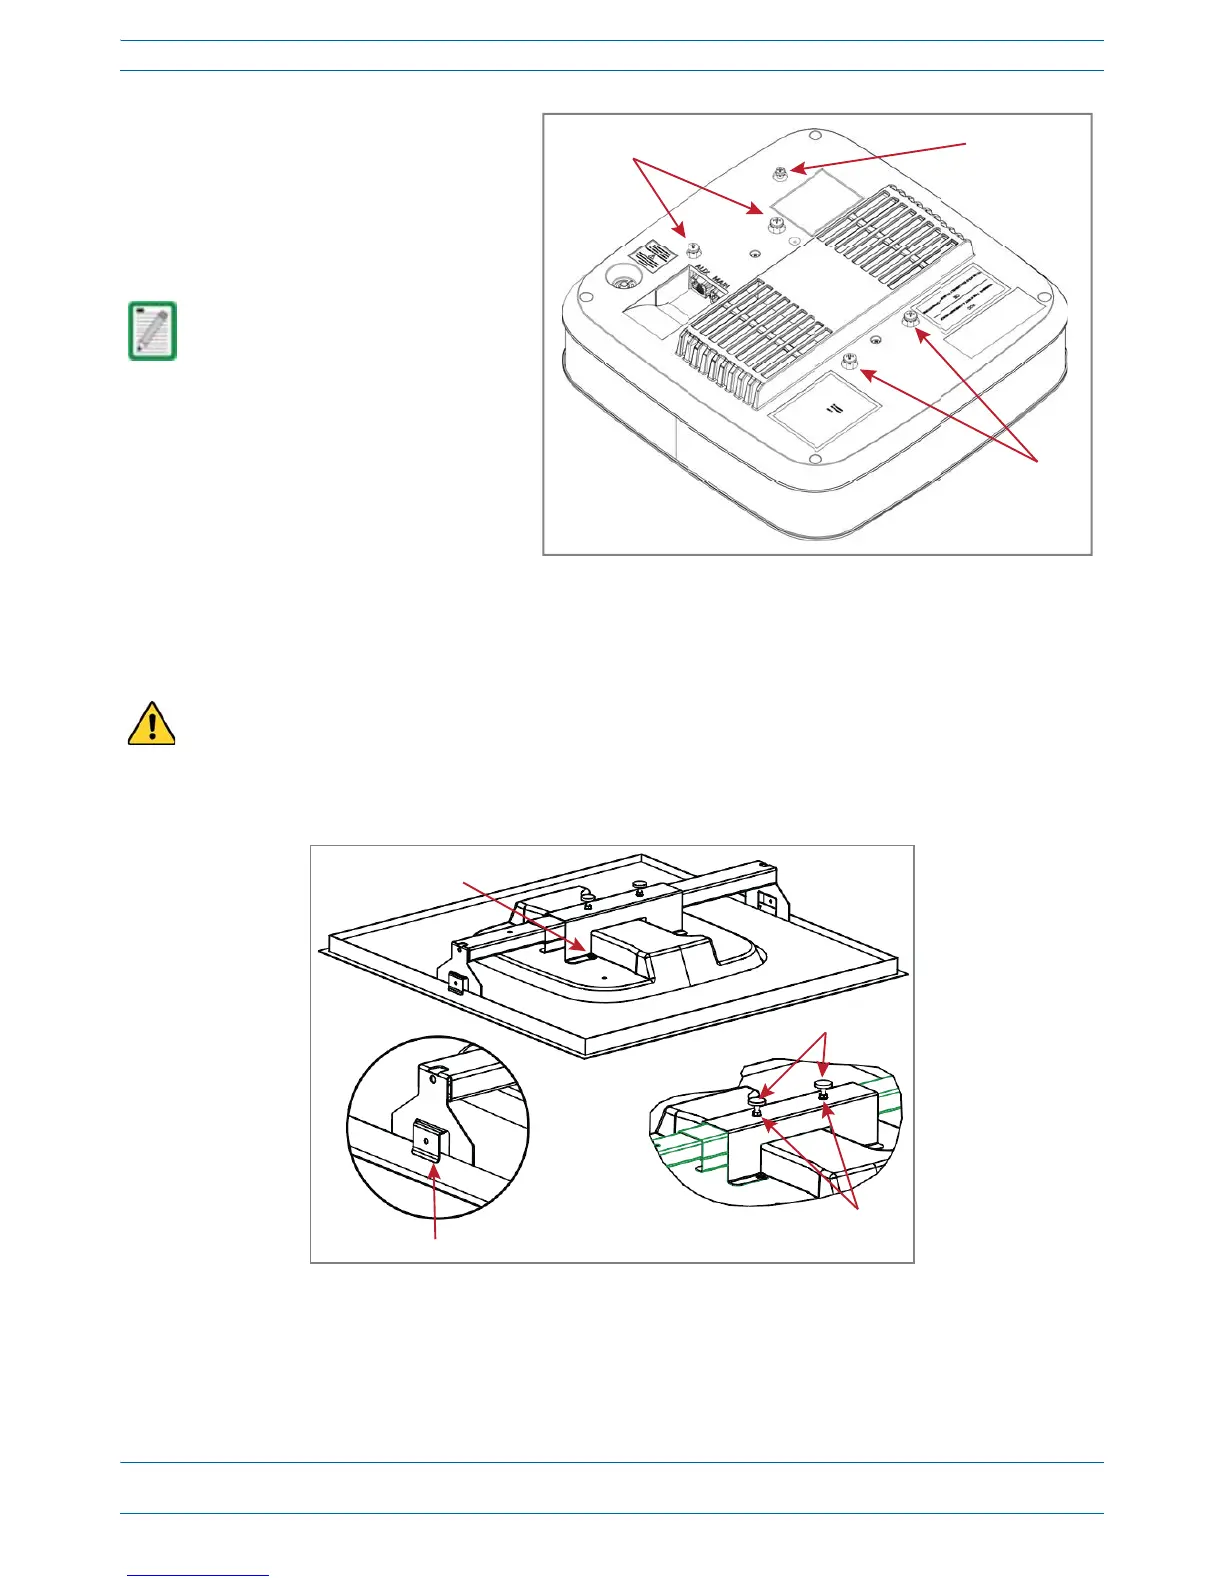
7 InsertandtightenthefourM5X10
machinescrewstosecurethe
mountingbracketandshroudtothe
UAP.
8 Ifgroundingisrequired,attachan
appropriategroundwiretotheUAP’s
greengroundingscrew.
9 Tightenthetwomountingbracket
thumbscrews,andthentightenthe
lockingnutstosecurethethumbscrews.
10 CarefullyplacethemountedUAPintotheceilinggridandmakesurethatthesupport-barclipsare
attachedtotheceilinggrid.
11 ConnecttheCat6AcablestotheMainandAUXportsoftheUAP.
Grounding is not mandatory.
UAPs are classified as low-voltage
devices and do not have internal
power supplies. However,
CommScope recommends you
check local and national electrical
codes to determine if grounding is
a requirement for the location in
which you are installing the UAP.
Always lift the UAP by the support bar or the face of the unit. Do not lift the UAP by holding the edge of
the ceiling tile.
Mounng
screws
Grounding
stud (green)
Mounng
screws