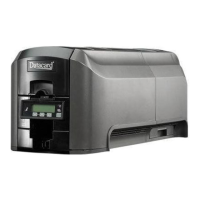
32 Printer Installation
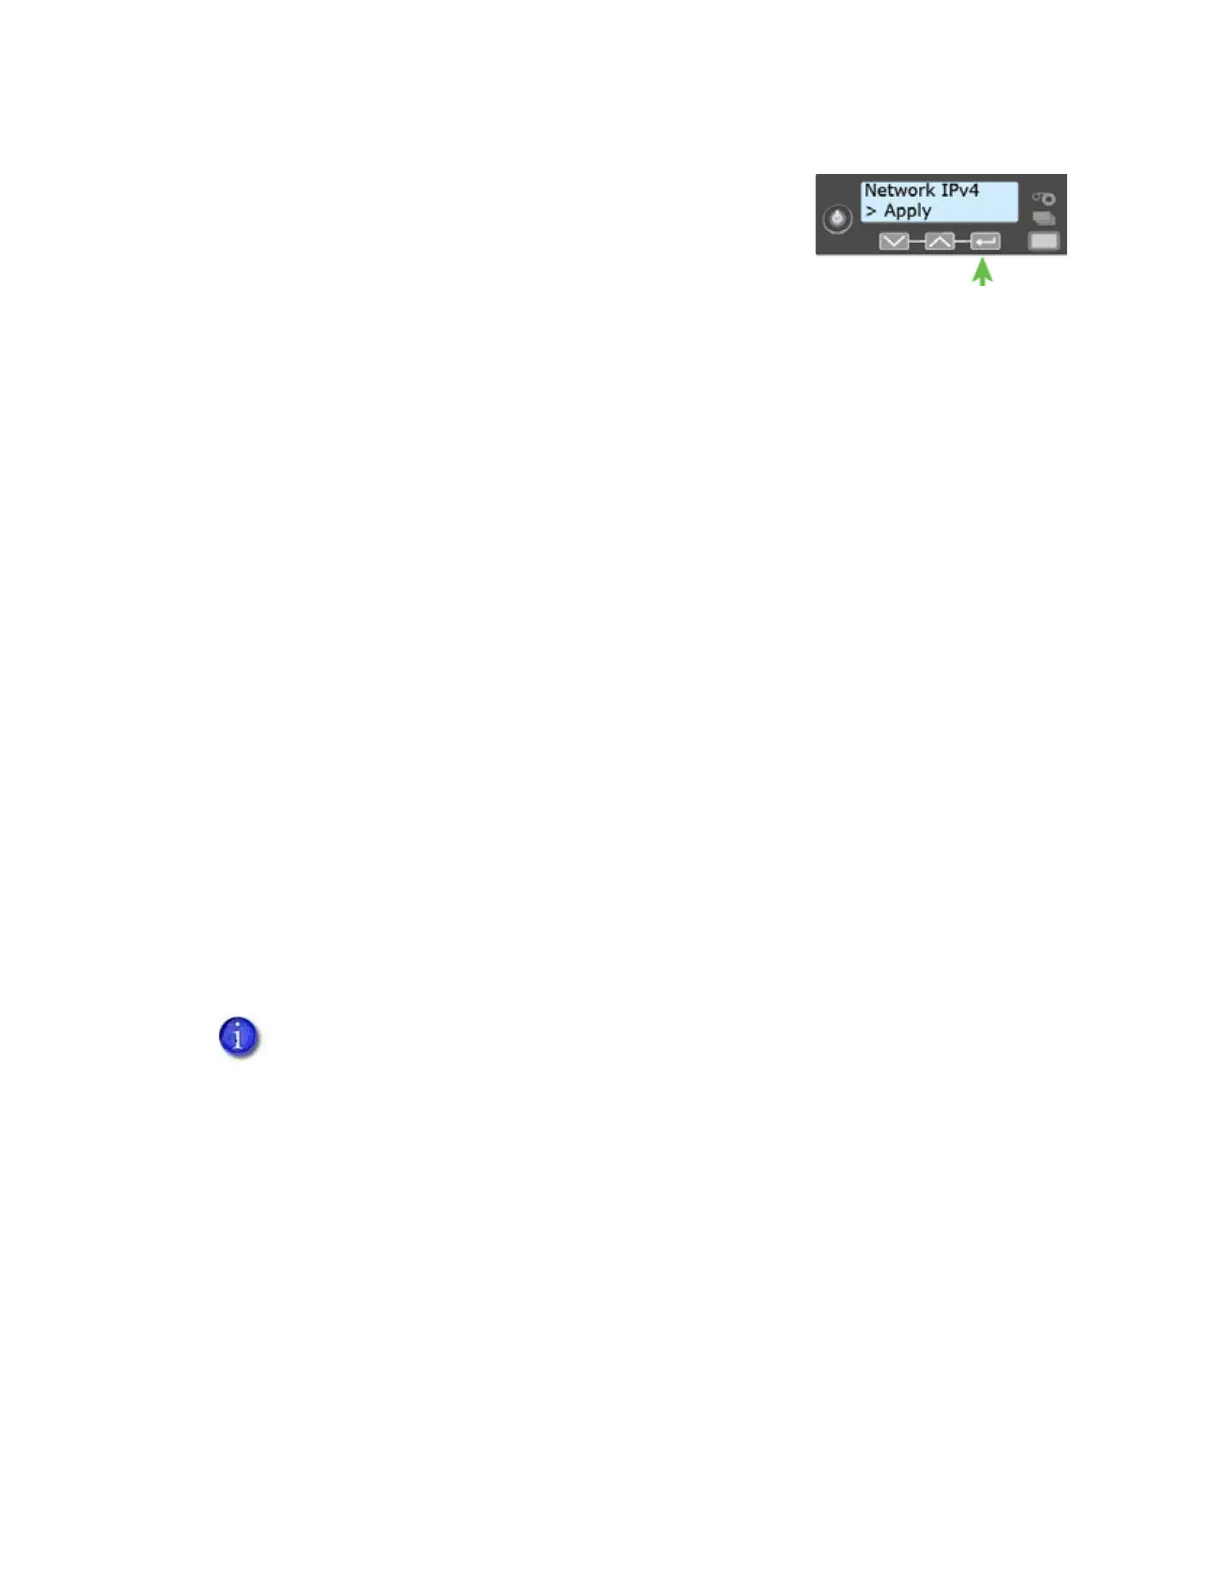
5. Press ENTER when you finish entering all the required
address information. Apply displays on line 2.
6. Press E
NTER to apply your changes.
7. Press the down arrow key to scroll to Exit on line 2.
8. Press E
NTER. Then, press the USER button to return the printer to Ready. The USER button
glows green.
Use IPv6 Addressing
The expanded address space provided by IPv6 is becoming increasingly common in network
environments. A printer on an IPv6 network can be configured to use one or more of the
following methods, depending on how the network is set up:
Link Local IPv6 address: The printer and PC clients are restricted to the same subnet. Link
local is enabled automatically when IPv6 is enabled and offers the best security for your
network.
DHCPv6: A DHCPv6 server is externally configured to give out an IPv6 address.
Stateless Address AutoConfiguration (SLAAC): One or more routers with IPv6 enabled on the
subnet give out a subnet prefix that allows access to IP addresses.
Manual IPv6 Address: The printer has a designated IPv6 address on a specified subnet. The
address does not change without manual intervention. This is similar to an IPv4 static IP
address. Refer to “Set a Manual IPv6 Address (Optional)” on page 34.
To use IPv6 with the card printer, you need to connect to an IPv6 network and enable one or
more address configuration methods. Link local, DHCPv6, and SLAAC automatically configure an
address, but may require the necessary network support (DHCPv6 and routers). Refer to “Enable
IPv6” for complete information about how to enable IPv6.
These instructions assume that your IPv6 network is configured and that you have
the information you need to set up the card printer. If you need information about
your network configuration, contact your network administrator.