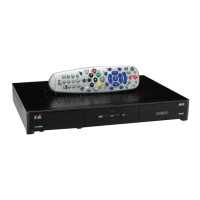
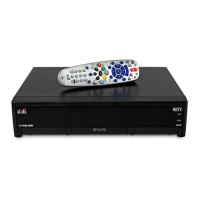
Page 13
Quick Tour of DishDVR Features
12. Press the VIEW button to go back right away to the program in progress.
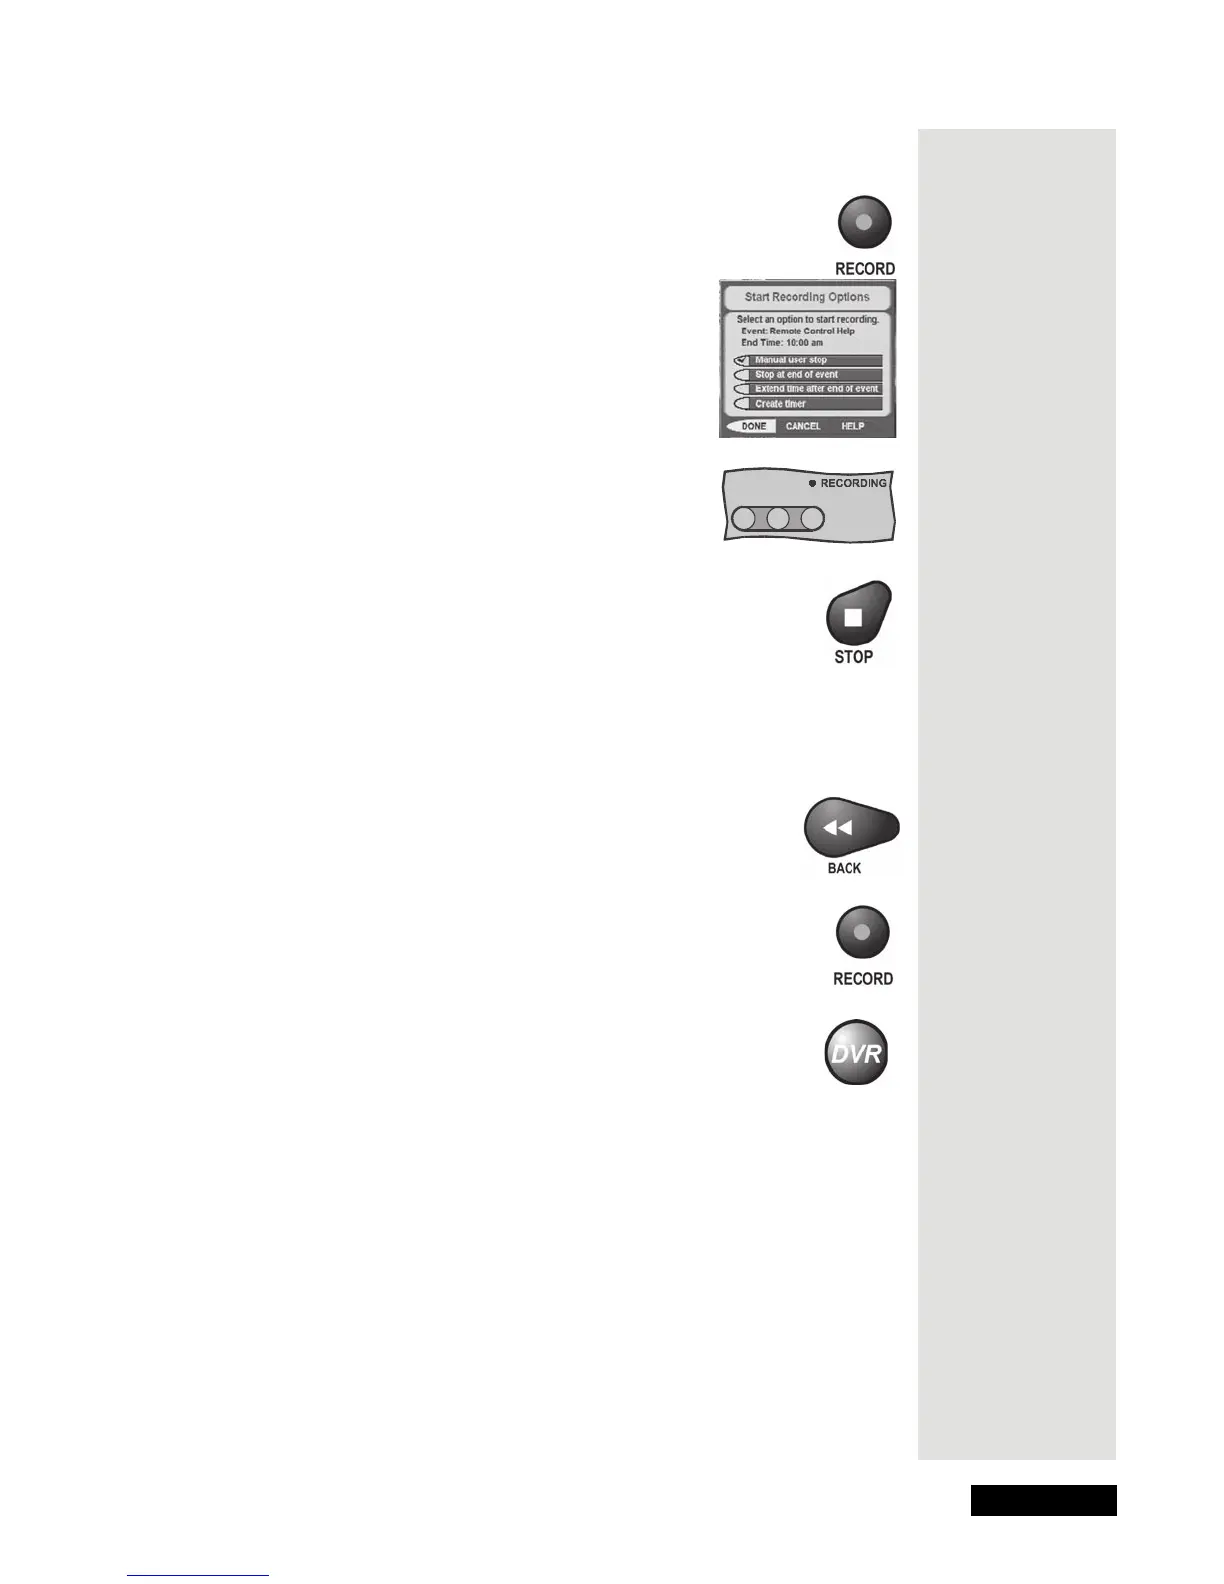
13. Press the RECORD button to start recording the program right
now.
14. The
Start Recording Options menu
displays. Select
Manual user stop. See page
__ for an explanation of the other recording
options.
15. Select
Done to start recording the program.
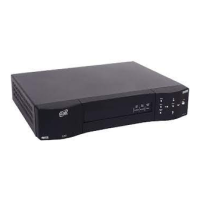
Notice the receiver’s front panel
RECORDING light turns on.
16. If you want, press the STOP button. This stops the receiver
from recording the program.
Notice the receiver’s front panel RECORDING light turns off.
17. Now, if you want to take the time, use the
Program Guide to
find another program set to start in the next few minutes.
Note: Start watching the program when it starts. Watch the program for a
few minutes.
18. Press the BACK button to reverse the program.
Note: Let the program reverse all the way to its start.
19. Press the RECORD button. The receiver stores a recording of
all of the program broadcast so far, and keeps on recording the
program. You can record all of the program, even though you
didn’t start recording until after the program started.
20. Press the DVR button once. This opens the
DISH On Demand
screen for newer models and the
My Recordings menu for
older models. For the newer models, press the DVR button a
second time to see the
My Recordings menu.
Note: Even though the button on your remote control may be marked
DVR or PVR, the remote control works the same way.
This is
important: If
you don’t tune
to a program
until after it
starts, you can
record only the
part of the
program that
comes after
you tune to it.
Tip: The
DishDVR
features let you
record
programs
without using a
VCR!