DTG M Series Maintenance Manual Printing on Textiles
Keep the sprayer about 12 inches (0.3 meters) from the shirt and begin spraying from the
top to the bottom in a left to right (and then reverse, right to left) motion without ever
turning off the sprayer
It is good practice to allow the sprayer to go beyond the edges of the shirt before beginning
or reversing direction. This prevents more pretreatment from being deposited on the shirt
during the direction change.
If all settings are correct, you should dispense the proper amount of pretreatment solution
in about 15 seconds.
If you are printing only a small image on the garment, you can make a mask or stencil to place over
the garment before spraying, so that only the required print area of the garment receives the pre-
treatment. This will save on pre-treatment.
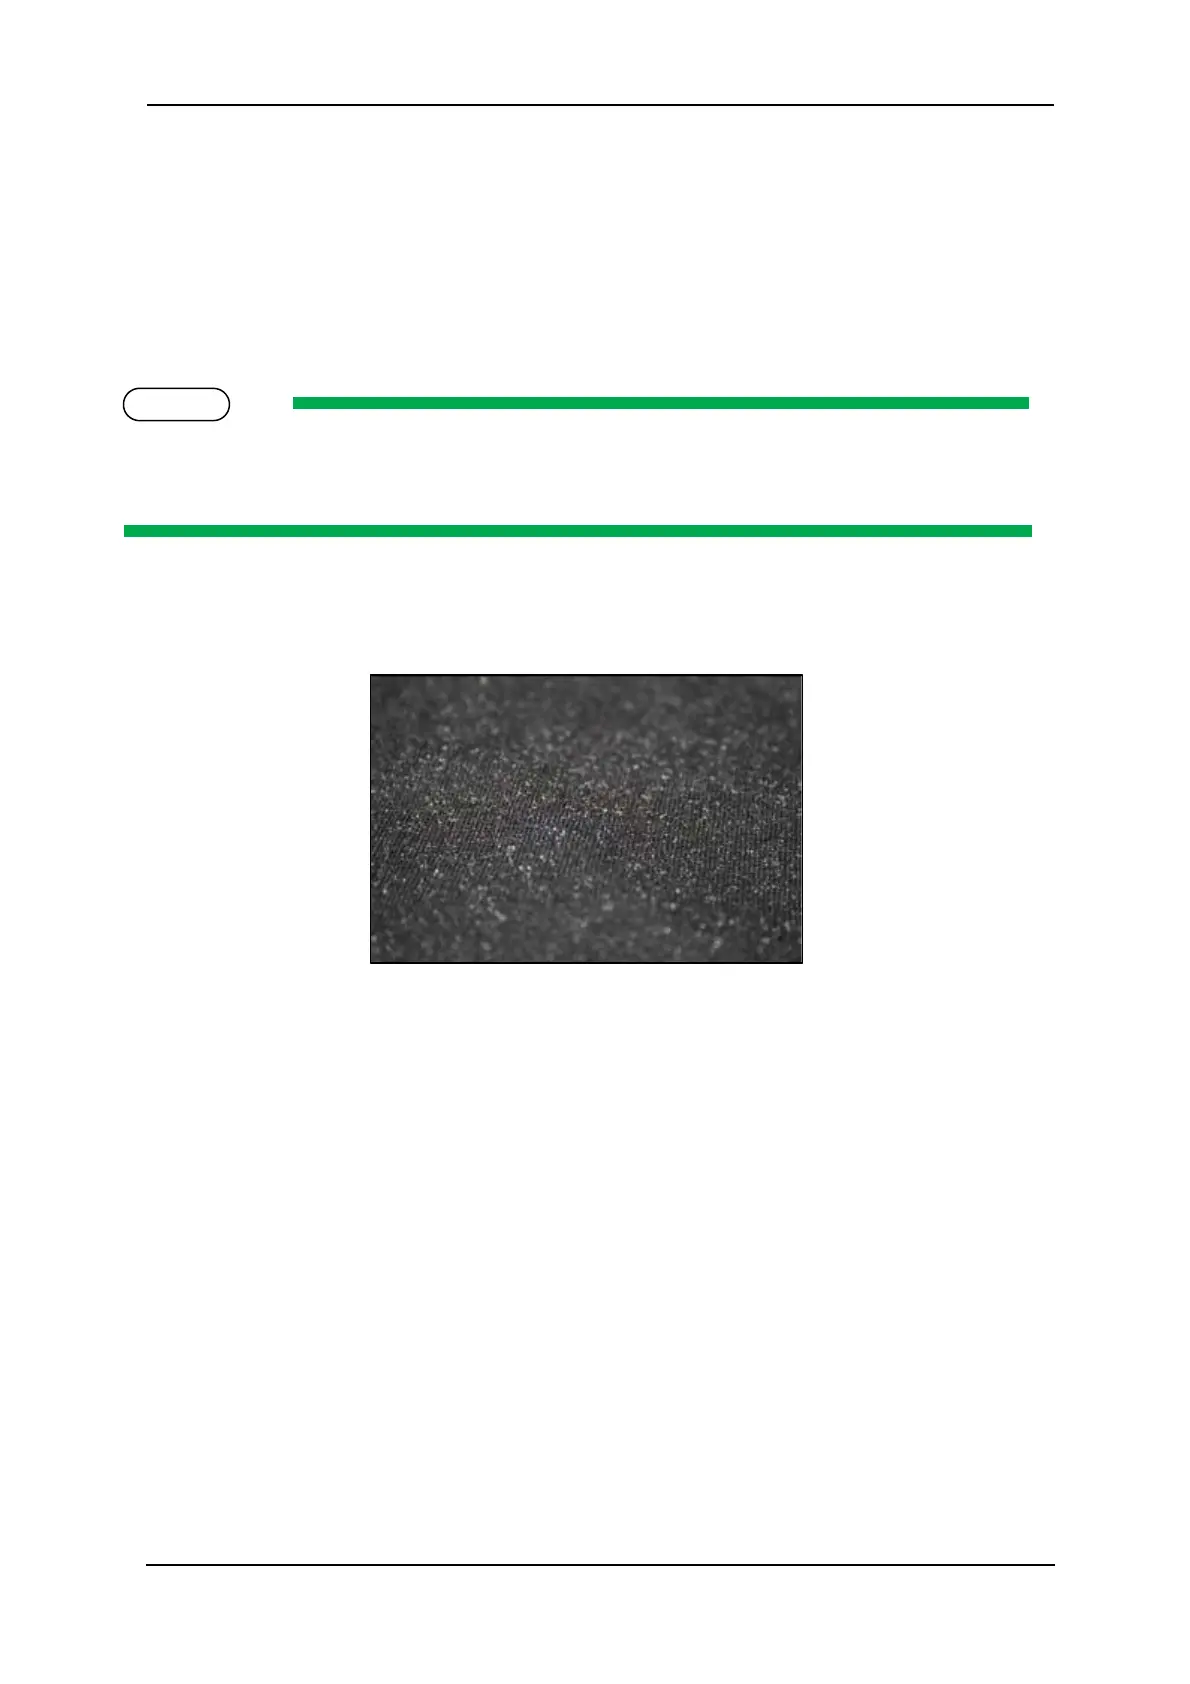
Following the application of the pretreatment solution, and prior to heat pressing, close
examination of the garment’s surface should show the appearance of fine droplets not unlike dew
on grass. A representation is shown below:
After spraying the garment, you can wipe with the foam roller, uniformly and in one direction, to
get even coverage.
For best image quality, drying the pretreated garment in a t-shirt press (using the parchment paper
as a barrier from the press) is preferred. A minimum of 15 seconds, up to a maximum of 60 seconds
at the 170ºC (~340ºF) setting. This causes the pre-treat to bond the flattened fabric fibers down
and produces an optimised surface for ink jet printing. When the white ink comes into contact with
the pre treat it causes a chemical reaction resulting in a rapid fixing of the ink. Ensure sufficient
pressure on the heat press to properly flatten the fibres of the fabric and provide a smooth even
surface for printing.
FIGURE 4-1 GOOD PRE-TREATMENT