12. REMOTE MONITORING AND CONFIGURATION
The inverter can be remotely monitored and configured using the EG4
®
mobile app or
by using EG4 Monitor Center with a web browser. This section describes configuring
the inverter’s hardware (dongle) for access to the internet to support remote
connectivity with the EG4 app or Monitor Center. For more information on using the
EG4 app or the web browser, see the EG4 Device Monitoring & Settings Guide.
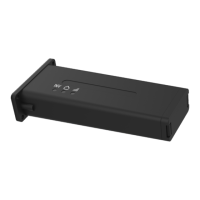
12.1 DONGLE INSTALLATION
There are three different hardware versions of the dongle that allow remote
connectivity to the inverter. The first is a Wi-Fi dongle that is included with each
inverter which connects to a local wireless network. The second hardware version
is a LAN dongle that connects directly to a switch or router using an ethernet cable.
The third hardware option is a 4G dongle that connects over a cellular network.
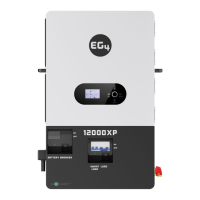
Installation Steps
1. Write down the dongle serial number and pin for
easy access.
2. Attach the dongle to the inverter by plugging it into
the dongle connector as shown in the image to the
right.
3. Secure the dongle with the included 4 Phillips
head screws.
4. The dongle Wi-Fi LED ” “ should illuminate
after the dongle is plugged in and the inverter is powered on.
5. Once the dongle is plugged and the Wi-Fi LED is on, follow the steps in the
next section to complete the dongle configuration for use with a user
account.
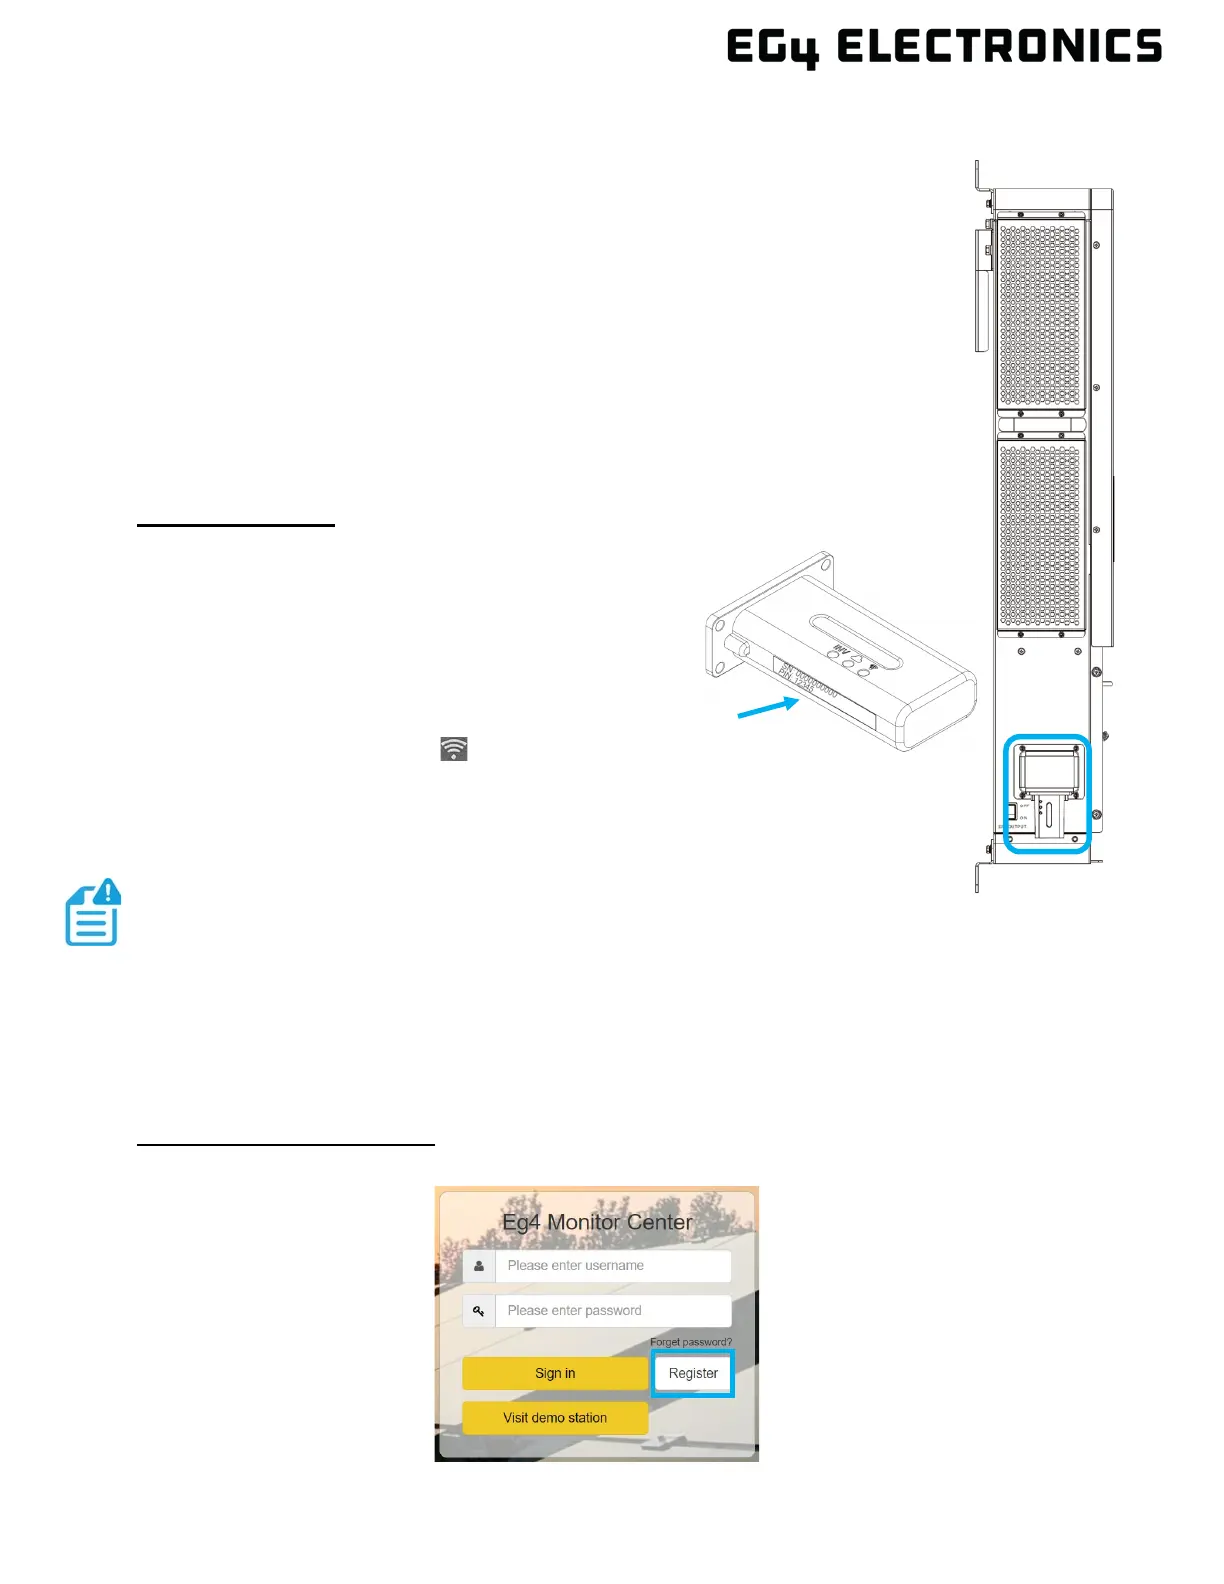
12.2 CREATE A NEW USER ACCOUNT
Using EG4 Monitor Center
1. Using a web browser, connect to “monitor.eg4electronics.com” and select on “Register”.
NOTE:
If the dongle Wi-Fi LED does not illuminate, see section 13 Dongle
Troubleshooting.
New EG4 users will need to create a new account. Existing users can add the
new dongle to an existing account, which is shown in section 11.3.