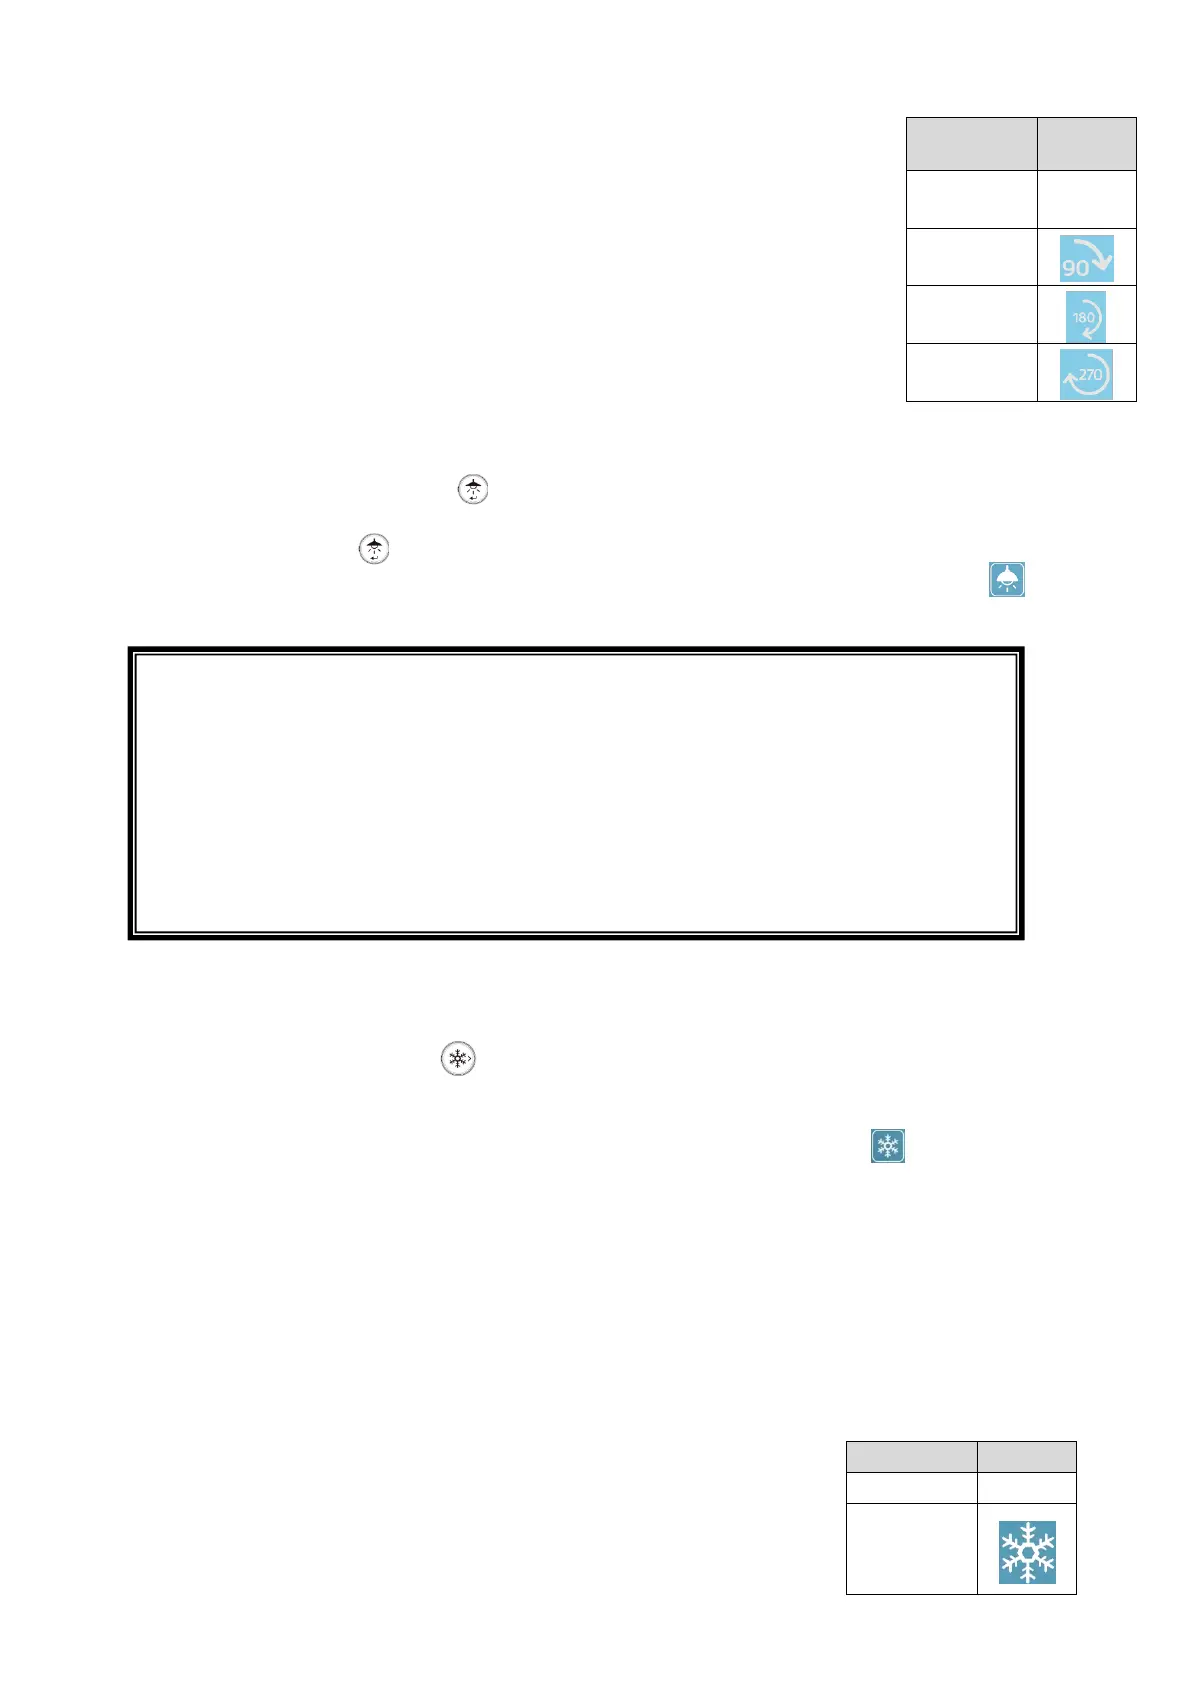
27
the connected external monitor.
The Image rotation icon will be displayed on the connected external
monitor in the Menu area, which will be displayed by selecting the
bottom tab in the Document camera screen using the mouse. (⇒P.17)
※The rotation angle can be selected between 90° and 180°.
(⇒P.33 Camera settings “Image rotation angle”.)
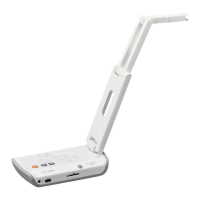
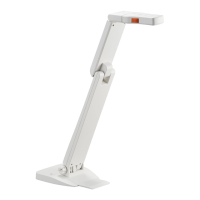
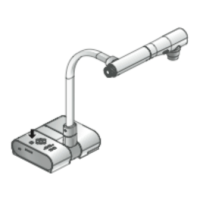
■TURNING ON OR OFF THE LED LIGHTING
Press the LED lighting button [ ] on the operating panel to turn on the LED lighting.
Pressing the button [ ] again will turn off the LED lighting.
On or off the LED lighting can also be performed by clicking the LED lighting icon [ ] in
the Menu area (⇒P.17) displayed on the external monitor using the mouse.
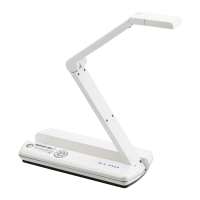
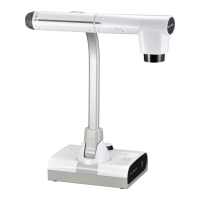
■PAUSING THE IMAGE
Pressing the Freeze button [ ] on the operating panel to pause the camera image.
Press the button again to restart.
The image freeze can also be performed by clicking the Freeze icon [ ] in the Menu
area (⇒P.17) displayed on the external monitor using the mouse.
※Long press ⇒ To perform the Automatic Deskew function.
(The product will automatically detect the skew angle of the document such as a
printing paper and a textbook in the shooting area and correct it to fit the screen.)
(⇒P. 56)
※If the product is turned off during freeze, the setting will not be saved the next time
the product is turned on.
※The Freeze icon will be displayed in the Status area (⇒P.14) during freeze.
CAUTION
• To take shots of people, turn off the LED lighting.
• Make sure that the light from the LED lighting does not shine directly into your
eyes.
• This product is equipped with a high-brightness LED. You can safely use it to light
up the subject. The brightness will gradually decrease with long-term use. This is
not a malfunction but a characteristic of the LED.
• Do not touch the LED lighting while it is on as it may become very hot.