12
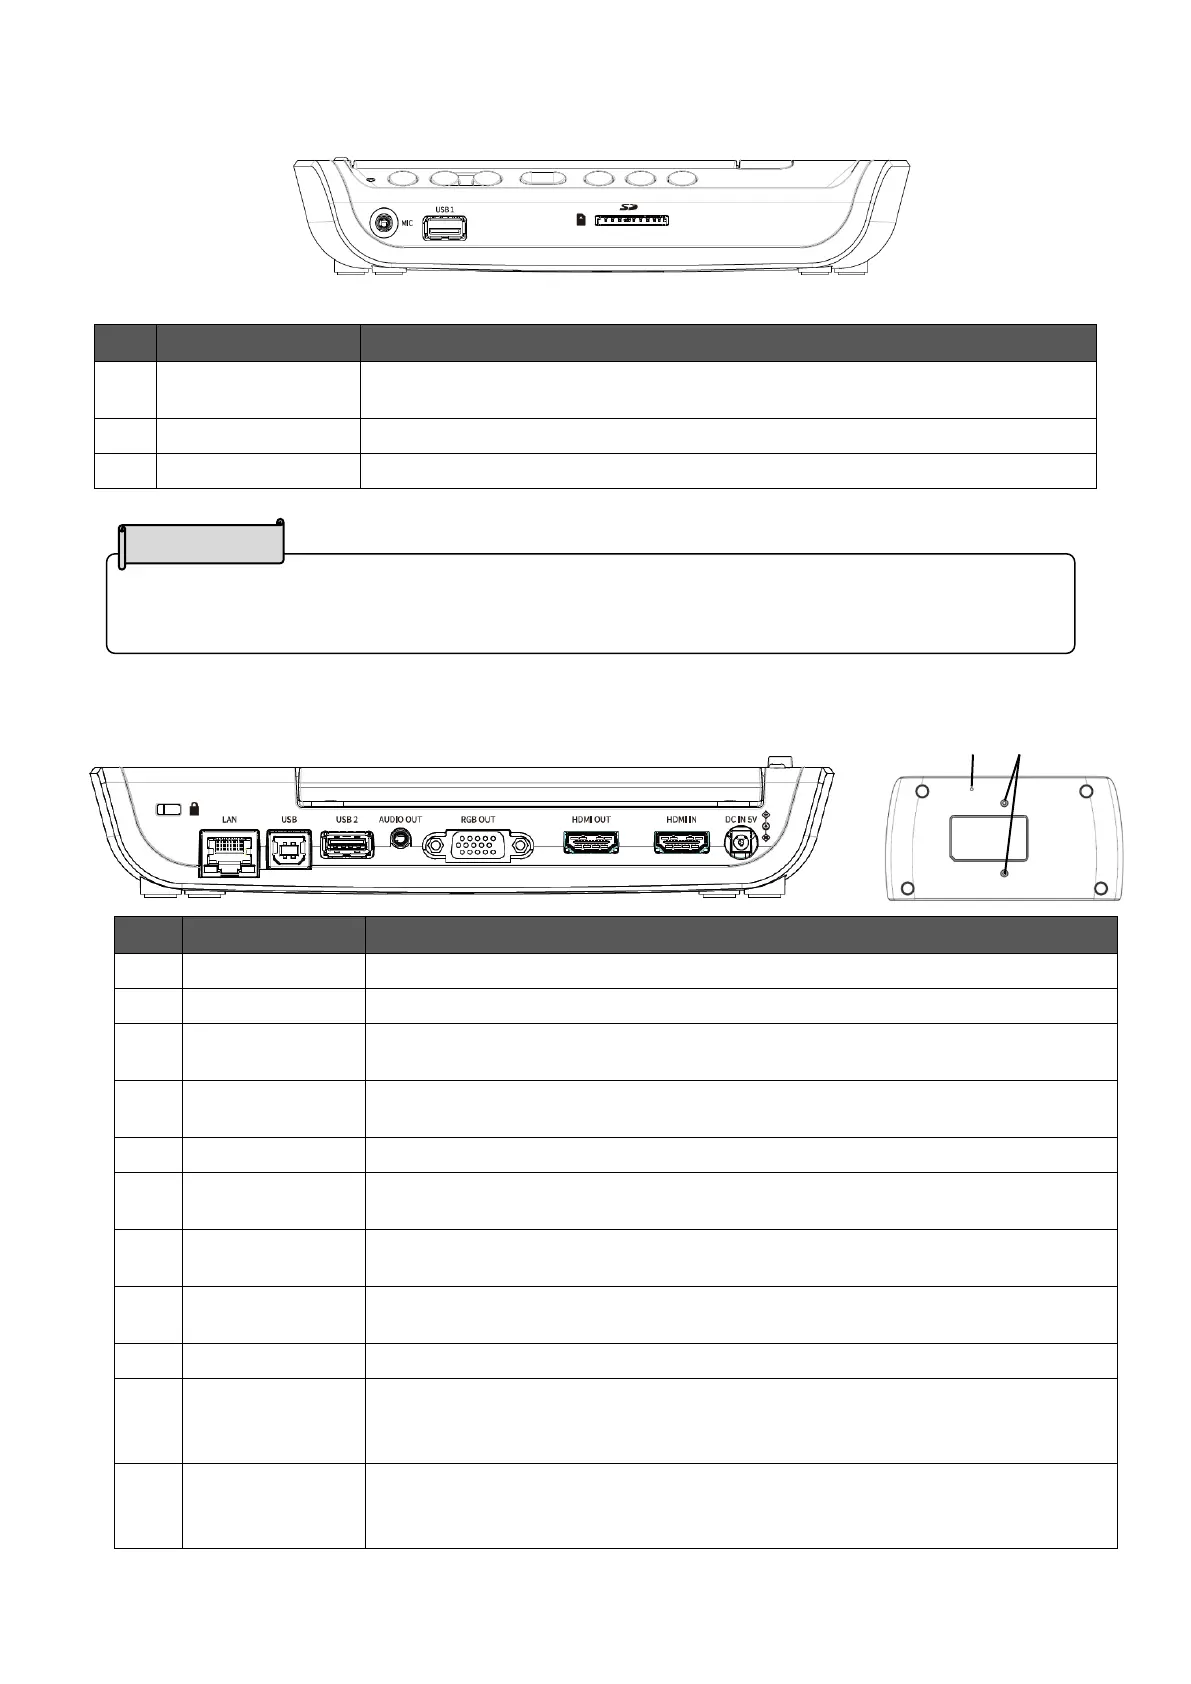
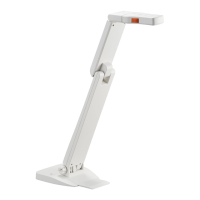
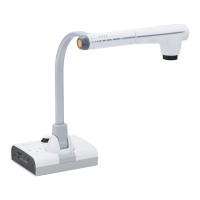
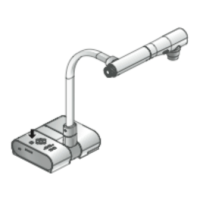
◆FRONT PANEL
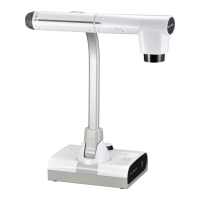
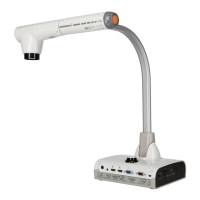
◆REAR PANEL AND CABLE CONNECTION
※1 The priority order for the audio output: AUDIO OUT > HDMI OUT > speaker
To connect the microphone.(⇒P.33)
Use the electret condenser microphone.
To connect the mouse or the USB flash drive.(⇒P.41)
To insert the SD card.(⇒P.41)
To connect a security cable. (Size of the slot: 7 x 3 mm)
To connect the product to the network.(⇒P.35, P.50)
To connect the product to a PC to use UVC (USB Video Class).
(⇒P.49)
To connect the mouse or the USB flash drive.(⇒P.41)
To output analog RGB images by connecting to a monitor which has
an analog RGB input port.(⇒P.20)
To output digital images and audio by connecting to a monitor which
has an HDMI input port.(⇒P.20)※1
To input HDMI images and audio.(⇒P.42)
To connect the supplied AC adapter.
To reset the system and return to the factory settings.
Press this button with a sharp object such as a pin. When the product
freezes, reset it using this button.
To secure the product to a table.
Use a M3 screw, with 0.5mm thread pitch, and 7 - 12mm long.
(Screws are not included.)
Connecting the microphone other than the electret condenser microphone
(a microphone for a PC) may cause malfunction.