34
9500
(A)
Main
Slave
DC1
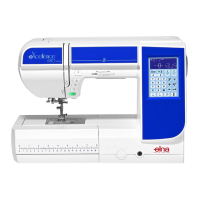
Check Foot/Feed Dog
L
X
L
H
Adjusting Presser Foot Sensor
To adjust foot sensor position
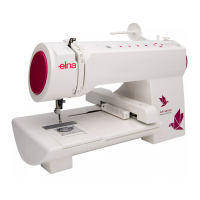
1 Start the machine in “Adjust Mode”. Turn the power
switch “ON” while pressing the Start/Stop button and the
reverse button at the same time. (Keep pressing both
buttons until LCD shows Adjust Mode.)
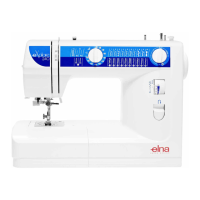
2. Press the “Foot Sensor” key on the touch panel.
3 Attach the Standard presser foot , set the pressure
dial at “3” , lower the feed dog and the presser foot.
4. Lower the needle bar to the lowest position .
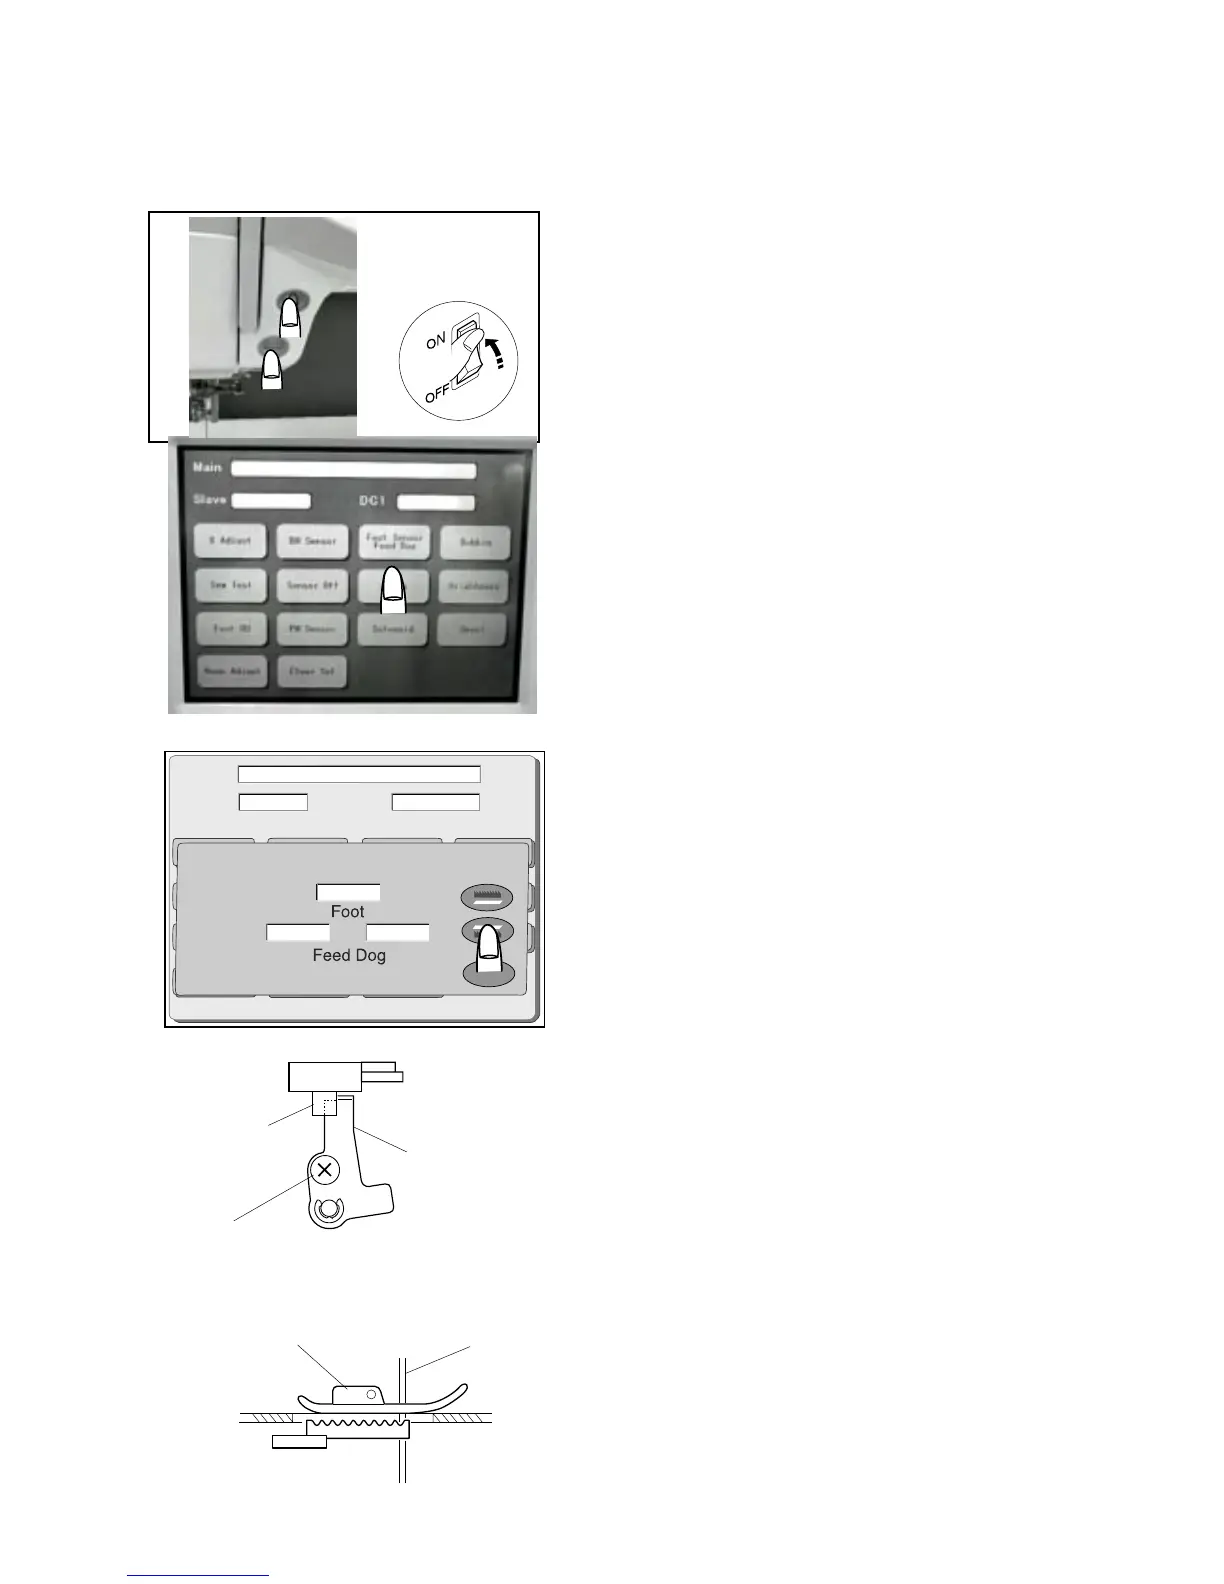
5 Loosen the Foot sensor shield plate screw (A).
6 Move the foot sensor shield plate to the left most
until it touches the sensor lightly.
(“L” will appear on the touch panel.)
7. Remove the standard foot and lower the presser bar.
(H will appear on the touch panel.)
To check:
8 Set the pressure dial at “2”.
9 Change the foot to Embroidery foot P and slowly lower
the presser foot lifter.
10 Turn the handwheel to raise the needle bar to its
highest position.
11 When slightly moving the foot sensor shield plate
within its play, check the indication on the touch panel.
If the screen shows “H”: The foot sensor is properly
adjusted. Press the
“X” key and turn the
power switch “OFF”.
If the screen shows “L”: Readjust the height of
Embroidery foot P and
proceed with the adjusting
steps again from step 1 to 7.
q
e
e
r
q
w
q
w
e
r
 Loading...