38
9500
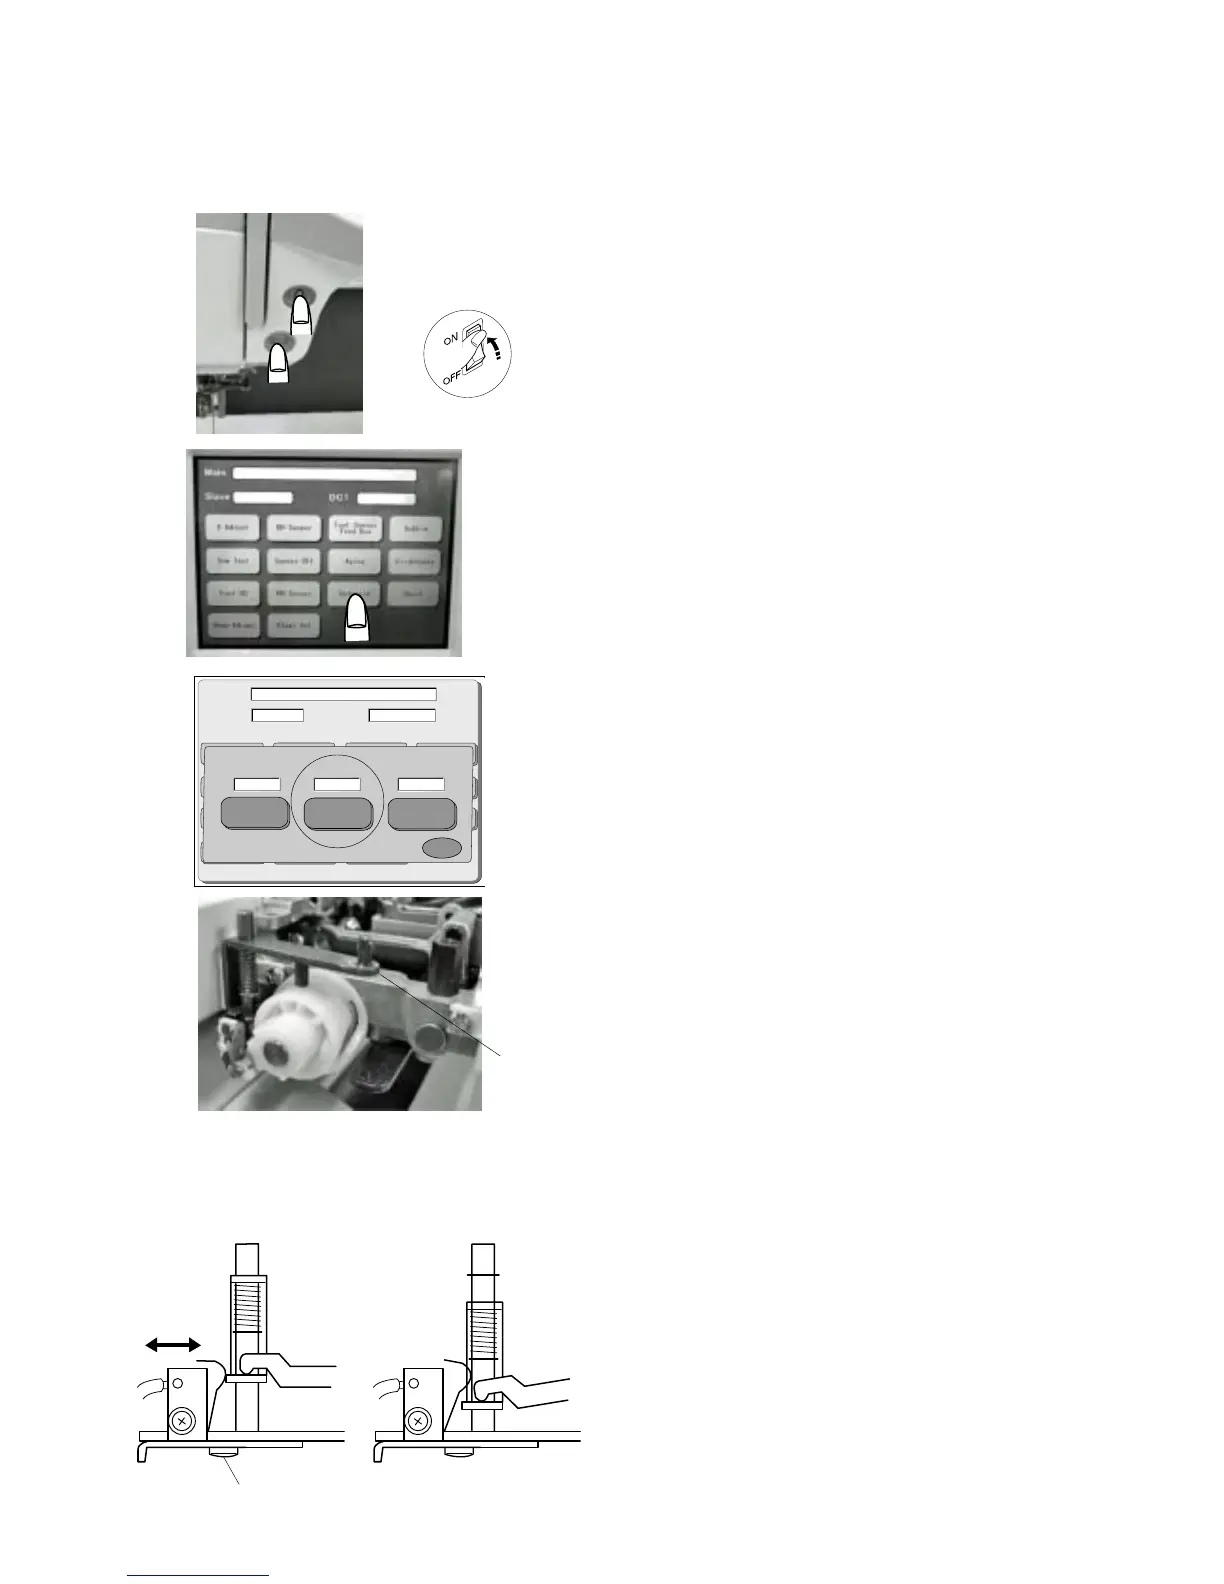
1 Start the machine in “Adjust Mode”. Turn the power
switch “ON” while pressing the Start/Stop button and
the reverse button at the same time. (Keep pressing
bothbuttons until LCD shows Adjust Mode.)
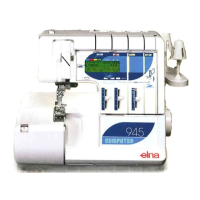
2. Press the “Solenoidr” key on the touch panel.
3 Remove the bed cover, base and thread cutter cover.
4 Lower the needle bar at its lowest position.
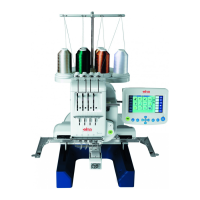
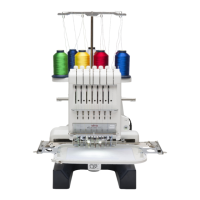
5 When lower the actuator arm , “L” will be indicated on
the “Solenoid 2” window of the touch panel.
If the screen dose not show “L”, loosen Screw (A) and
adjust it by moving the switch to left or right.
6 When raise the actuator arm (1), “H” will be indicated on
the “Solenoid 2” window of the touch panel.
If the screen dose not show “H”, loosen Screw (A) and
adjust it by moving the switch to left or right.
7 Attach the thread cutter cover, bed cover and base.
(A)
Main
Slave
DC1
Solenoid
X
Solenoid 2
Solenoid 3
Solenoid 1
H
H
84
Adjusting Thread Cutter Switch
q
q
SEWING
THREAD CUTTING
“H” “L”