Installation
Hardware Installation and Maintenance Manual 3
–3
Hardware
• 3/8” bolts and nuts
• Stainless steel tubing (SpectraSensors recommends using 1/4” O.D.
x 0.035” wall thickness, seamless stainless steel tubing)
• Conduit
Tools
• Hand drill and bits
• Tape measure
• Level
• Pencil
• Socket wrench set
• Screw driver
• Crescent wrench
• 9/16” open-end wrench
Mounting the Analyzer
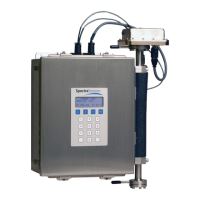
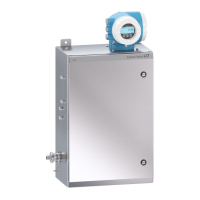
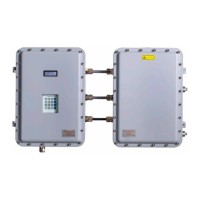
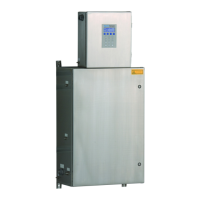
The SS500e/SS2000e/SS3000e analyzer is manufactured for wall or Unistrut
®
(or equivalent) metal framing installations. Refer to the layout diagrams in
Appendix A for detailed mounting dimensions.
Tomounttheanalyzer
1. Select a suitable location to mount the analyzer. Choose a shaded
area or use an optional analyzer hood (or equivalent) to minimize
sun exposure.
When mounting the analyzer, be sure not to position the
instrument so that it is difficult to operate adjacent devices. Allow
3 feet (1 m) of room in front of the analyzer and any switches.
It is critical to mount the analyzer so that the inlet and outlet lines
reach the inlet and outlet connections on the chassis while still
maintaining flexibility so that the sample lines are not under
excessive stress.
SpectraSensors analyzers are designed for operation within the
specified ambient temperature range of
–4 °F to 122 °F (–20 °C
to 50 °C). Intense sun exposure in some areas may cause the
analyzer temperature to exceed the maximum.
 Loading...
