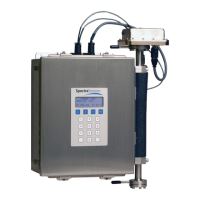
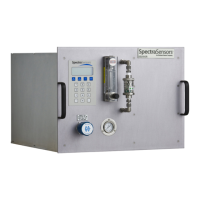
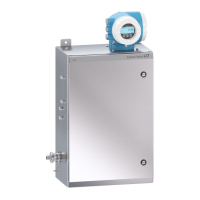
SS500e/SS2000e/SS3000e Gas Analyzer
3–20 4900002230 rev. D 2-6-20
6. Connect the inlet tube to the SCS using the 1/4” stainless steel
compression-type fitting provided.
7. Tighten all new fittings 1-1/4 turns with a wrench from finger tight.
For connections with previously swaged ferrules, thread the nut to
the previously pulled up position, then tighten slightly with a wrench.
Secure tubing to appropriate structural supports as required.
8. Check all connections for gas leaks. SpectraSensors recommends
using a liquid leak detector.
Toconnectthesamplereturn
1. Confirm that the low pressure flare or atmospheric vent header shut-
off valve is closed.
2. Determine appropriate tubing route from the SCS to the low-
pressure flare or atmospheric vent header.
3. Run stainless steel tubing from the sample return port to the low
pressure flare or atmospheric vent header connection. Bend tubing
using industrial grade benders, check tubing fit to ensure proper
seating between the tubing and fittings. Fully ream all tubing ends.
Blow out the lines for 10–15 seconds with clean, dry nitrogen or air
prior to making the connection.
4. Connect the sample return tube to the SCS using the 1/2” stainless
steel compression-type fitting provided.
5. Tighten all new fittings 1-1/4 turns with a wrench from finger tight.
a. For connections with previously swaged ferrules, thread the nut
to the previously pulled up position, then tighten slightly with a
wrench. Secure tubing to appropriate structural supports as
required.
6. Check all connections for gas leaks. SpectraSensors recommends
using a liquid leak detector.
Do not exceed 10 PSIG (0.7 barg or 1700 mbar) in sample cell.
Damage to cell may result.
All valves, regulators, switches, etc. should be operated in
accordance with site lock-out/tag-out procedures.
 Loading...
