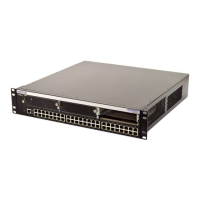
Connecting to the Network
Hardware Installation 3-13
2. Observe the LANVIEW LEDs. The Power (PWR) LED, located on the front panel, turns ON
(green) and the CPU turns red until the switch is initialized. It takes approximately one minute
for the switch to boot up.
If the initialization process is successful, the CPU LED turns green. If the CPU LED remains solid
red, blinking red, or blinking amber, refer to Chapter 4 for troubleshooting information.
3.9 CONNECTING TO THE NETWORK
The following procedures cover the cable connections from the network or other devices to the
fixed MT-RJ front panel ports, optional Mini-GBIC or an SC port on an optional Ethernet
expansion module.
• Connecting Fiber Optic Cables to MT-RJ Ports (Section 3.9.1)
• Connecting Fiber Optic Cables to an SC port (Section 3.9.2)
3.9.1 Connecting Fiber Optic Cables to MT-RJ Ports
This section provides the procedure for connecting 1-Gigabit Ethernet multimode fiber optic
segments from the network or other devices to the fixed front panel MT-RJ ports, or to Mini-GBIC
MT-RJ ports. The procedure is the same in either case.
Each fiber optic link consists of two fiber optic strands within the cable:
• Transmit (TX)
• Receive (RX)
The transmit strand from a switch port connects to the receive port of a fiber optic Gigabit Ethernet
device at the other end of the segment. The receive strand of the applicable MT-RJ port on the
switch connects to the transmit port of the fiber optic Gigabit Ethernet device.
The following procedure describes how to connect an MT-RJ cable connector to a Mini-GBIC
MT-RJ port connector. This procedure also applies to the eight fixed MT-RJ ports. Refer to
Figure 3-9 and proceed as follows:
1. Remove the protective covers (not shown) from the MT-RJ fiber optic port on the Mini-GBIC
➀
and from the connectors on each end of the cable.
Note: Leave the protective covers in place when the connectors are not in use to prevent
contamination.
 Loading...