Section 11: Standard and Optional Machine
Features
129
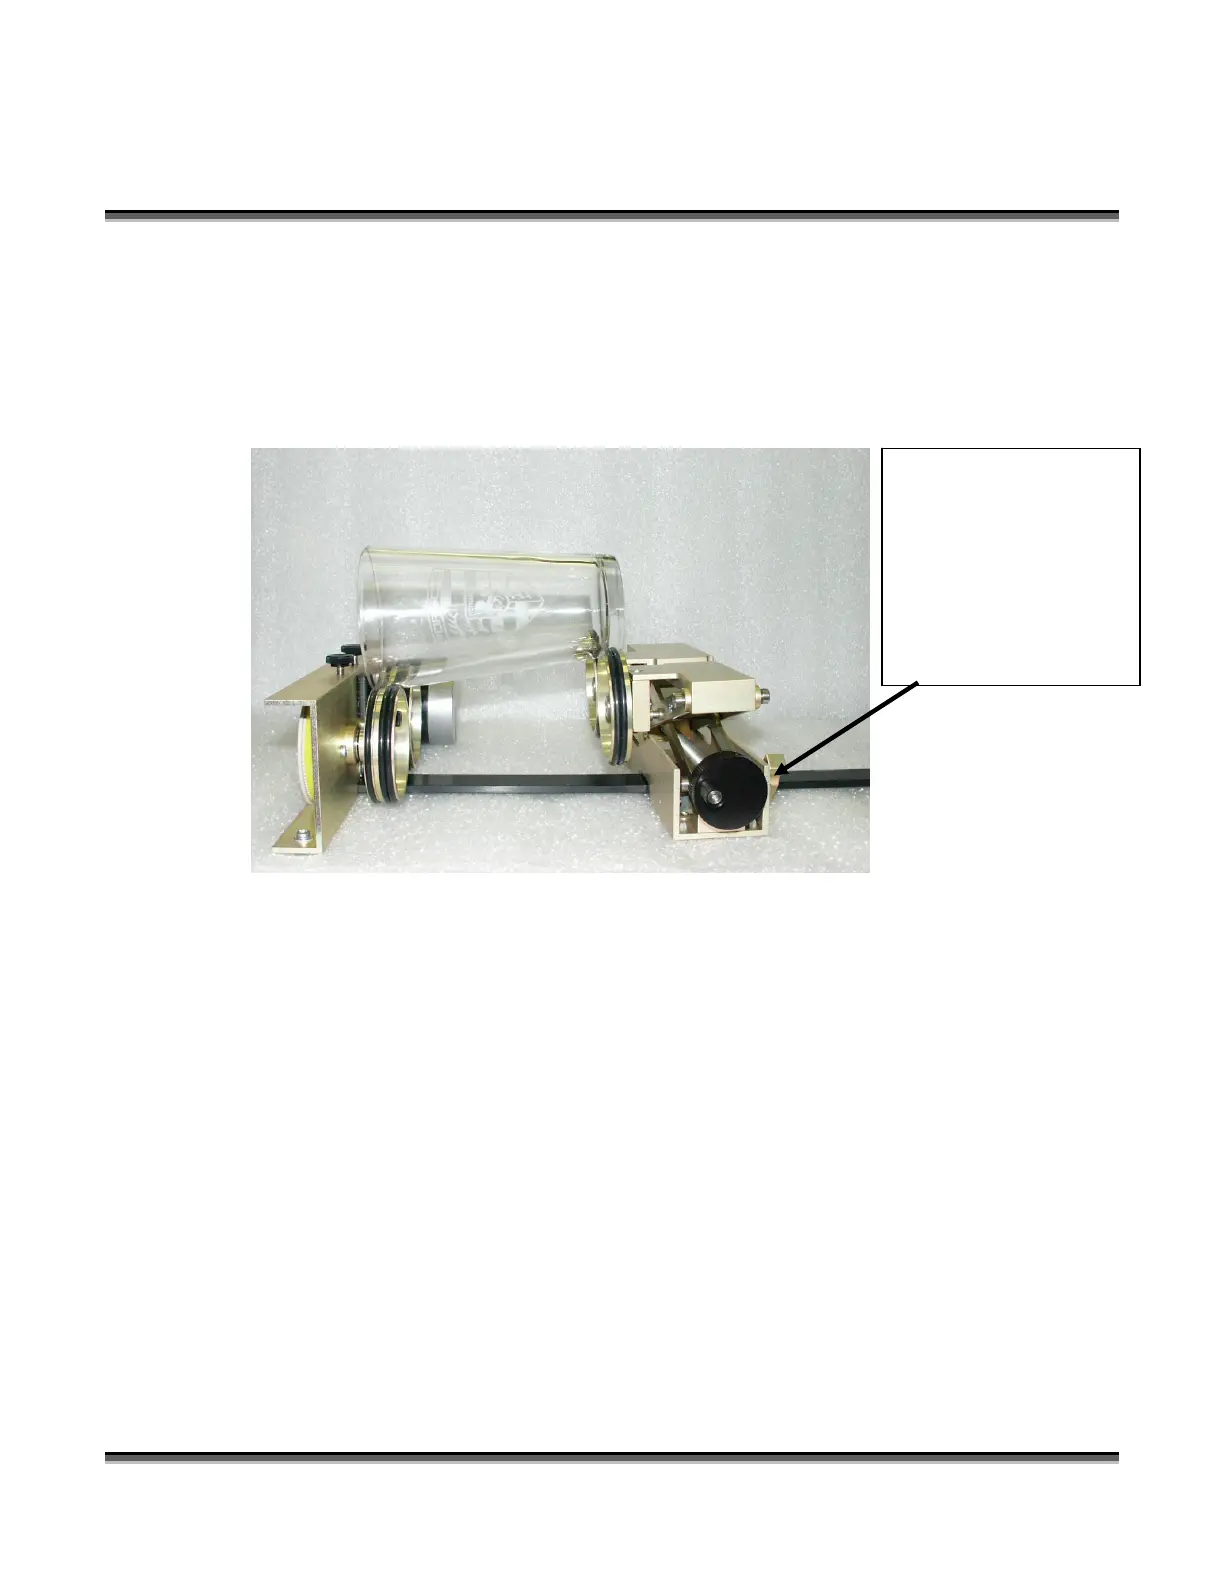
Load your part with the smaller diameter on the right. Use the elevator to elevate
your work so that it is horizontal. Insure the part is positioned so that the left end is
close to, but not touching, the black bumper. Using the clamp to hold the glass in
place is optional. Some odd shaped glasses rotate better if they are clamped to the
drive wheels, but most glasses and other cylindrical objects do not require clamping.
The glass in the photo below does not require the use of the clamp.
Use the elevator on the
rotary attachment to raise
the right side of the
object being engraved so
that its engraving surface
is horizontal.
 Loading...


