Replacing Ink Cartridges
7-9
1. Make sure the printer is on. The
P power light should be on,
but not flashing.
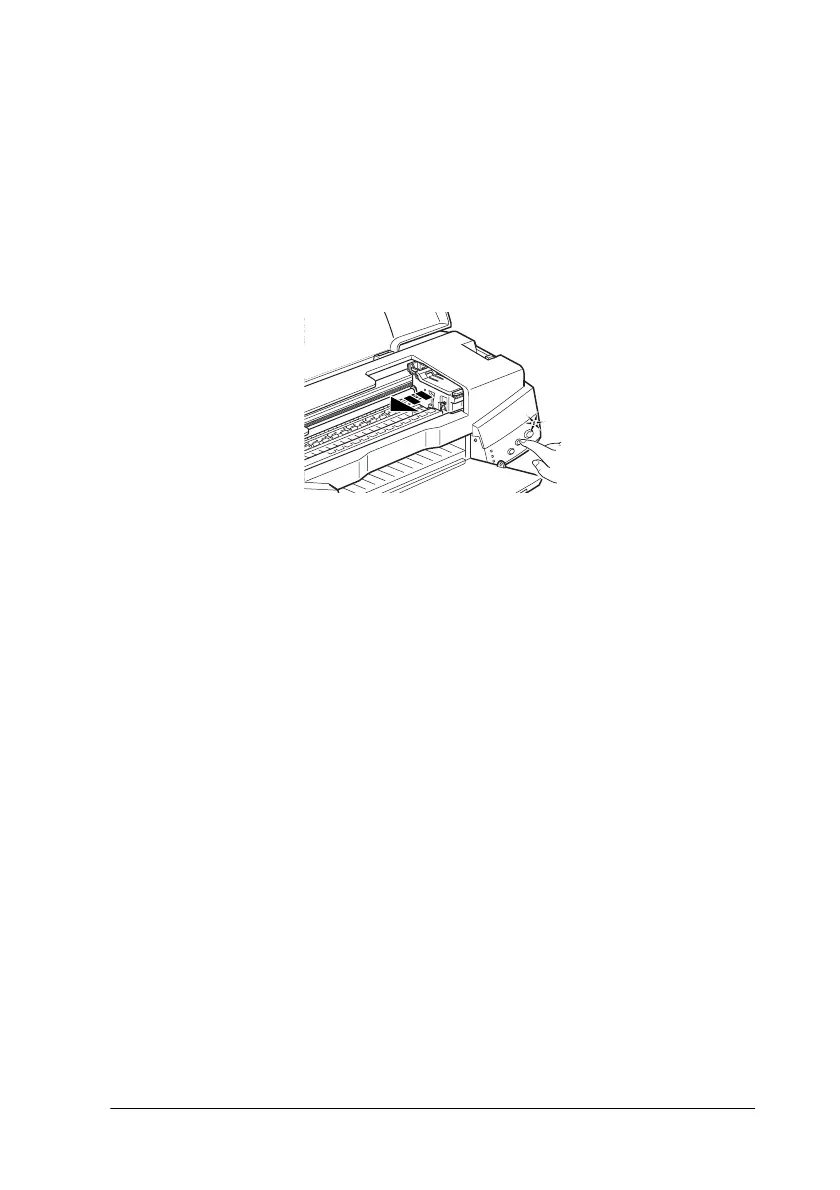
2. Lower the output tray, then open the printer cover.
3. Hold downthe
E
load/ejectbutton for three seconds; the print
head moves to the replacement position. The
P power light
begins flashing.
4. Lift the appropriate ink cartridge clamp. Then lift the ink
cartridge out of the printer and dispose of it properly.
5. Removetheyellowtapesealfromthenewcartridge.
c
Caution:
❏ You must remove the yellow tape seal from the cartridge
before installing it; otherwise, a fatal error will occur and
the cartridge will become unusable.
❏ Do not remove the blue portion of the tape seal from the
top of the cartridge; otherwise, the print head may
become clogged and will be unable to print.
❏ Do not remove the tape seal from the bottom of the
cartridge; otherwise, ink will leak.
6. Place the cartridge gently into the cartridge holder. Do not
press down on the cartridge. Then lower the ink cartridge
clamp and press down until it locks into place.
 Loading...


