Stylus Pro 4880 Field Repair Guide 1/17/08
Print Head Replacement Procedure Printer Component, Software Item, LCD Display, Printer Button Page 82.
Print Head Replacement Procedure
1. Run the Adjustment Wizard and input the new Print Head’s calibration value.
2. Unplug the Printer.
3. Raise both Ink Levers, closing the Ink Valves.
4. Remove the Left Side Cover.
5. Release the Carriage Lock, and move the Carriage Mechanism away from the capped position.
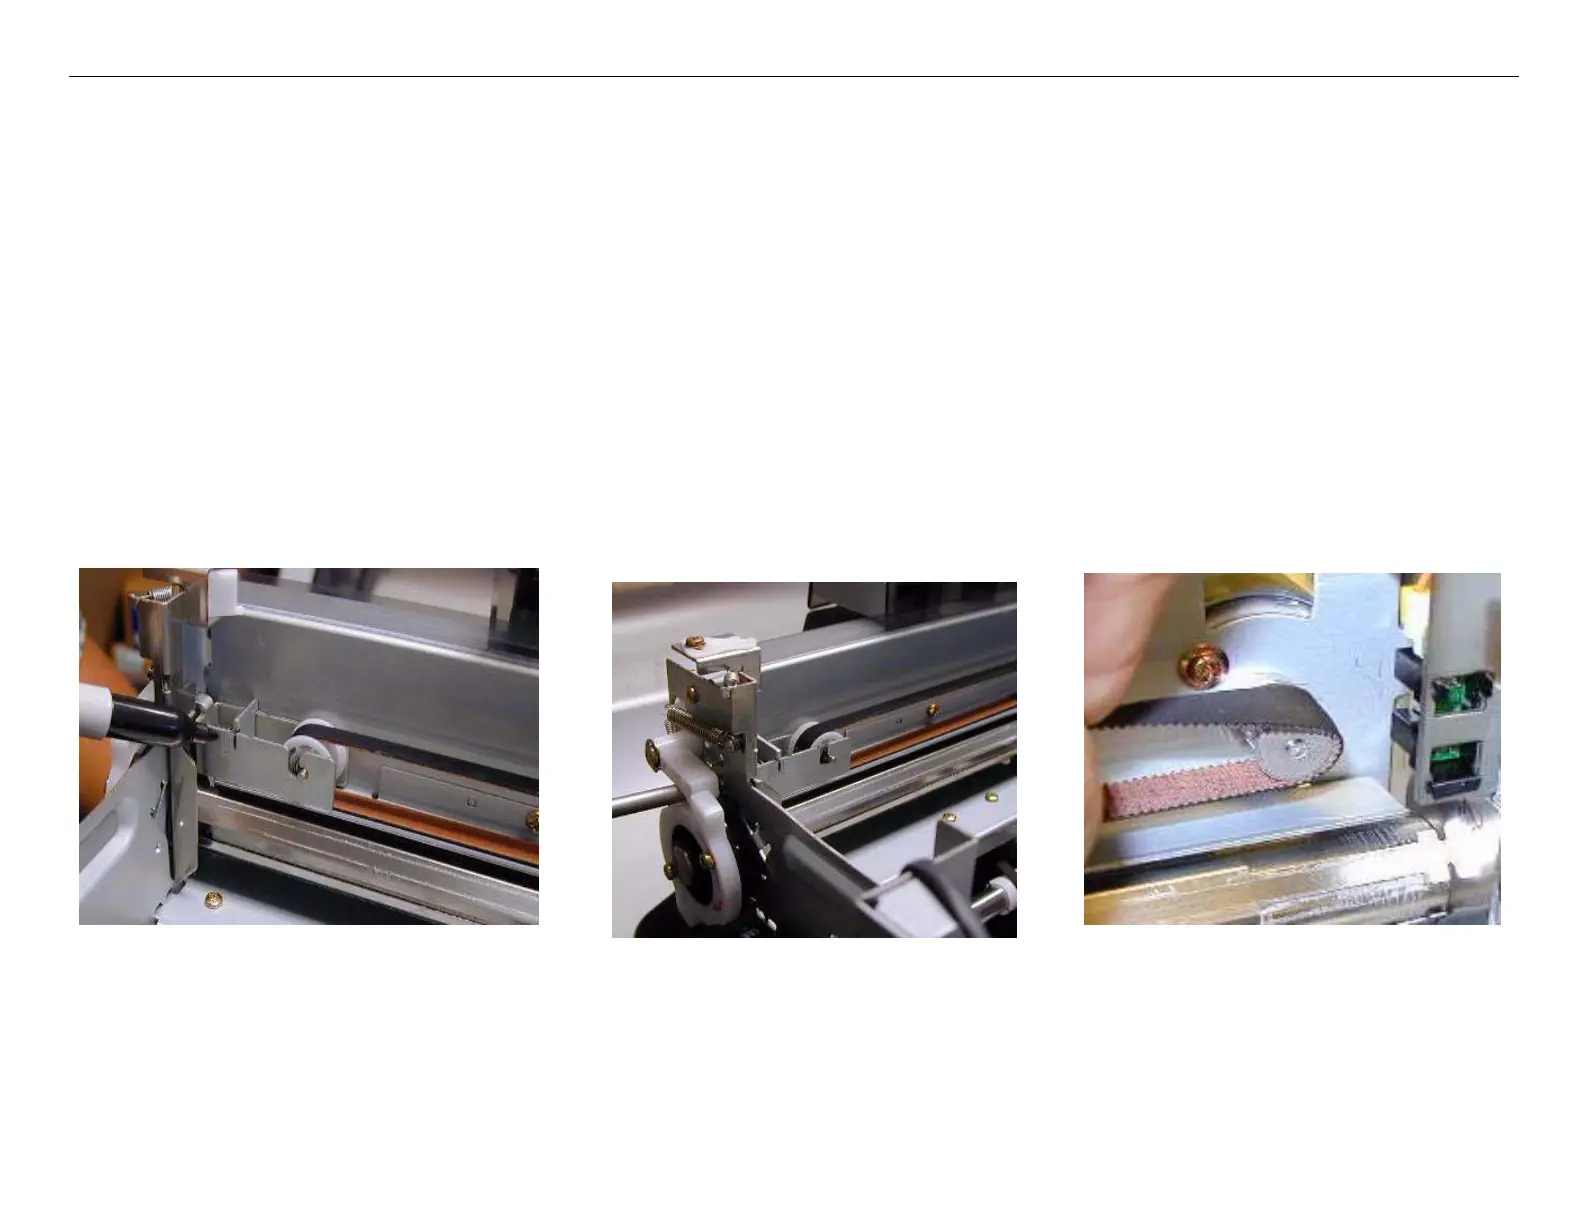
6. Mark the Carriage Belt Tension Gauge, loosen, and remove the Belt.
Mark Belt Tension Gauge
Loosen Belt Tension
Remove Belt from
the Carriage Motor

 Loading...


