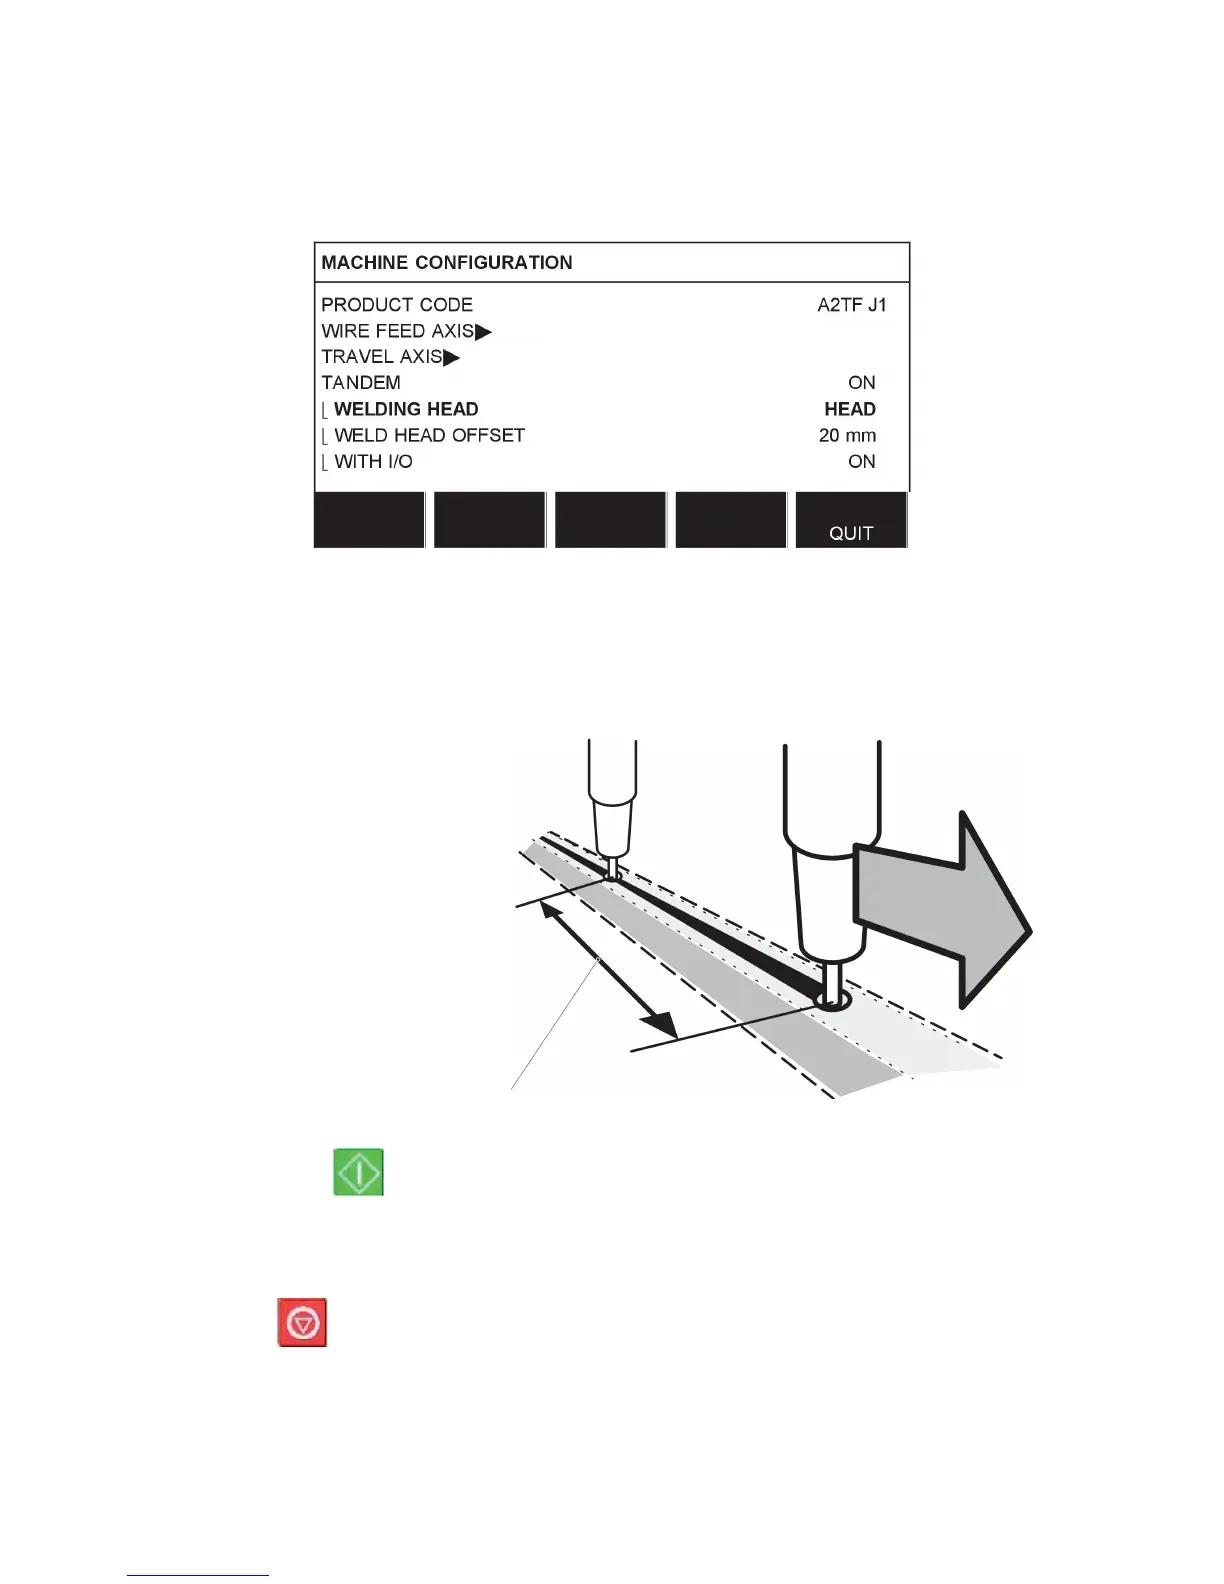
8 CONFIGURATION MENU
0460 949 274
- 48 -
© ESAB AB 2015
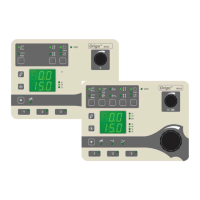
Specify the values to weld with two welding heads as follows:
Position the cursor on the WELDING HEAD row. Select whether the setting is to apply to
”master” control unit HEAD or ”slave” control unit TAIL.
• Position the cursor on the WELD HEAD OFFSET row and specify the distance between
the two welding heads.
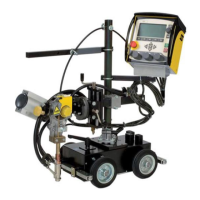
Example, I/O ON
Welding head 2 (slave)
TAIL
Welding head 1 (master)
HEAD
WELD HEAD OFFSET
•
Press Start, for welding head1.
• Welding head1 starts to weld.
• Welding head2 only starts welding when the start position for welding head1 has been
reached (the distance given in WELD HEAD OFFSET.
•
Press Stop, for welding head1.
• Welding head1 stops welding but continues travelling.
• Welding head2 stops welding once it reaches the point where equipment1 stopped
welding (the distance given in WELD HEAD OFFSET.
• Welding is complete.