Use the cursor buttons to highlight the specic pair of inputs or outputs you wish to adjust. Options
include:
Analog In 1/2
Analog In 3/4
Analog In 5/6
Analog In 7/8
Analog Out 1/2
Analog Out 3/4
Analog Out 5/6
Analog Out 7/8
Once you have highlighted the appropriate pair of inputs or outputs, press the Enter button to switch
to the alternate operating level.
Note that the rear panel XLR analog connectors are a duplicate “mult” of channels 1-2 of the eight-
channel analog DSUB connectors. As a result, any reference level changes made to analog input or
output 1-2 of the DSUB connector will also aect the XLR inputs and outputs.
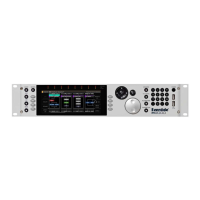
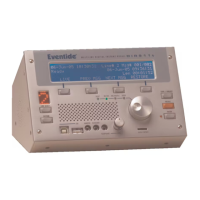
2.1.10. Network
The network screen controls settings for connecting your H9000 to a standard Local Area Network.
Once a network connection is established, you can use the Emote sotware to view and control
H9000 parameters and update your H9000’s rmware.
The middle column of the network screen shows the available network connections, including:
Ethernet (for a hard-wired connection directly to the computer, or through your local area
network)
Wireless (for a connection using the included Wi-Fi dongle, which can be connected to any of
the four USB connectors)
•
•
•
•
•
•
•
•
•
•
2. Setup
Copyright © 2021, Eventide Inc.