The front panel USB ports provide three separate functions:
Connect a FAT32-formatted USB thumb drive to either of the front/rear panel USB ports to
save any H9000R presets you have created or perform an oine rmware update.
Attach the included USB Wi-Fi dongle to connect the H9000R to a local area network, or to
utilize the Wi-Fi access point.
Connect a class-compliant USB MIDI controller for real-time adjustment of many H9000R
functions.
Network Button
To the let of the pinhole is the Network Button. The LED in the center of this button will ash
while the H9000R is starting up. This button is used to unlock the Network Settings (Section
2.2.3) in Emote, and to perform various Startup Sequences (Section B).
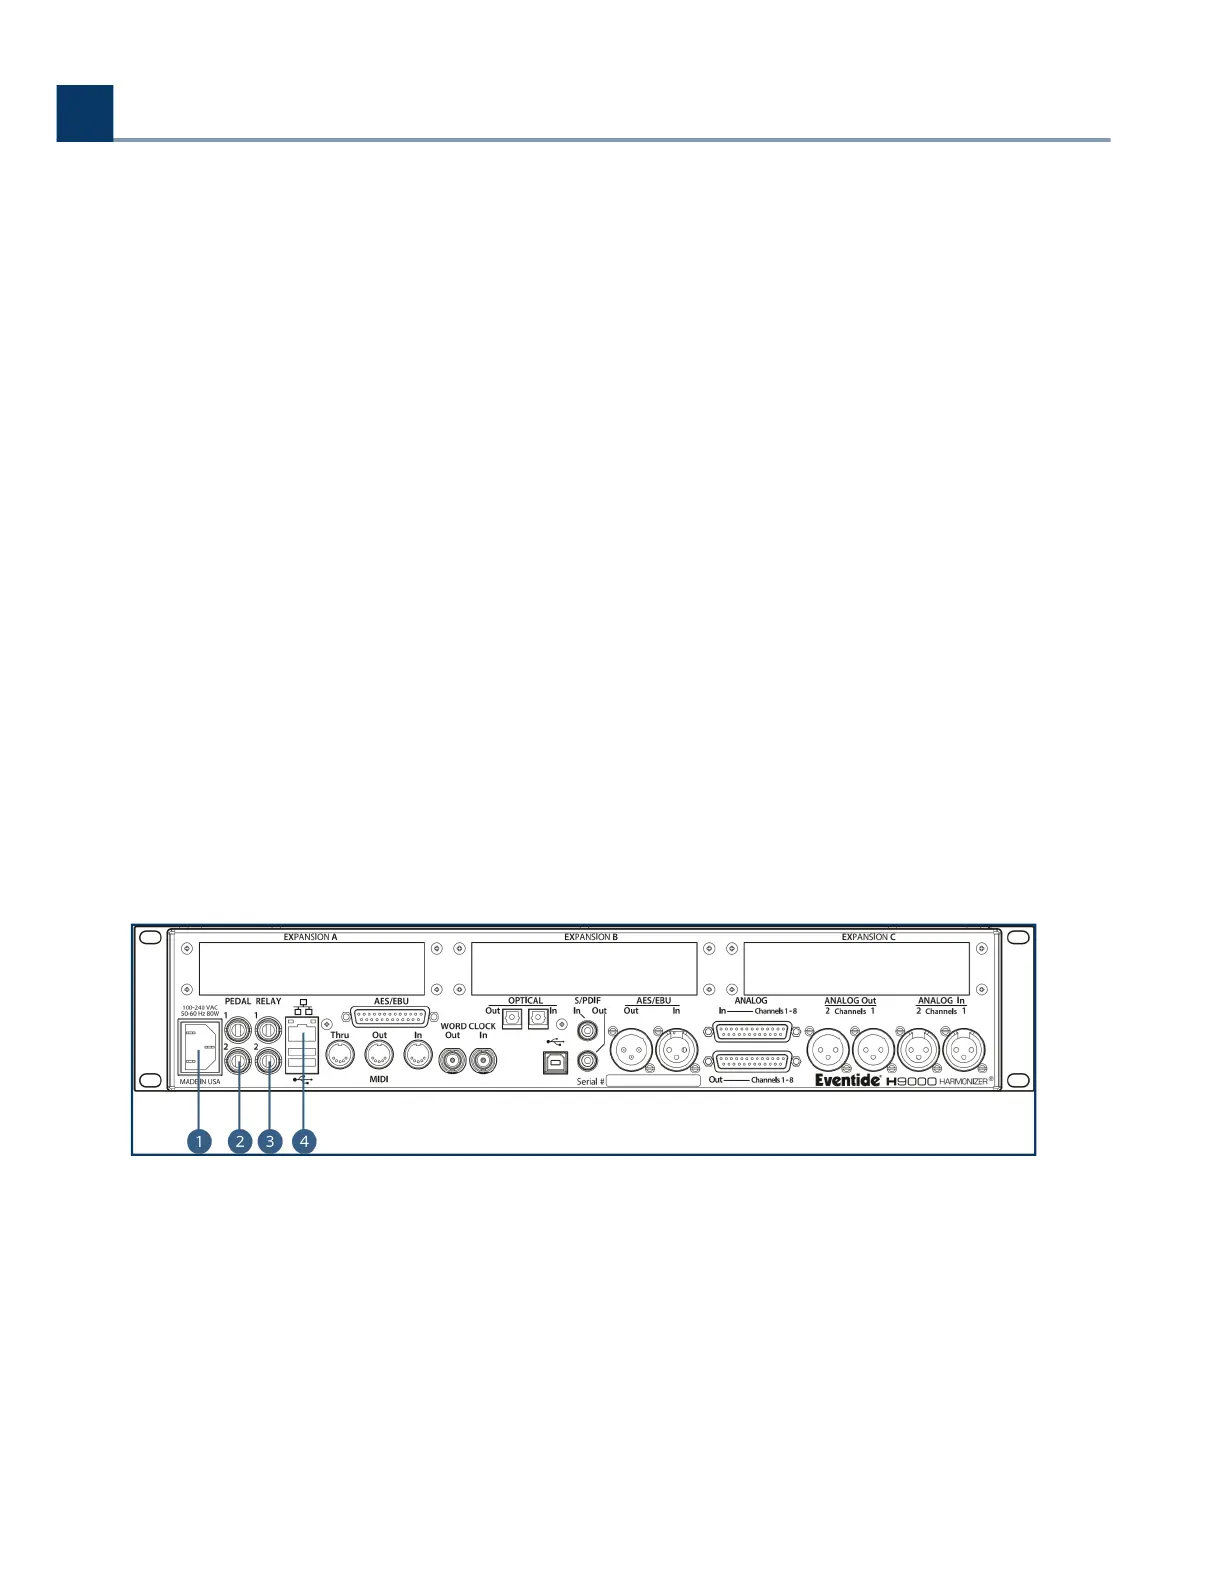
3.3. Rear Panel
The H9000 and H9000R have an identical rear panels. They oer a wide variety of audio and data
connections, allowing them to be used in many dierent environments and work ows.
Power Connector
Connect the H9000 to your power source using a standard IEC power cable. The H9000’s power
supply is designed to work from 100VAC to 240VAC, 50-60Hz, without adjustment. Your unit will
ship with a power cable designed to work in your territory.
Pedal (x2)
◦
◦
◦
.
.
.
3. Hardware
Copyright © 2021, Eventide Inc.