Installing Modules and Establishing Initial Management Access
BlackDiamond 8800 Series Switches Hardware Installation Guide
114
To install a module in a BlackDiamond 8800 series switch:
1 Attach the ESD-preventive wrist strap to your bare wrist and connect the metal end to the ground
receptacle at the top left corner of the chassis.
2 Select a slot for the module. (See “Module Slot Assignments” on page 112.)
MSMs and I/O modules only fit properly into their designated slots. Forceful insertion into the wrong slot
type can damage the module.
3 Remove a blank front panel from the chassis slot, if applicable.
Any unoccupied module slot in the chassis should have a blank front panel installed to ensure
satisfactory protection from EMI and to maintain adequate airflow through the chassis.
4 Remove the module from the antistatic packaging as follows:
a Place the antistatic bag containing the module on a flat ESD-protective surface that is clear of any
debris.
b Break the quality seal, the ESD warning seal, and the Read Installation Note seal.
c Open the antistatic bag and firmly grasp the rail of the module.
d Hold the rail of the module as you pull the antistatic bag off the module.
By holding the rail of the module and pulling the ESD bag off the module, you prevent damage to the
module that might be caused by sliding the module on the ESD surface.
Store the module packaging for future use.
To prevent ESD damage, hold the module by the metal rail and front panel only. Never touch the
components on the PCB or the pins on any of the connectors.
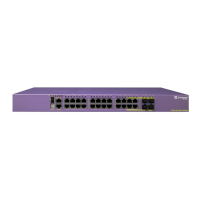
5 Verify that the module injector/ejector handles are open (Figure 71).

 Loading...