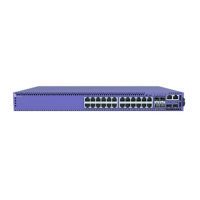
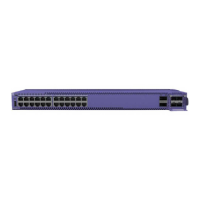
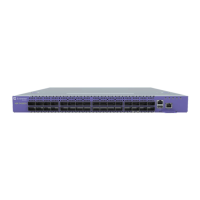
Activate and Verify the Switch
Connect the Switch to a Management Console on page 79
Log in for the First Time on SwitchEngine on page 79
Congure the Switch's IP Address for the Management VLAN on page 81
Change the Switch OS via the Bootloader Menu on page 81
Change the Switch OS via the Startup Menu on page 82
Log In for the First Time on FabricEngine on page 82
Operating system selection and activation can be done via the following:
1. XIQ - automatically by pre-selecting the preferred switch OS
2. Bootloader menu - option to change the switch OS on initial activation only
3. Startup menu in SwitchEngine CLI - post-Bootloader menu prompt
Refer to
Read Me First - Switch OS Selection for Universal Hardware
shipped with
your switch, or visit https://www.extremenetworks.com/support/switch-os-selection/ for
information on changing your switch OS after initial activation.
Otherwise, use the instructions in the following topics.
Connect the Switch to a Management Console
Connect each switch's serial console interface (an RJ45 jack) to a PC or terminal. The PC
or terminal will serve as the
management console
, used to monitor and congure the
switch.
The default communication protocol settings for the serial console interface are:
• Baud rate: 115200
• Data bits: 8
• Stop bit: 1
• Parity: None
Log in for the First Time on SwitchEngine
Onboard your switch with ExtremeCloud™. Log in or create your XIQ administrator
account in order to select your switch operating system with XIQ at https://
extremecloudiq.com
ExtremeSwitching 5420 Series Hardware Installation Guide 79

 Loading...


