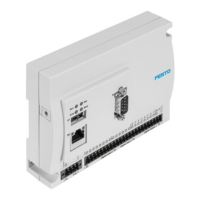
2. Fitting the CP terminal
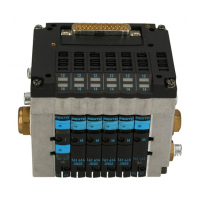
CP terminals with pneumatic multiple connector plate
• Place the 3-seal and 4-seal strips in the recesses in
the left or right-hand end plate. Press the 2-seal
strips carefully into the threads of the work connec-
tions.
• Place the CP terminal on the pneumatic multiple
connector plate and tighten the fastening screws in
the left and right-hand end plates with 0.3 Nm. Then
tighten the screws in diagonally opposite sequence
with 2 Nm (CPV10/14) or with 4 Nm (CPV18).
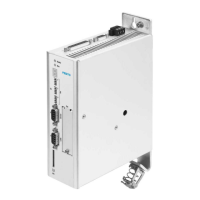
CP terminal with foot fastening
• Insert the fastening screws in the right-hand end
plate and tighten the terminal.
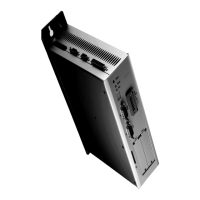
CP terminal with wall or hat rail fastening
• Fix the right-hand fastening onto the wall with two
M4 screws or tighten the right-hand hat rail clamping
unit.
3. Fitting the pneumatic and electrical connections
• Fit the connections in the reverse sequence to that
described in "Removing CP terminal components".
5. Maintenance and conversion
CPV... 9802 5-11
 Loading...