EasyManuals Logo

Festo CP Series User Manual

Festo CP Series
109 pages
To Next Page IconTo Next Page
To Previous Page IconTo Previous Page
Page #84 background imageLoading...
Page #84 background image
Remove the self-adhesive flat seal from the recess.
Use a screwdriver here to carefully loosen one cor-
ner of the seal (see Fig. 5/4). Then carefully pull the
seal away from the electrical connector plate.
Remove the protective foil from the new seal. Glue
the flat seal into the recess.
Place the end cover on the connecting lugs of the
valve block. Carefully press down the end cover.
Tighten the screws of the electrical connector plate
in diagonally opposite sequence with 0.6 Nm
(CPV10/14) or with 3 Nm (CPV18).
CP terminals with CP connection and relay plates:
Fit the plugs onto the relay outputs as described un-
der "Connecting current-consuming devices to the re-
lay plate."
5. Maintenance and conversion
5-10 CPV... 9802

Questions and Answers:

Question and Answer IconNeed help?

Do you have a question about the Festo CP Series and is the answer not in the manual?
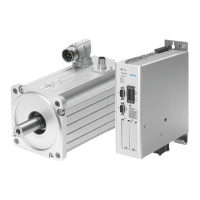
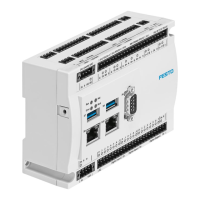
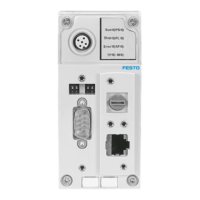
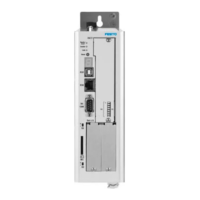
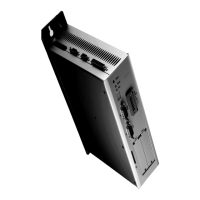
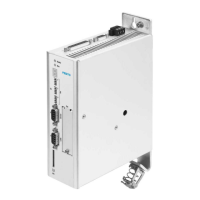
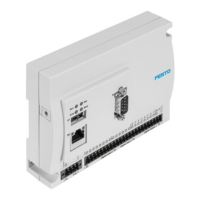
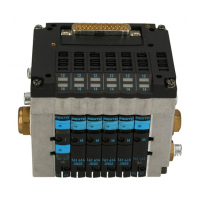
Festo CP Series Specifications

General IconGeneral
TypeController
SeriesCP
CategoryController
ManufacturerFesto
Operating Voltage24 V DC
Protection ClassIP20
Communication InterfaceCANopen, PROFINET
Programming EnvironmentFesto Automation Suite
Number of AxesVaries (depending on model, typically up to 6 or more)

Related product manuals