SEBU8325-01 77
Maintenance Section
Walk-Around Inspection
g01003936
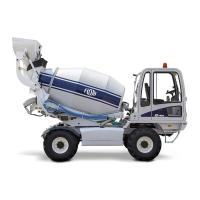
Illustration 44
Typical example
(1) Belt tension gauge
Fit the gauge (1) at the center of the longest free
length and check the tension. The correct tension for
a new belt is 535 N (120 lb). If the tension of the belt is
below 250 N (56 lb) adjust the belt to 535 N (120 lb).
If twin belts are installed, check the tension on both
belts and adjust the tension on the tightest belt.
Adjustment
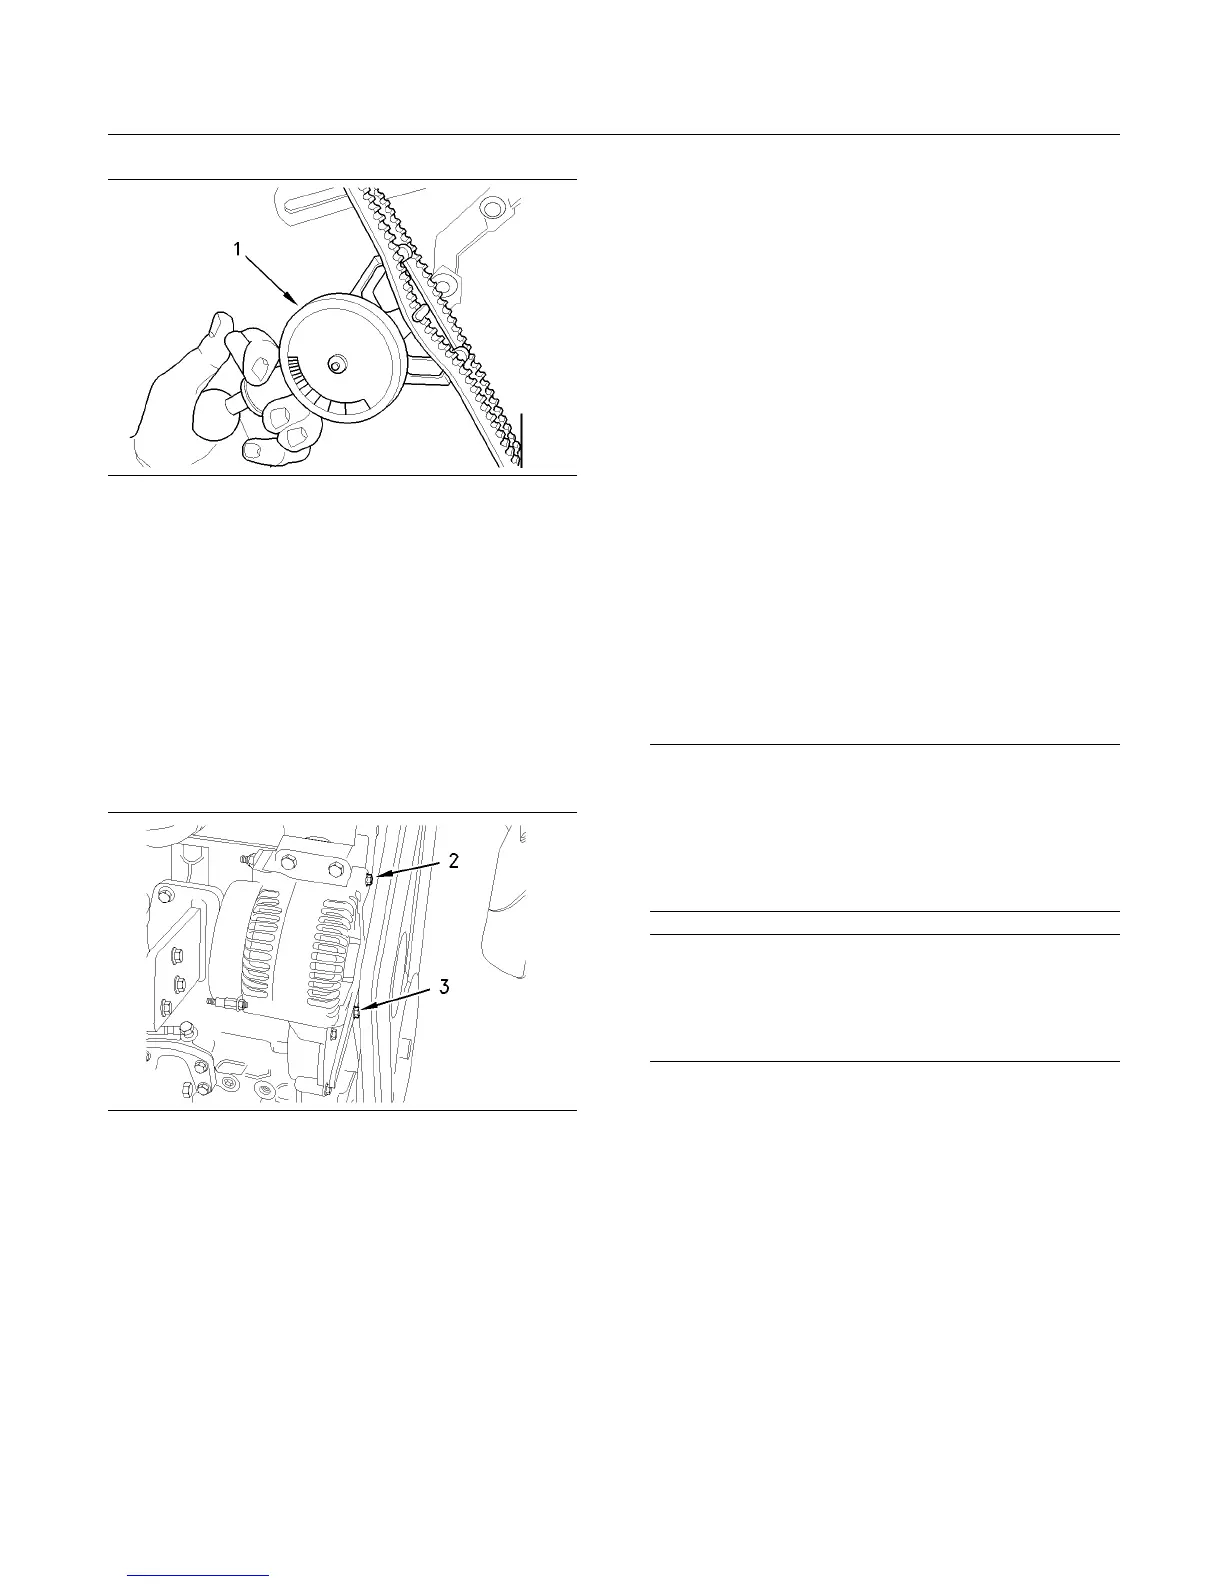
g01003939
Illustration 45
1. Loo
sen The alternator pivot bolt (2) and the bolt
(3).
2. Mov
e the alternator in order to increase or
decrease the belt tension. Tighten the alternator
pivot bolt and the link bolt to 22 N·m (16 lb ft).(1).
Replace
Refer to Disassembly and Assembly manual for more
information.
i02678854
Walk-Arou nd I nspection
Inspect the Engine for Leaks and
for Loose Con
nections
A walk-around inspection should only take a few
minutes. Wh
en the time is taken to perform these
checks, costly repairs and accidents can be avoided.
For maximum
engine service life, make a thorough
inspection of the engine compartment before starting
the engine. Look for items such as oil leaks or coolant
leaks, loo
se bolts, worn belts, loose connections and
trash buildup. Make repairs, as needed:
•
The guards
must be in the correct place. Repair
damaged guards or replace missing guards.
•
Wipe all c
aps and plugs before the engine is
serviced in order to reduce the chance of system
contamination.
NOTICE
For any t
ype of leak (coolant, lube, or fuel) clean up the
fluid. If leaking is observed, find the source and correct
the leak. If leaking is suspected, check the fluid levels
more of
ten than recommended until the leak is found
or fixed, or until the suspicion of a leak is proved to be
unwarranted.
NOTICE
Accumulated grease and/or oil on an engine is a fire
hazard. Remove the accumulated grease and oil. Re-
fer to this Operation and Maintenance Manual, “En-
gine - Clean” for more information.
•
Ensure that the cooling system hoses are correctly
clamped and that the cooling system hoses are
tight. Check for leaks. Check the condition of all
pipes.
•
Inspect the water pump for coolant leaks.
Note: The water pump seal is lubricated by the
coolant in the cooling system. It is normal for a small
amount of leakage to occur as the engine cools down
and the parts contract.
Excessive coolant leakage may indicate the need
to replace the water pump seal. For the removal of
the water pump and the installation of water pump
and/or seal, refer to the Disassembly and Assembly
Manual, “Water Pump - Remove and Install” for more
information or consult your Perkins dealer or your
Perkins distributor.
 Loading...