3. Attach the pressure plate and tighten the nuts.
4. Place a piece of wood under the anchor bolt so that it is approximately 10 mm from the upper
edge of the support.
5. Using suitable lifting gear, set the gear unit down in position.
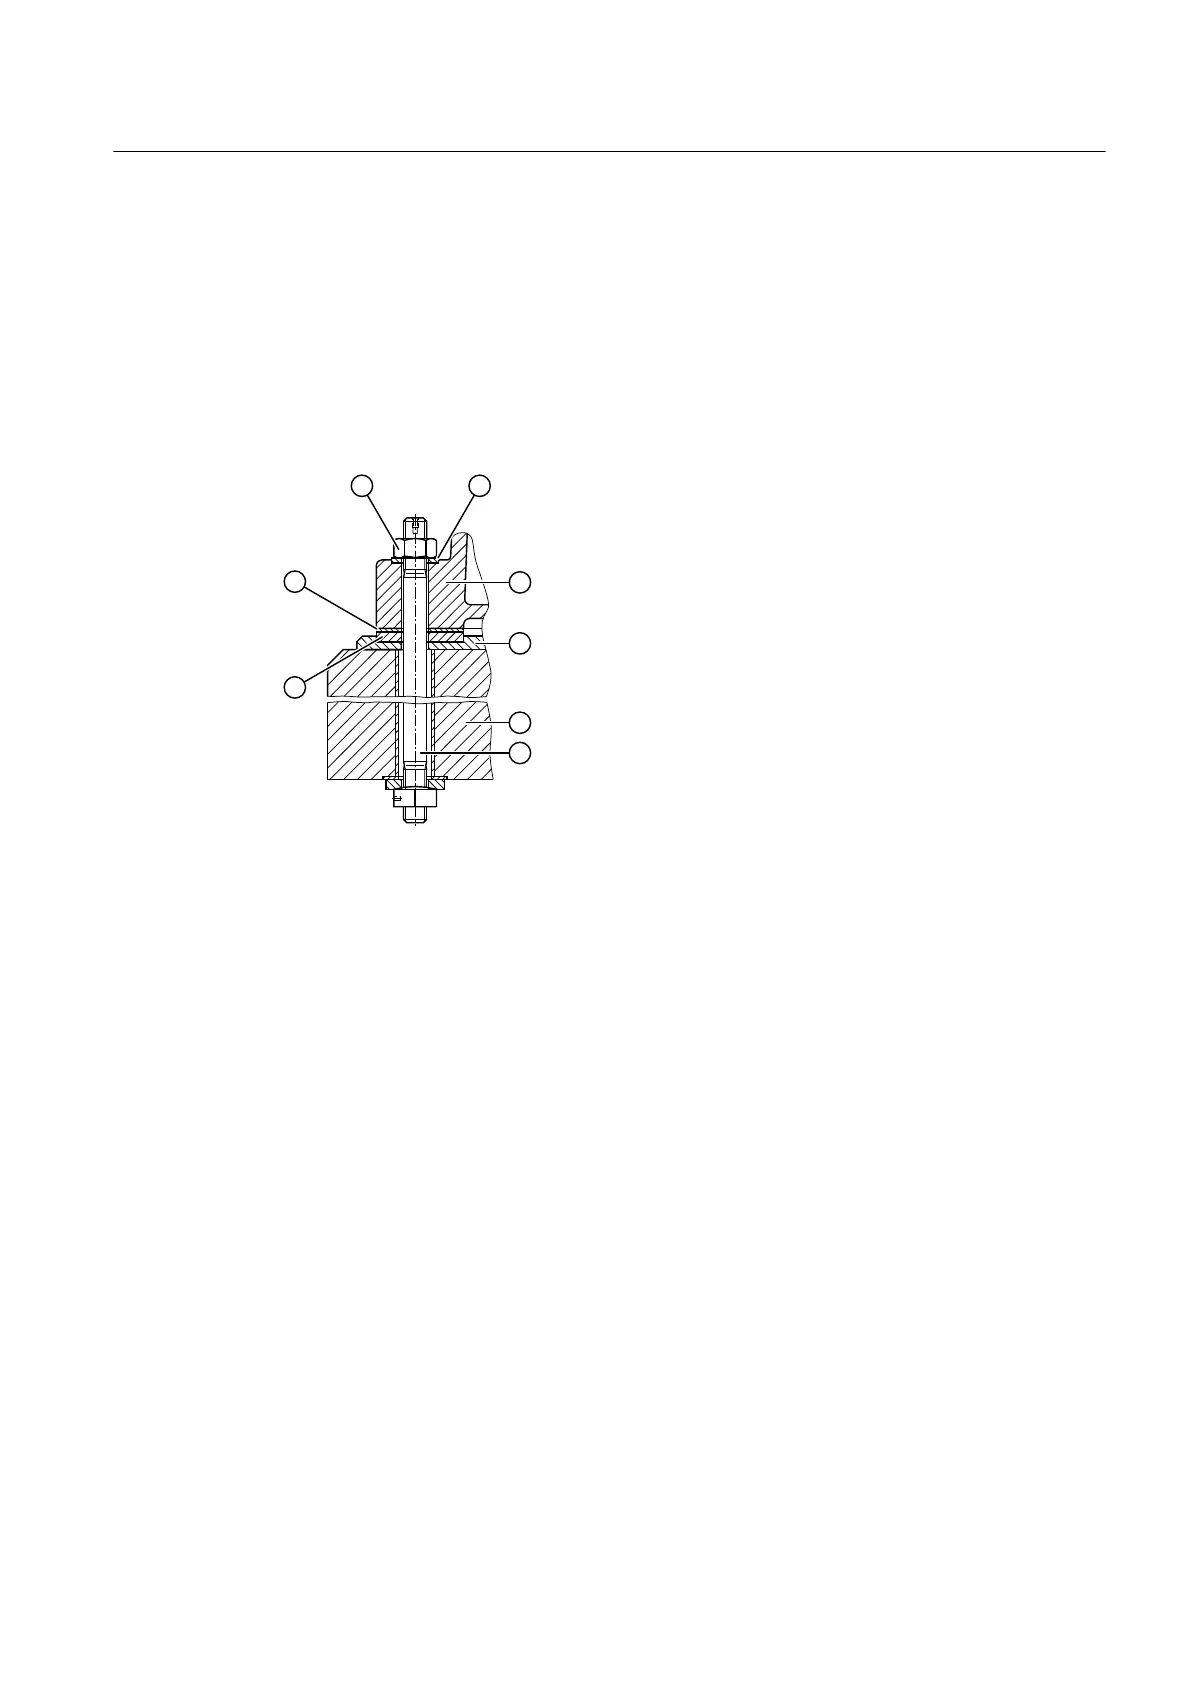
Mounting the gear unit using anchor bolts
The following diagram shows a tightened anchor bolt:
① Hexagon nut ⑤ Raw foundation
② Washer ⑥ Anchor bolt
③ Housing foot ⑦ Baseplate
④ Fine-grout concrete ⑧ Support
Figure 5-5 Tightened anchor bolt
Proceed as follows to mount the gear unit using anchor bolts:
1. Pull the anchor bolts upwards. To do this you can use a screw or threaded bar that you screw
into the thread on the end face.
2. Attach the washer.
3. Screw on the hexagon nut by hand a few turns.
4. Align the gear unit with the supports (Page 56).
– Observe the values on the alignment strips.
– Maintain the alignment tolerances to the units connected at the input and output
according to the permissible angular and axial displacements of the couplings.
5. Document the alignment dimensions in the form of a report, and archive this together with
these instructions.
6. Keep the anchor bolts in their position by tightening the nuts by hand.
7. Locate the protective sleeve.
8. Attach the hydraulic clamping device.
9. Tighten the screws alternating, taking into account the preload forces (Page 79).
Mounting
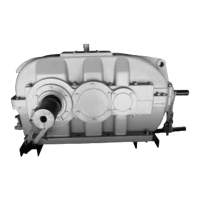
5.3 Gear unit mounting
REDUREX Gear unit 5200en
Operating Instructions 03/2019 61